Baking Bannock (winter holiday version)

Setting up a stove in Temagami, Ontario

Bannock is a popular food item for us to make on canoe and camping trips. It is a simple, warm and tasty bread that can be easily baked over an open fire / oven. From the recipes of the First Nations people to the Scottish, there are innumerable ways to prepare bannock. Some involve leavening agents and some don’t. Some people bake it and others fry it. Over the years, I’ve learned to keep it simple, light and fluffy.

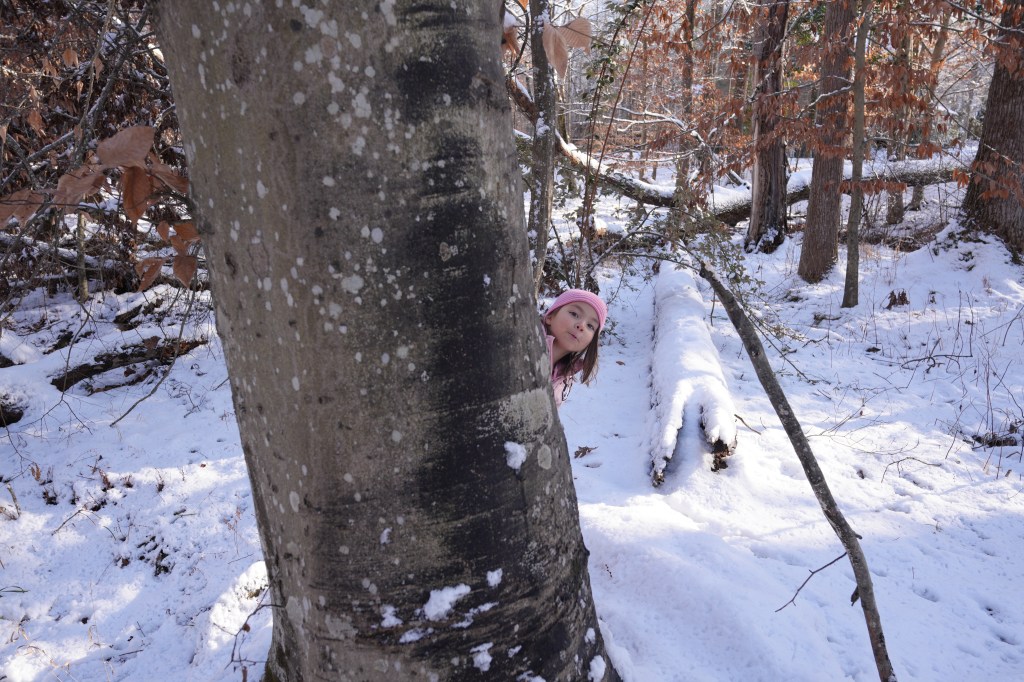
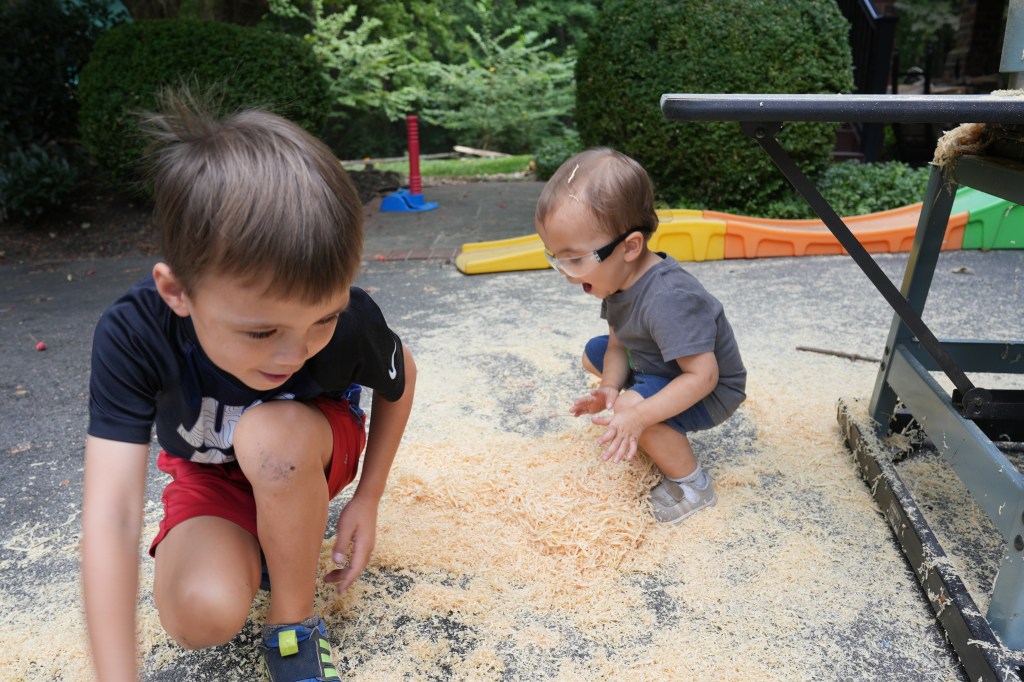
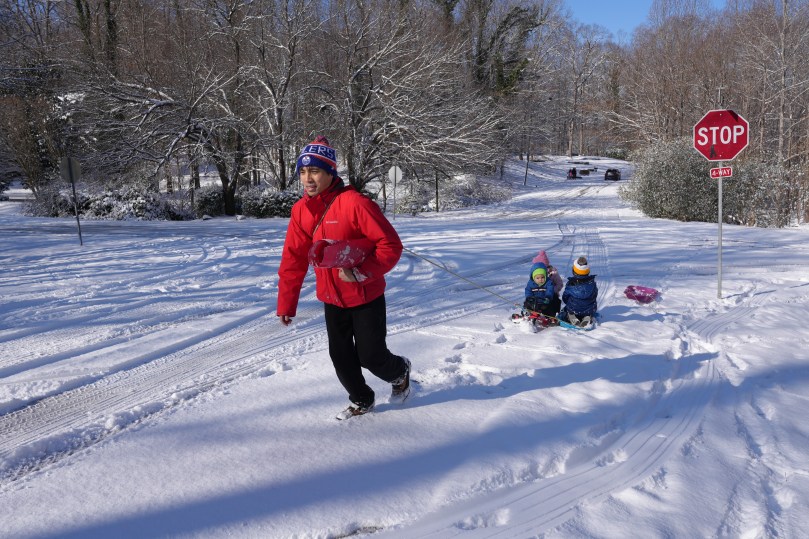
Over the winter season of 2025, Richmond, Virginia received snowfall on January 5-6 (approx 3 inches) and then subsequently January 10-11 (another 3 inches), we decided to was the perfect chance to make some winter holiday bannock (with cranberries). The kids did not mind the extended holiday break. Let’s get started.

INGREDIENTS

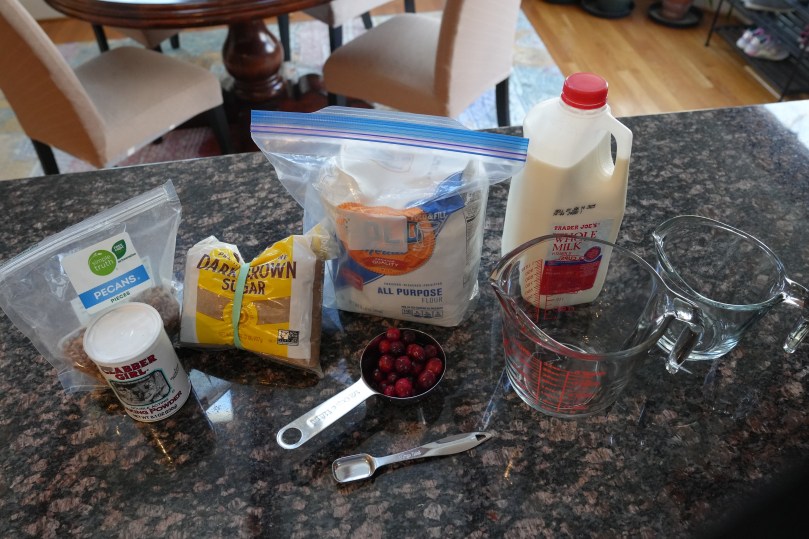
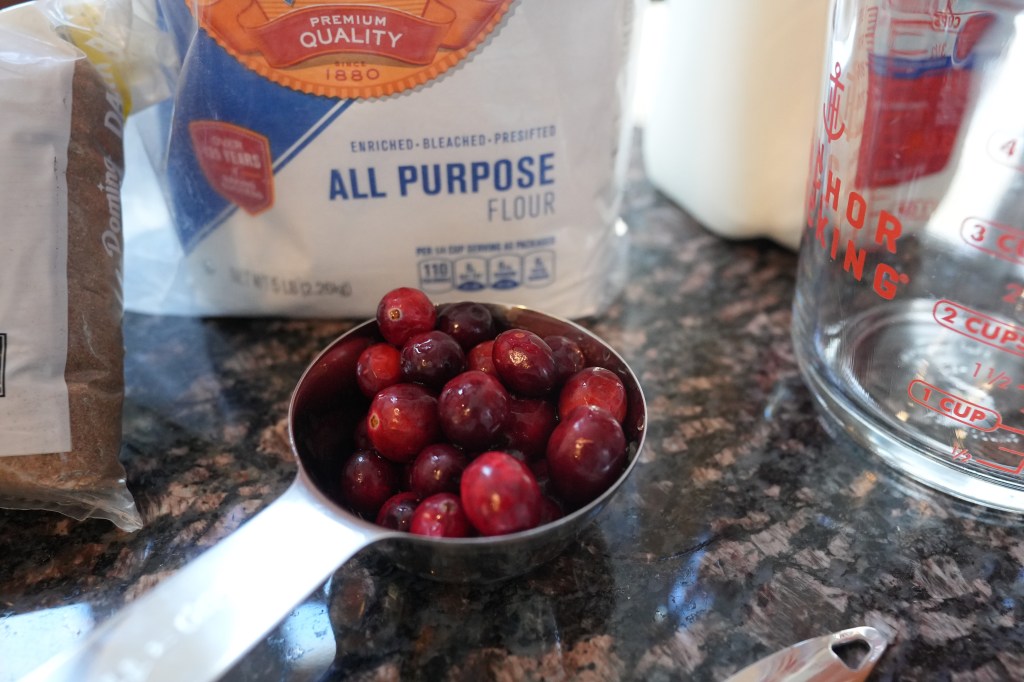
  • 2 cups of all purpose flour
  • 2 teaspoons of baking powder
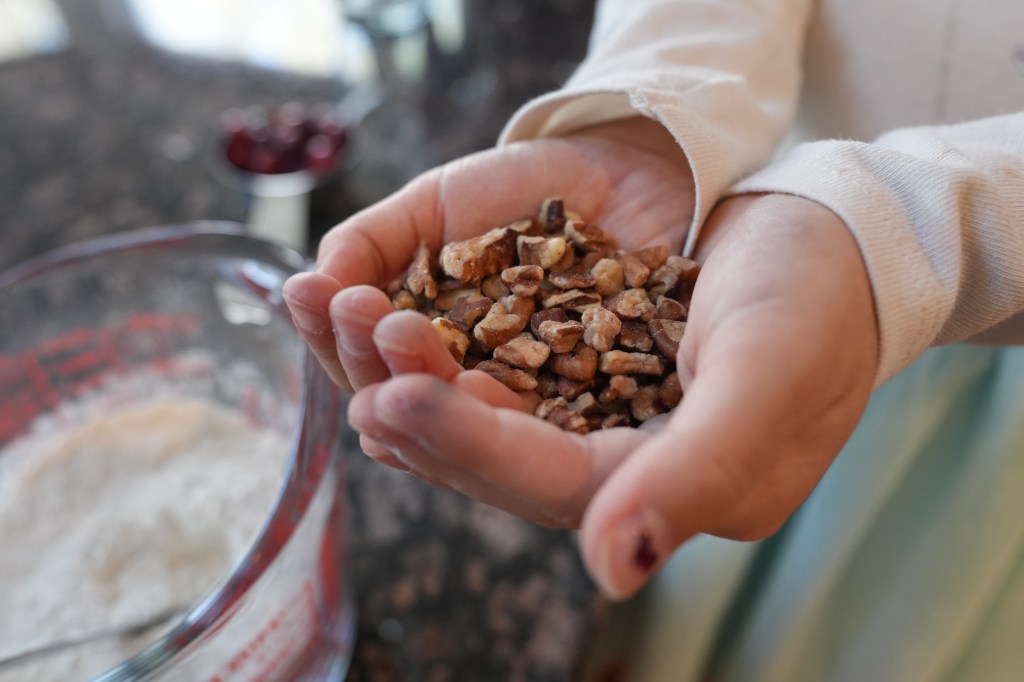
  • 1/4 cup of pecans
  • 1/2 cup of fresh cranberries
  • 2 teaspoons of brown sugar
  • oil
  • 1 cup of milk (can also use dry milk powder and water as a replacement)

INSTRUCTIONS

  1. Dry mix the flour, baking powder, pecans and brown sugar
  2. pour in the cup of milk and add the cranberries
  3. gently mix all of it together to disperse the milk evenly. (You don’t want to over mix it because this will punch out all of the gas)
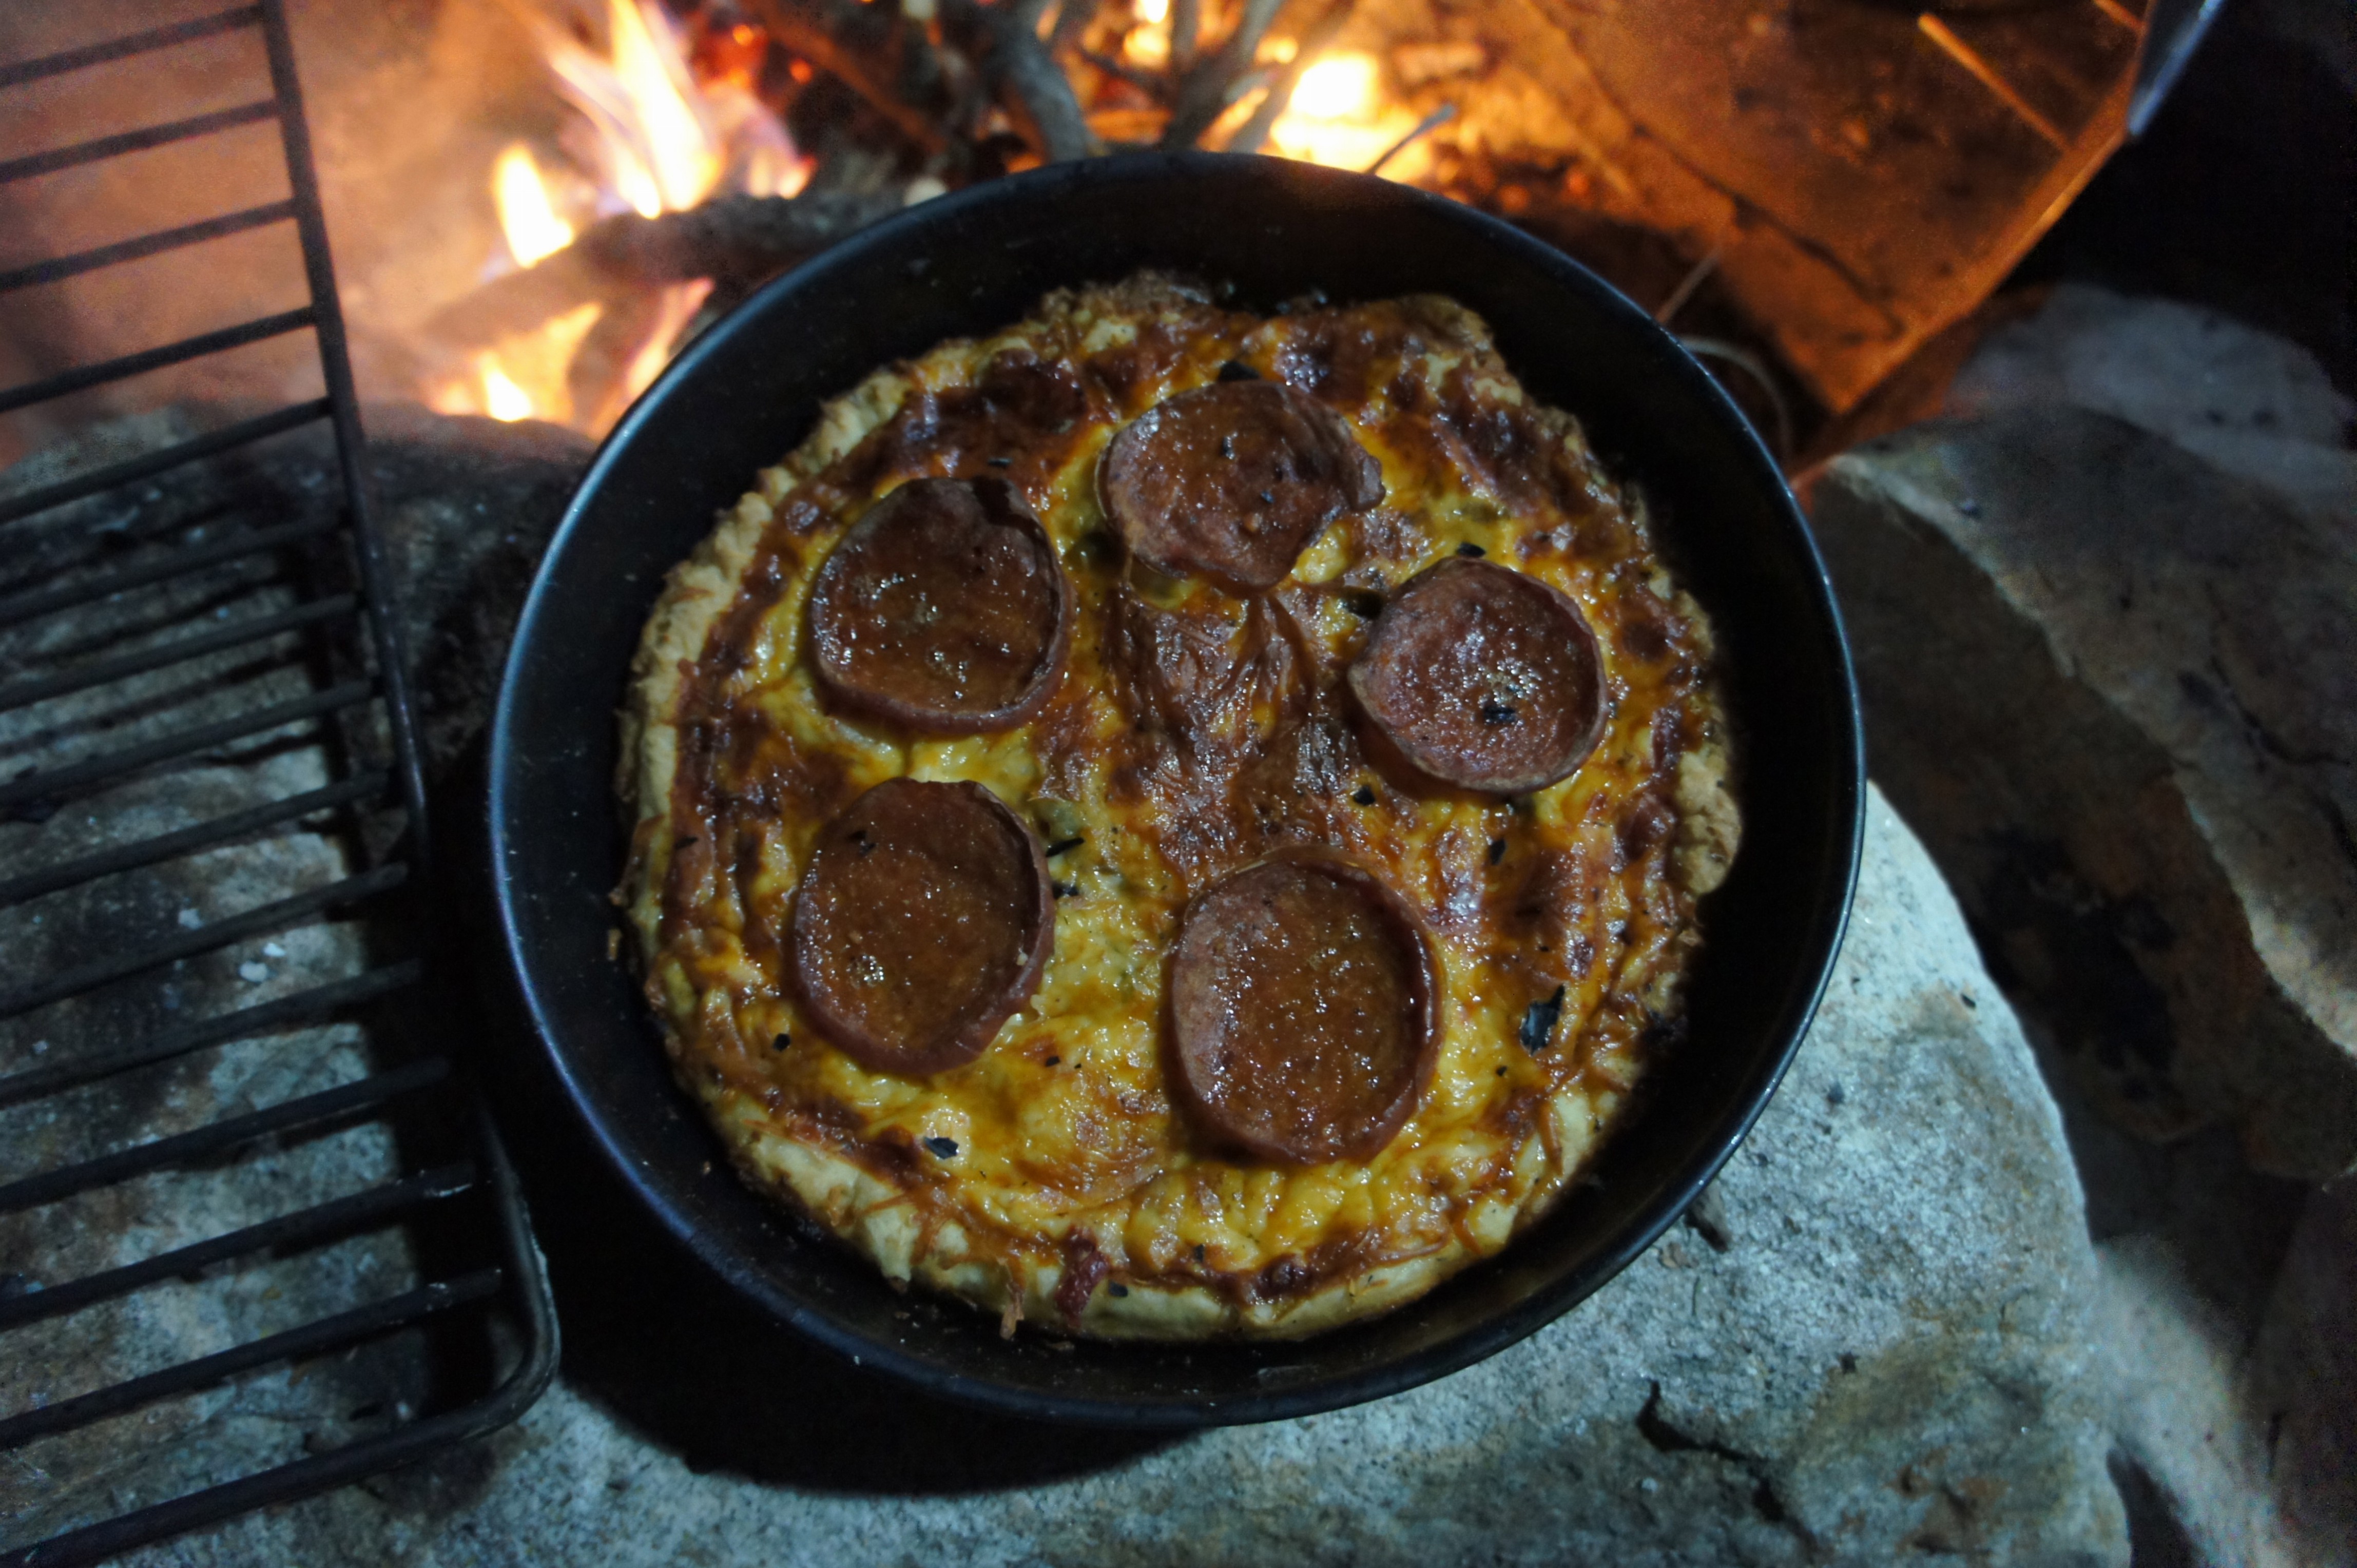
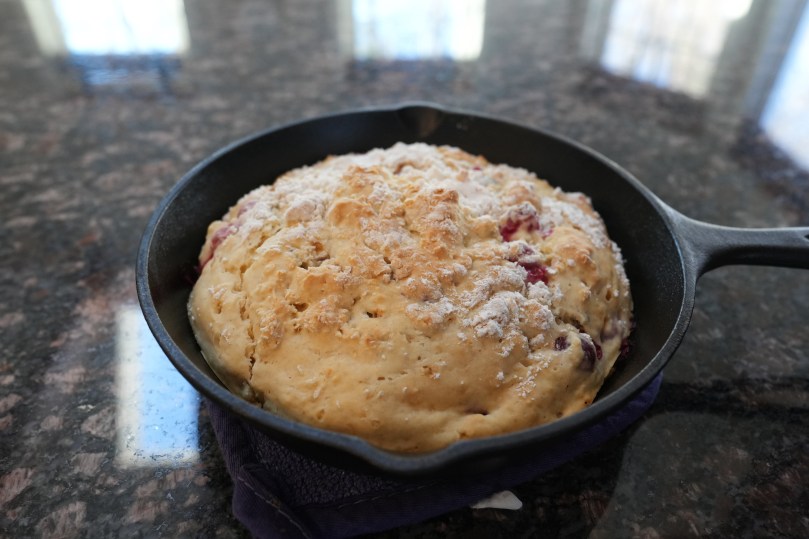
  4. If you’re cooking with an oven, oil the cast iron skillet and get the oven temp to 350F. Place the contents into the skillet and bake until ready (usually approx 25min to 30min)
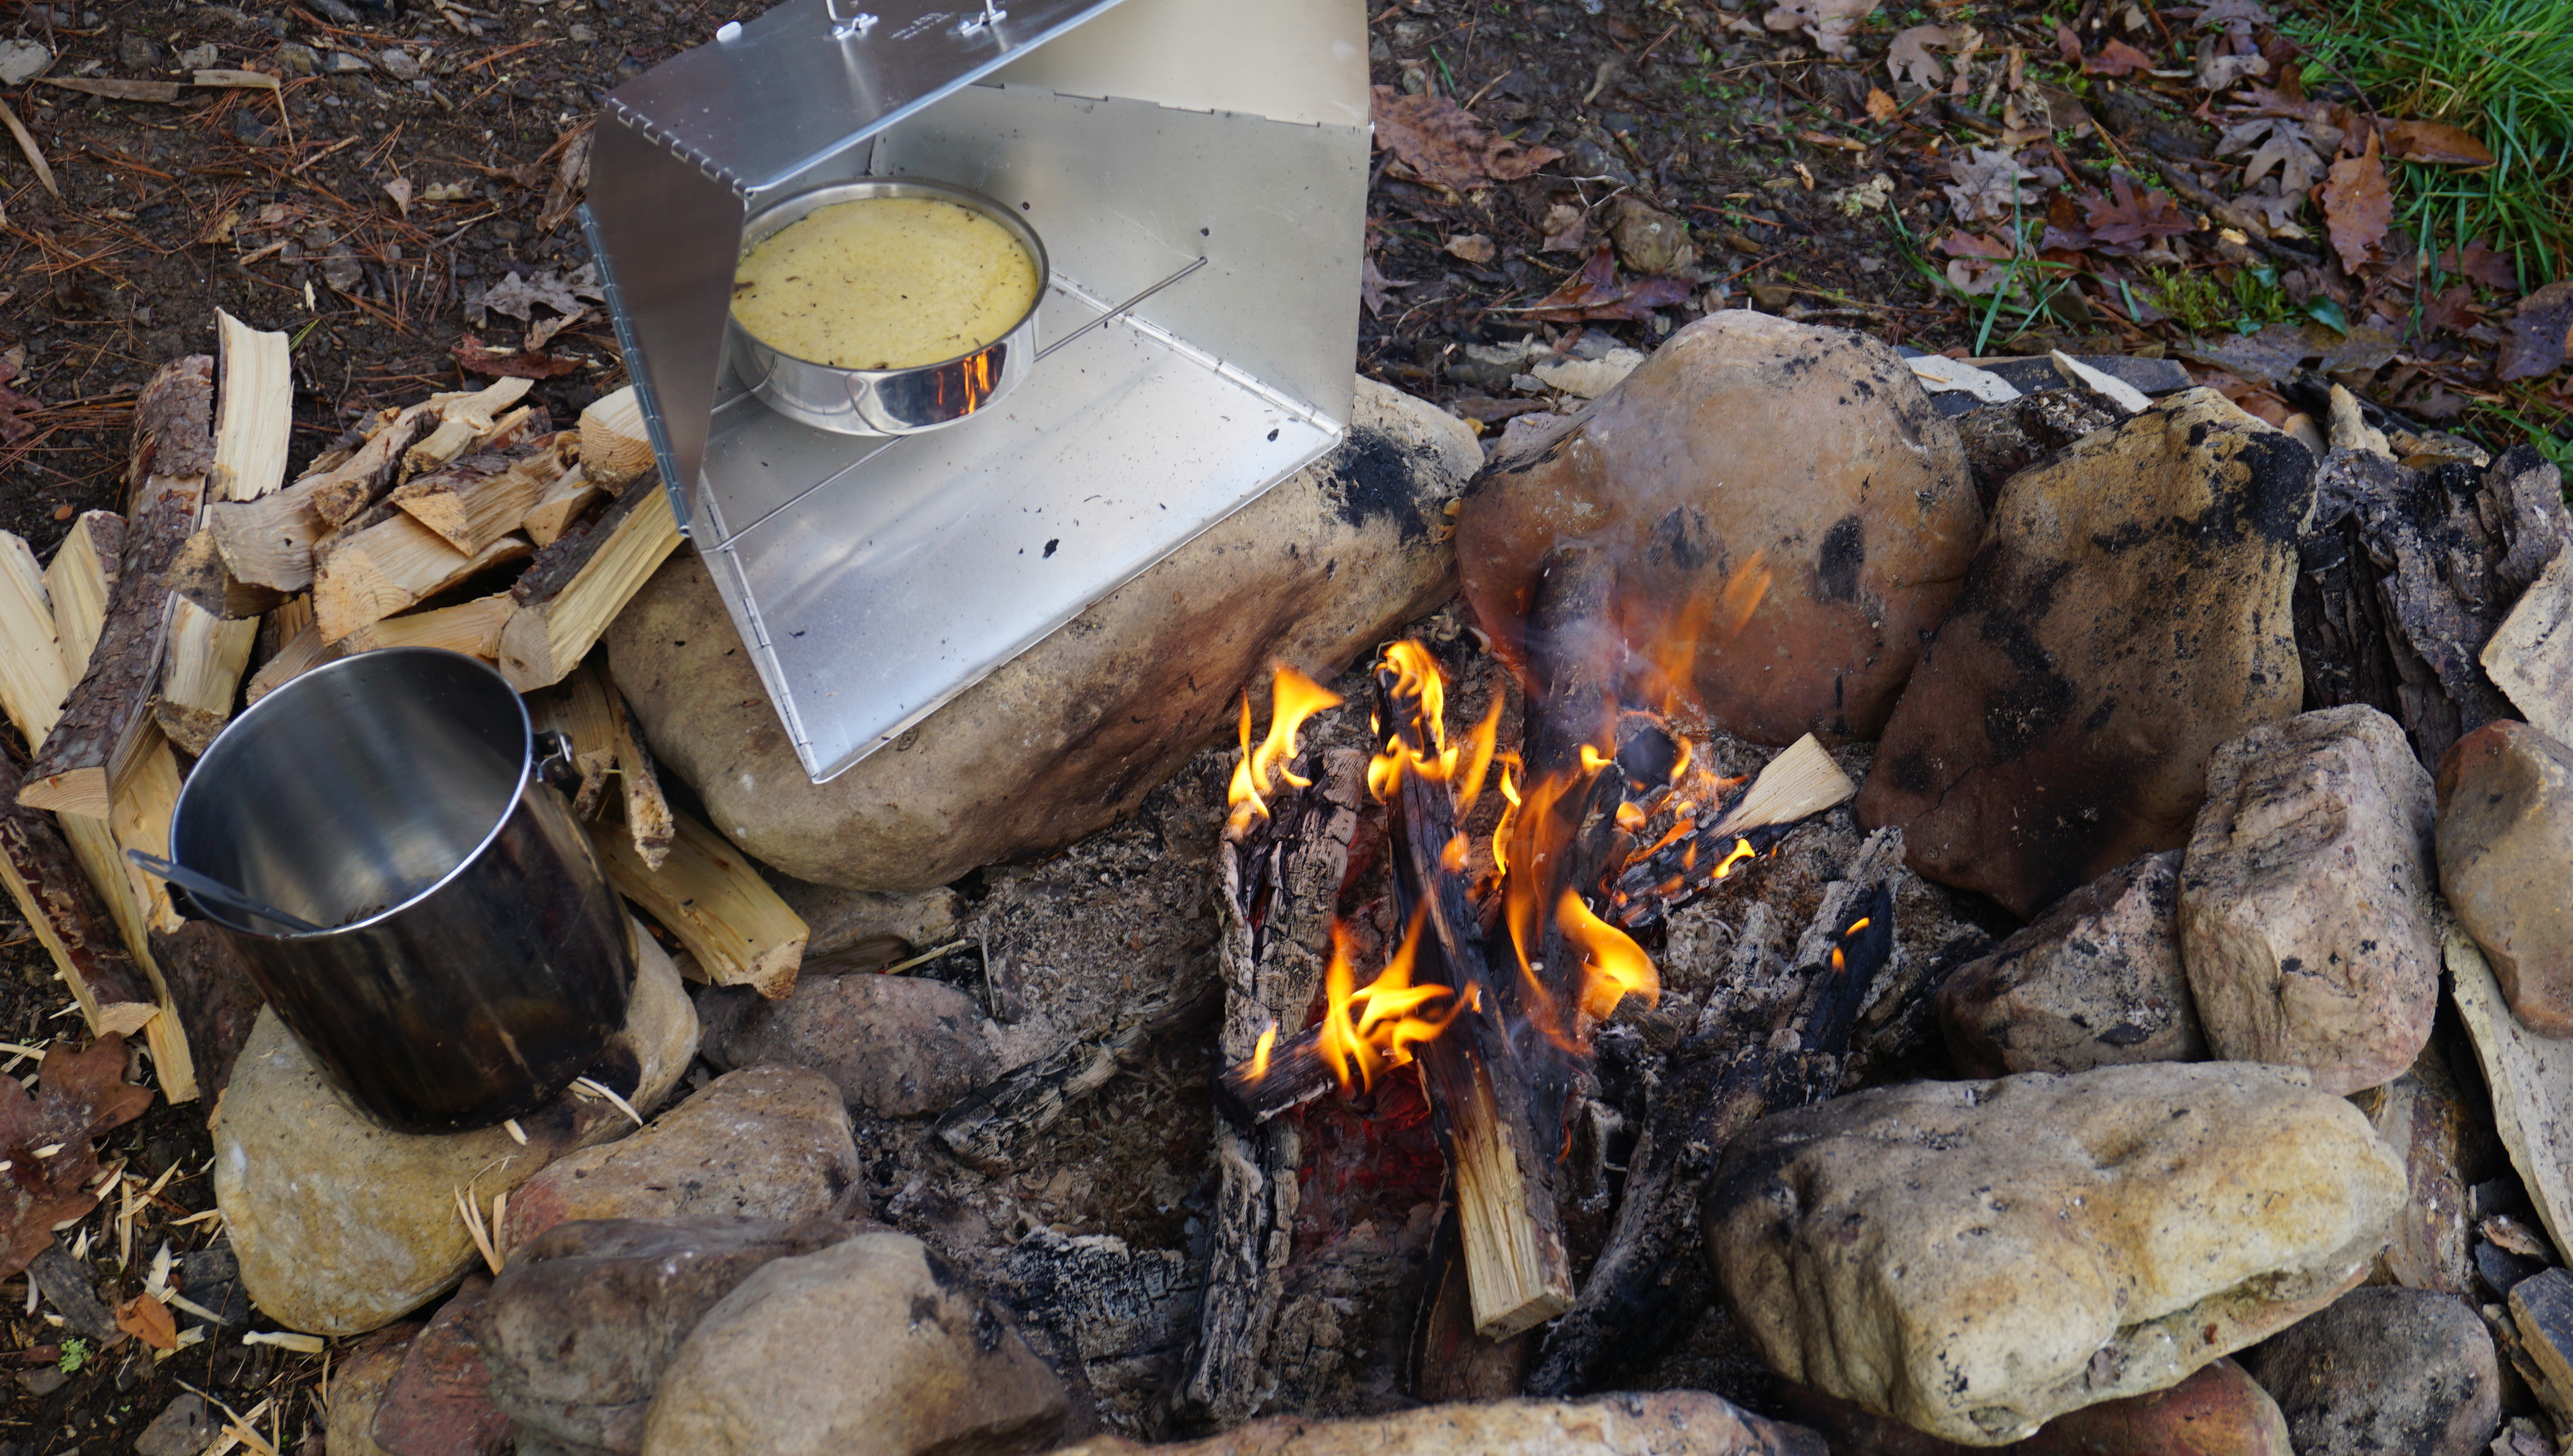
  5. If you’re cooking over an open fire, keep your skillet facing the fire, you can usually use a stick to prop it up. Based on the weather conditions, it will be done when it’s ready, the surface will become slightly brown and hardened.
  6. FINISHED

ENJOY

Cranberry bannock

Enjoy! Hope everyone stays safe and healthy this winter!


Outdoor baking tip: (consider a reflector oven!)

If you spend a reasonable amount of time baking outdoors, you could consider getting a reflector oven. The reflector allows for a more even heat distribution and easier to control temperatures than an open fire. Svante Freden of Sweden, makes an excellent, lightweight, aluminum reflector oven for baking in the outdoors. https://www.canadianoutdoorequipment.com/reflector-oven-by-svante-freden.html?srsltid=AfmBOoqjuGjAky6FZN4tMEjufelaGKQlVISv6CPWfuRRWCOc3bn41gn-

Over the years, we’ve gotten alot of use out of our reflector oven from Svante Freden.

Building a Wooden Key Rack

Tis the season to get organized. After countless searches around the house for our keys, ID badges and wallets, it was time to put an end to the madness. We needed a key rack.

I did a quick search online for ones to purchase and I was just never thrilled about the look of any of them. A while ago, I purchased a board of english brown oak that I was originally going to use for some shelves but ultimately felt that it didn’t quite fit the dimensions of what I wanted for the job……. it would make a perfect key rack though.

The hardware for the wooden key rack.

Originally I was planning on buying some brass hooks to insert into the wooden key rack, but ended up findings this gold plated one on amazon and felt like it would go well with a wooden base.

English Brown Oak is interesting. It’s actually not a different species of oak at all. It is a species of white oak, that succumbed to a certain type of mushroom species. While dying, the mushroom produces an acid, which turns the wood into a milk chocolate to dark brown color.

After giving the board a quick run through the planer, I cut the pieces down to size. I knew that I would want a small compartment on this board to keep mail and knick knacks. I was fortunate enough to purchase this old school Delta planer for only $300 on Facebook marketplace. It is built like a tank, and weighs a ton, but has been reliable so far. This little beast is 1hp and as a result requires a 220V outlet. After carefully researching online, I found the appropriate extension cords to run it from the garage to the driveway so all of the shavings could be brushed into the forest.

Using a router, created a slot for the mail compartment. I also used the router and chisel to create the insert for my metal hardware.

I also used the router to chamfer the edges. This was absolute necessary to prevent the wood from chipping and cracking in the future. This wood was already quite dry and brittle, so chamfering would prevent it from splitting or cracking if it gets dinged on the edge.

On the back of the key rack, I decided to use key hole shelf brackets. These would be more than sufficient to support the weight of the rack and everything it would hold. I used a portable drill press and a Forstner bit to drill out the holes for the keyhole inserts. They slotted nicely. I predrilled the holes to make sure the wood would not split.

The Milescraft drill mate is an incredibly useful little tool. I haven’t been able to justify the space for a drill press in my workshop, and the miles craft drill mate makes me glad that I never got one. It is portable, easy to use and allows me to drill perpendicular anywhere. Definitely check it out if you’re considering purchasing a drill press.

After gluing everything up, I gave the key rack a nice coat of danish oil and bees wax. Oak is quite porous so this drastically changed the color of the whole project to a nice deep rich chocolate color.

The glue up. The gold plated hardware was fixed in place with epoxy. (Make sure you cover the hardware prior to using any adhesive to make the clean up easier)
The finished product.

Overall, I was really happy with how the project ended up. No more searching for keys and wallets!

Happy Winter Solstice and Happy Holidays everyone! Stay safe, Be Healthy, and enjoy your time.