
Welcoming in another year in the River city! Wishing everyone the best wishes in 2026.
Photos taken with Sony a6700 and tamron 28-75mm
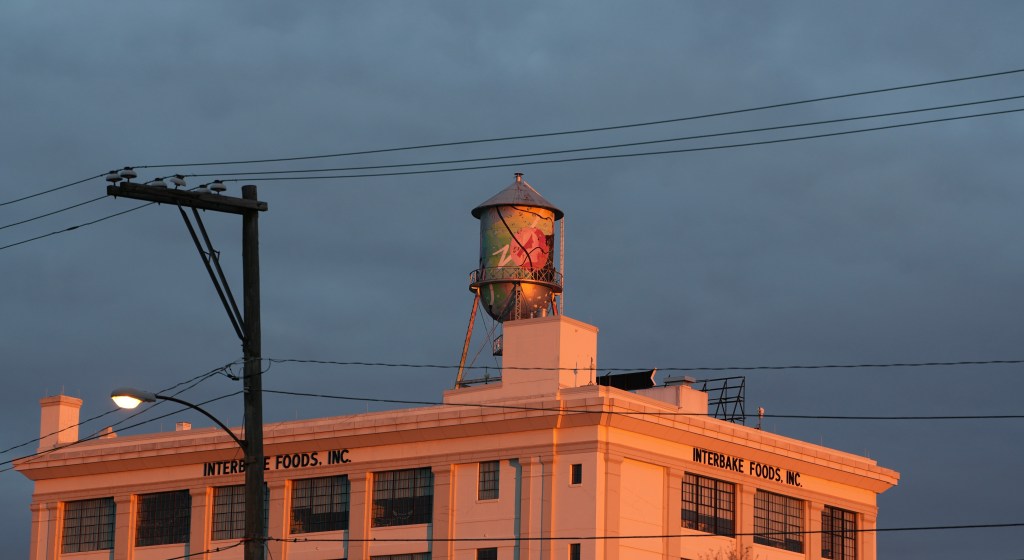


Welcoming in another year in the River city! Wishing everyone the best wishes in 2026.
Photos taken with Sony a6700 and tamron 28-75mm

Spring is always such an inspiring time of the year for me. The bright sunshine and longer days never fails to evoke in me a feeling of rejuvenation and excitement for what is time to come in the next months. So last Spring we started a garden on the deck.


One of my daughter’s favorite books of all time has got to be “The Gardener” By Sarah Stewart, Illustrated by David Small. The story takes place during the Great Depression and centers around a young girl with a passion for gardening. Her parents’ strained financial situation forces her to go live with her uncle in New York City until they achieve some stability. In the busy and sterile, concrete jungle of New York city, she finds a way to bring gardening to her uncle’s apartment building. He shares her love of gardening to her uncle and the customers to his bakery. The story is presented as a series of letters written home from our protagonist, over the course of a year. It is a beautiful and heartwarming story and the illustrations are stunning.
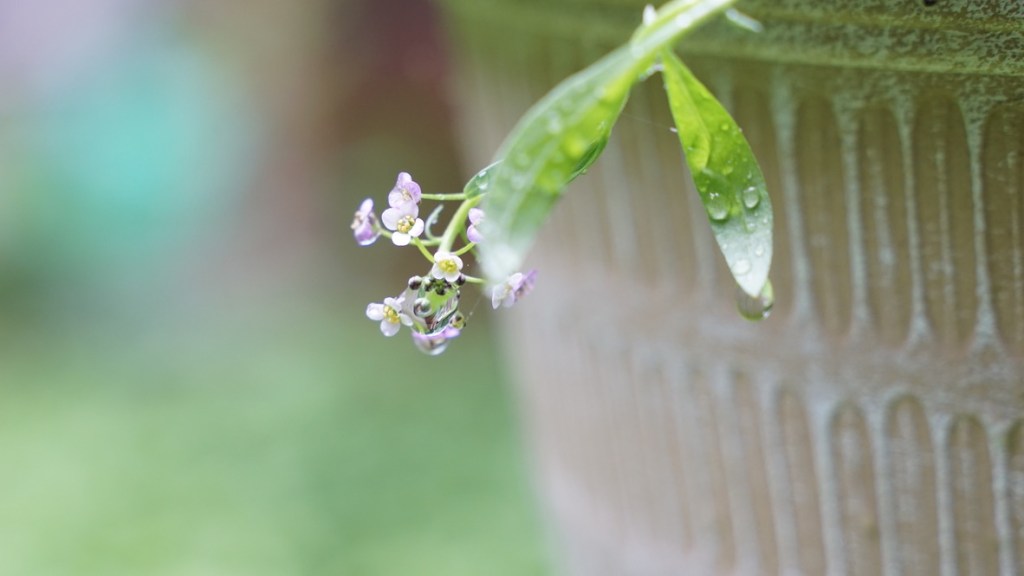

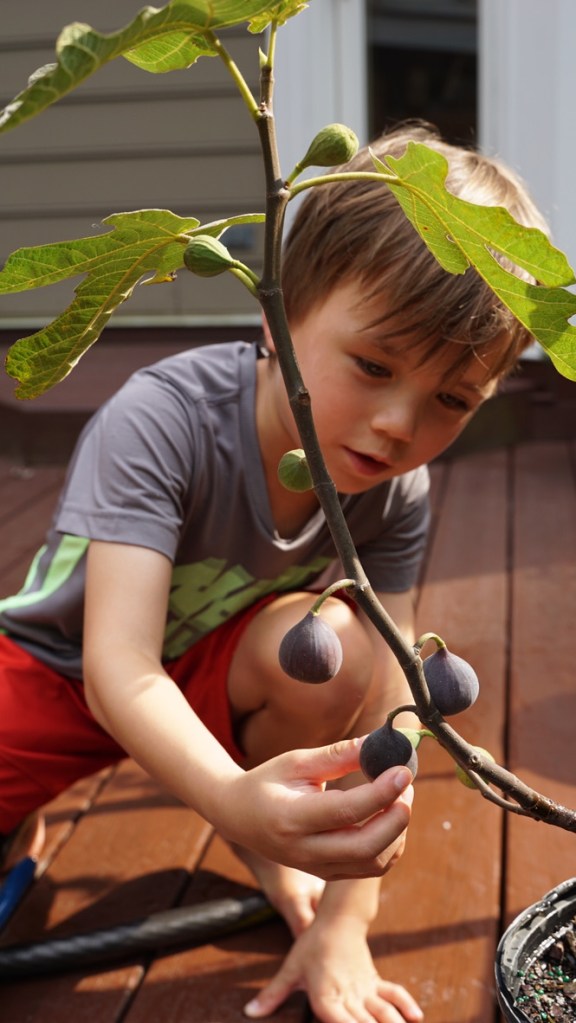

Feeling inspired, my kids wanted to start a garden on the deck of our house. So in March, we began researching, planting seeds, flowers, trees and started our own little garden. Everyday brought new discoveries for the children. There was always something that was sprouting, new colors to see, new scents to take in and something tasty to try. All of this continued into the fall!


Overall, it was a memorable and fun experience for them. Happy Spring everyone. Go outside and plant something.


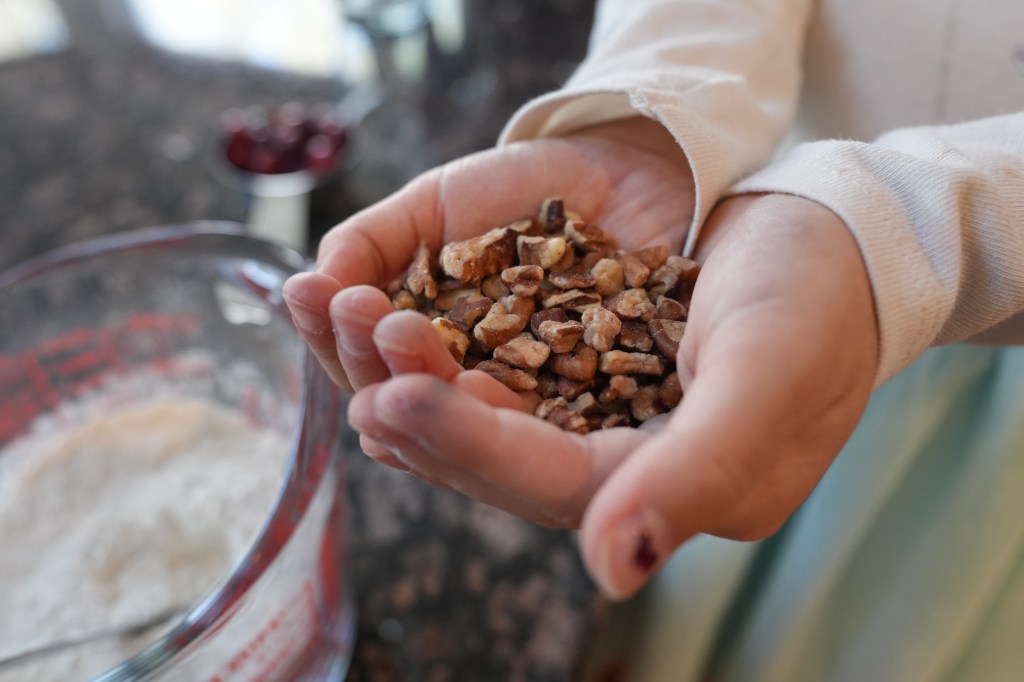
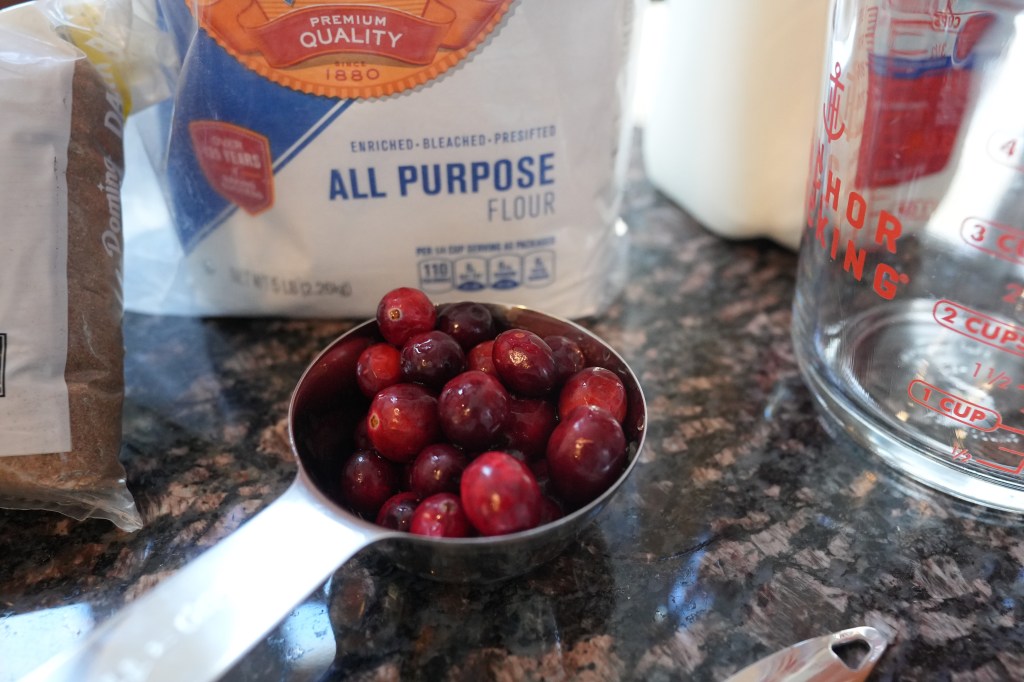
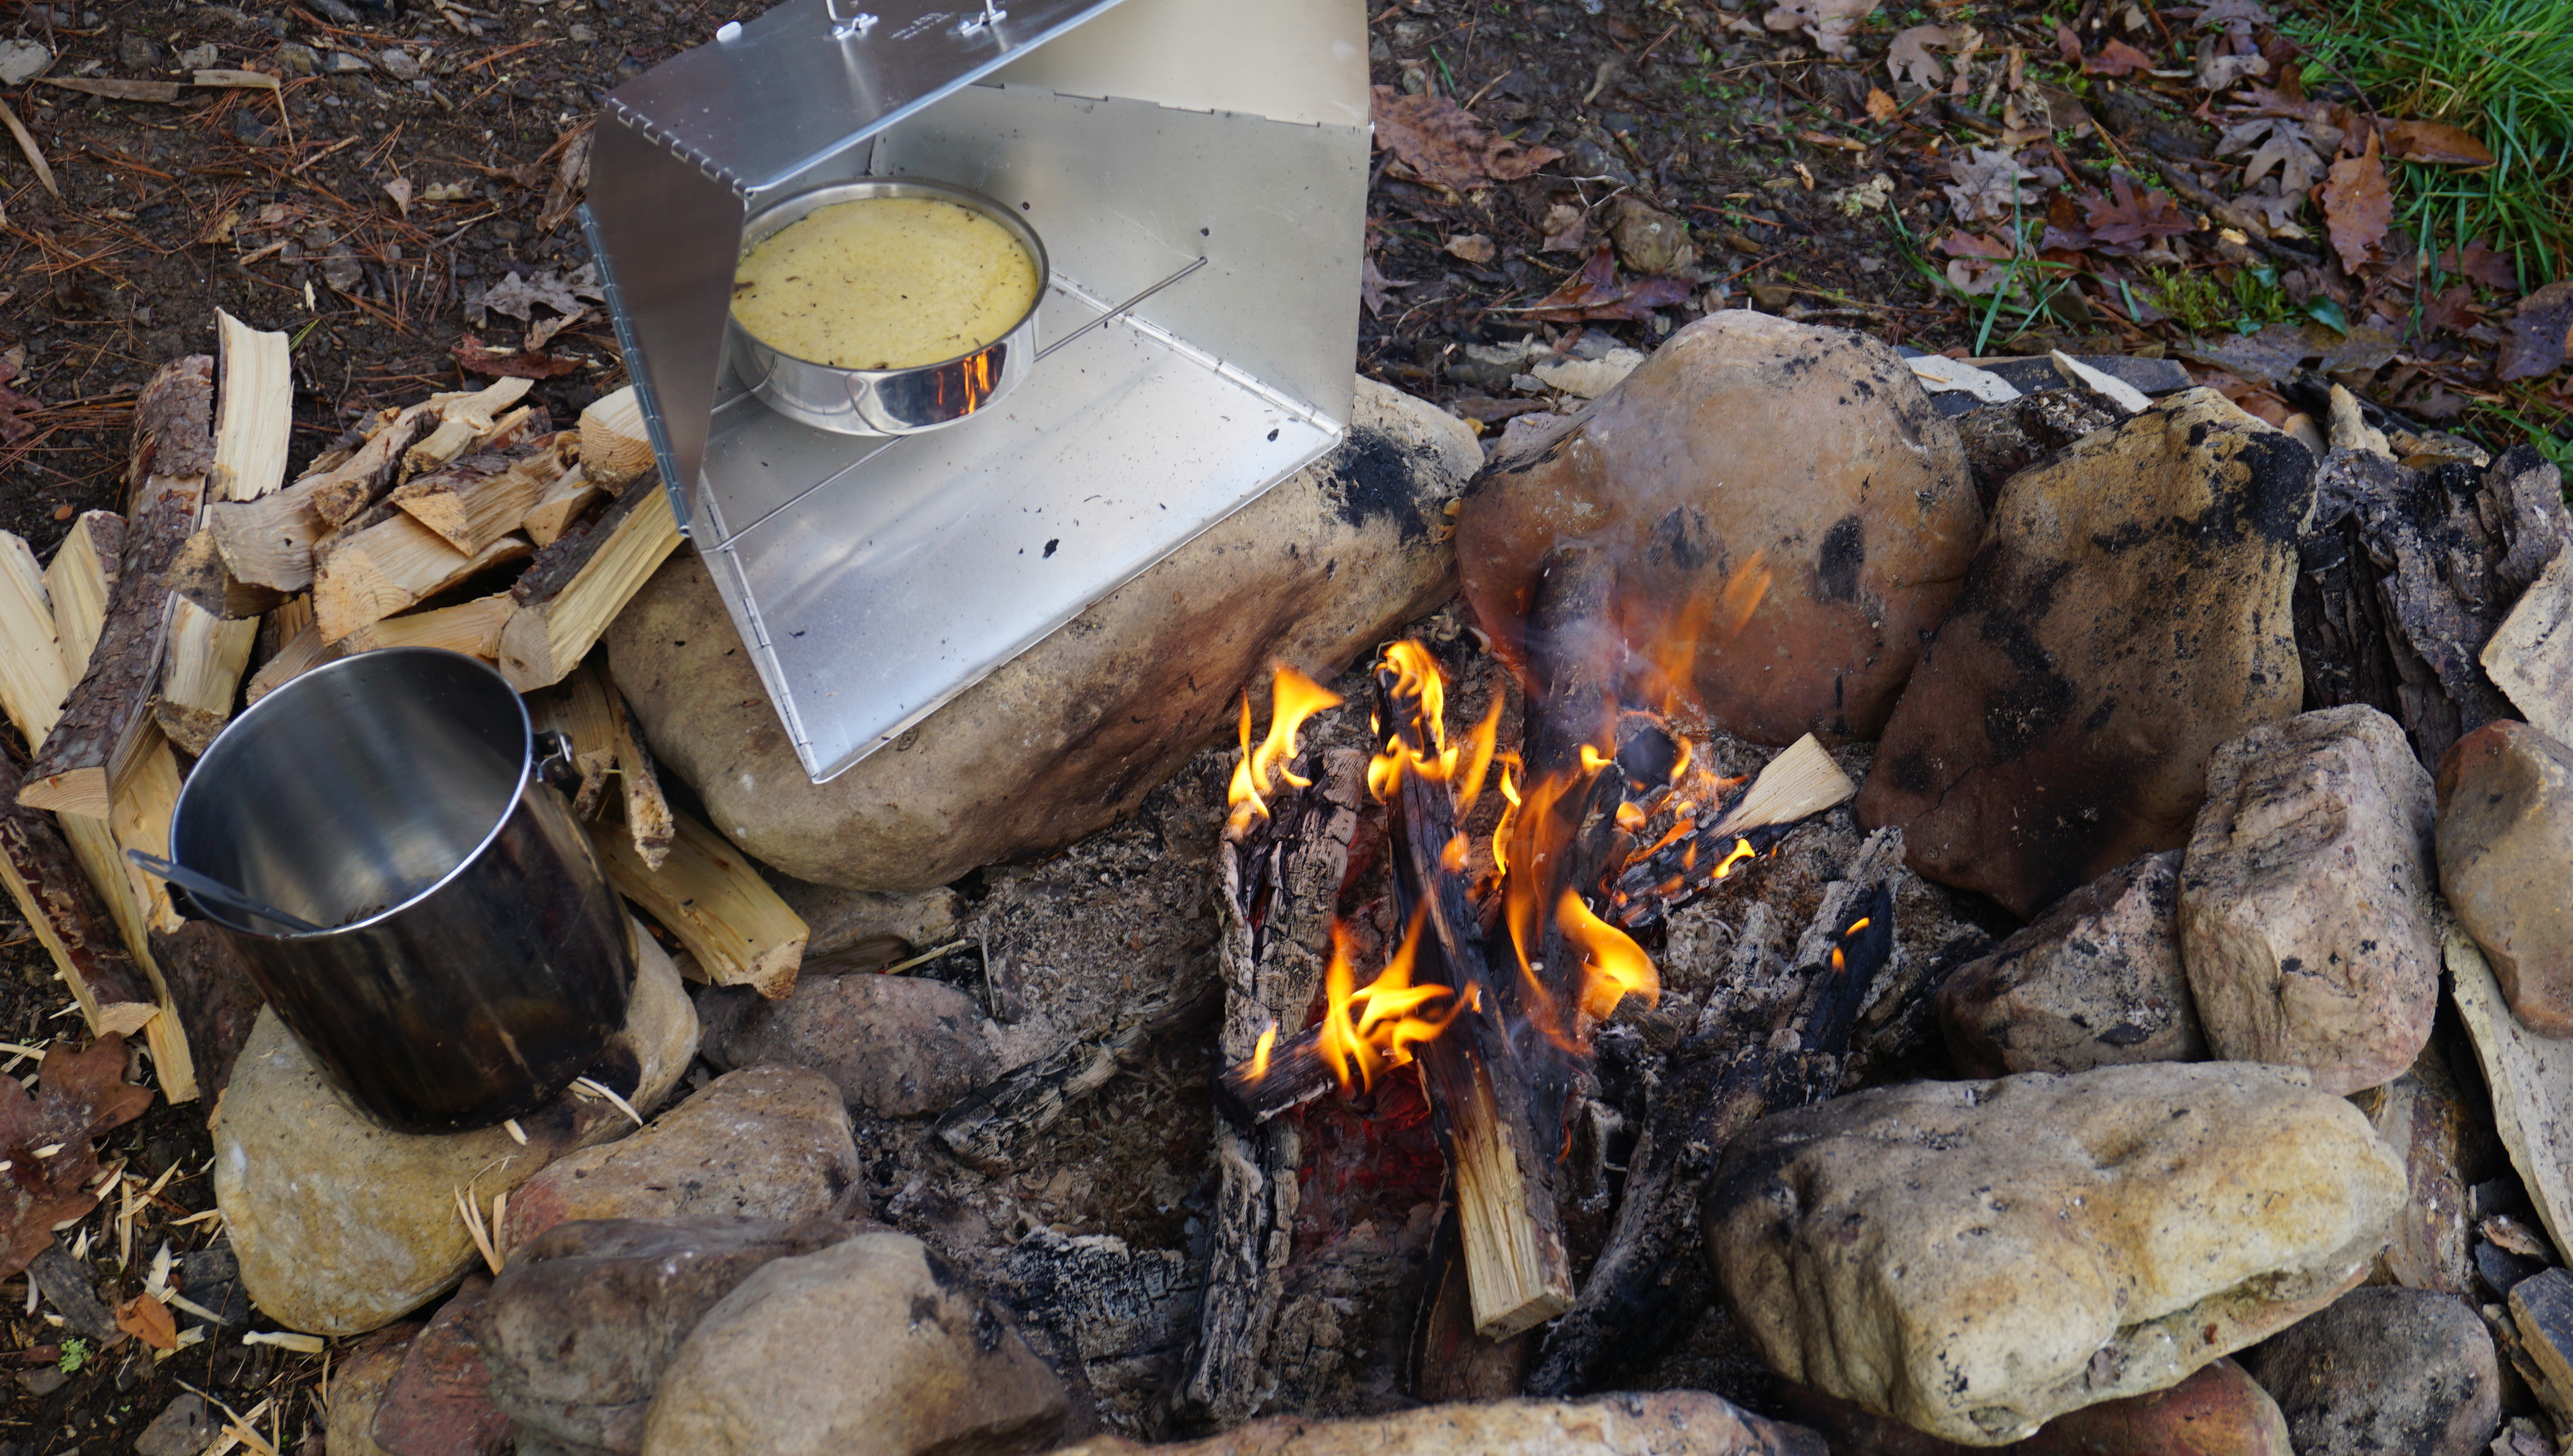
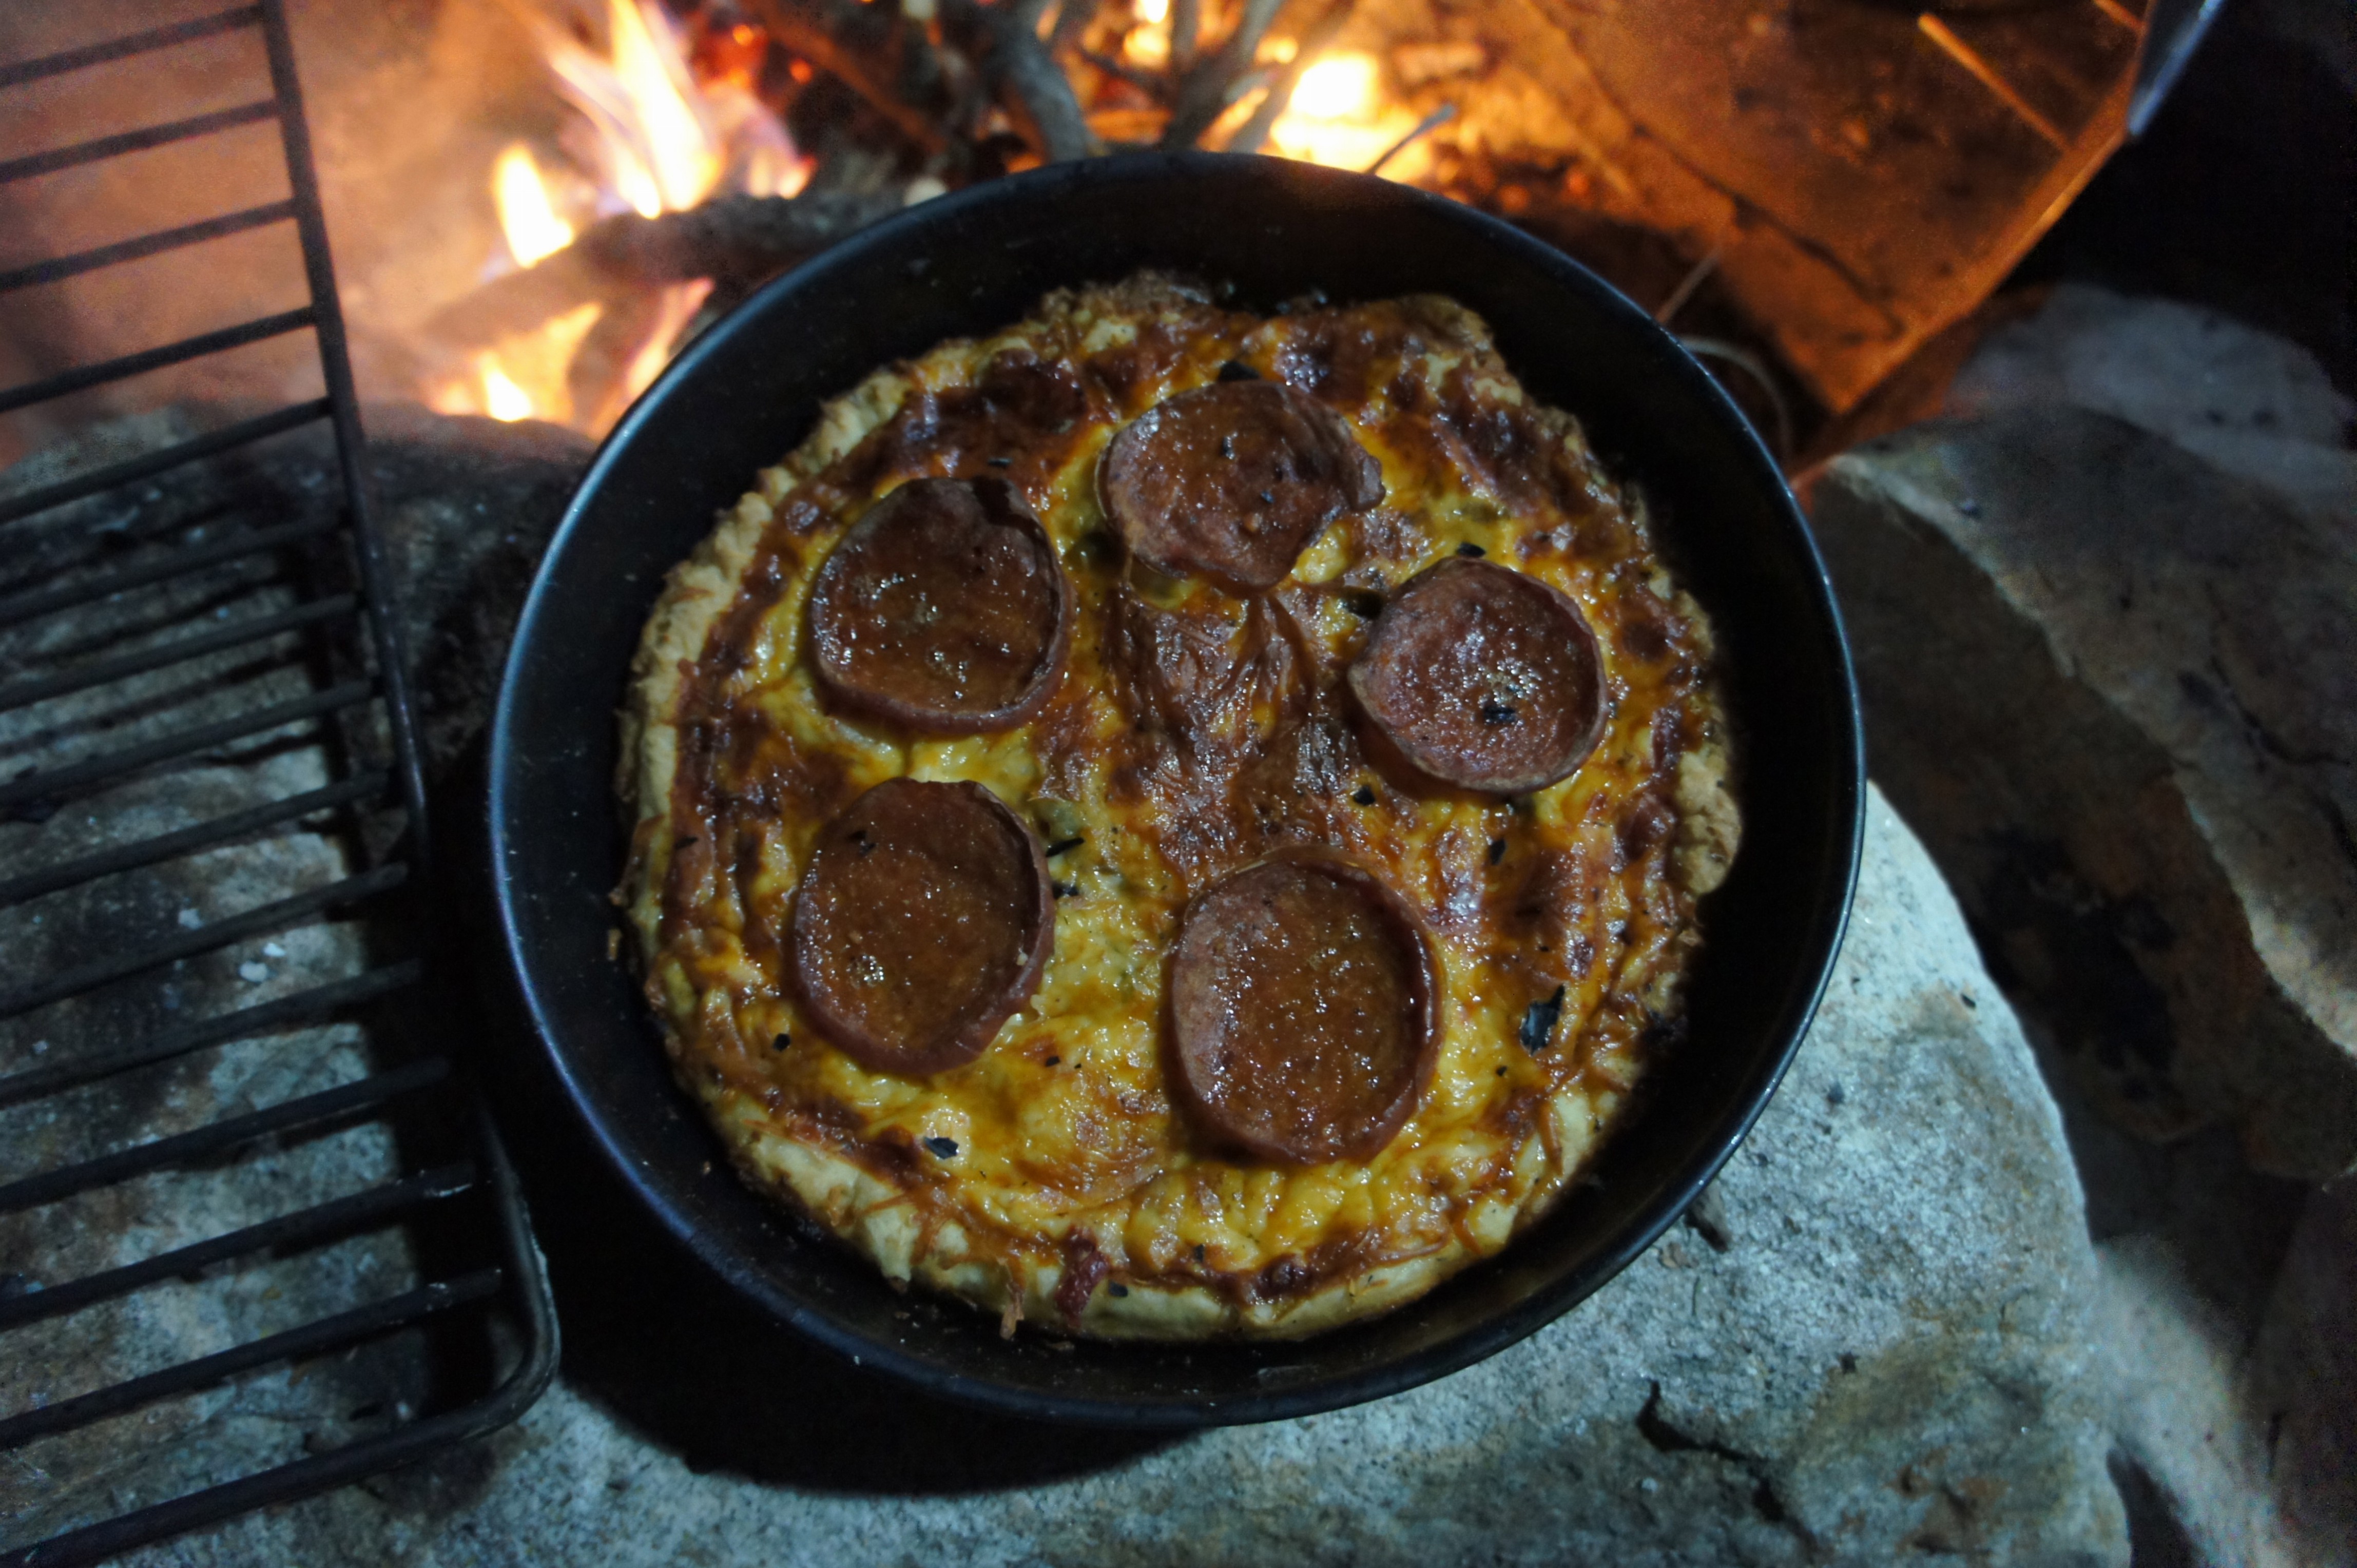
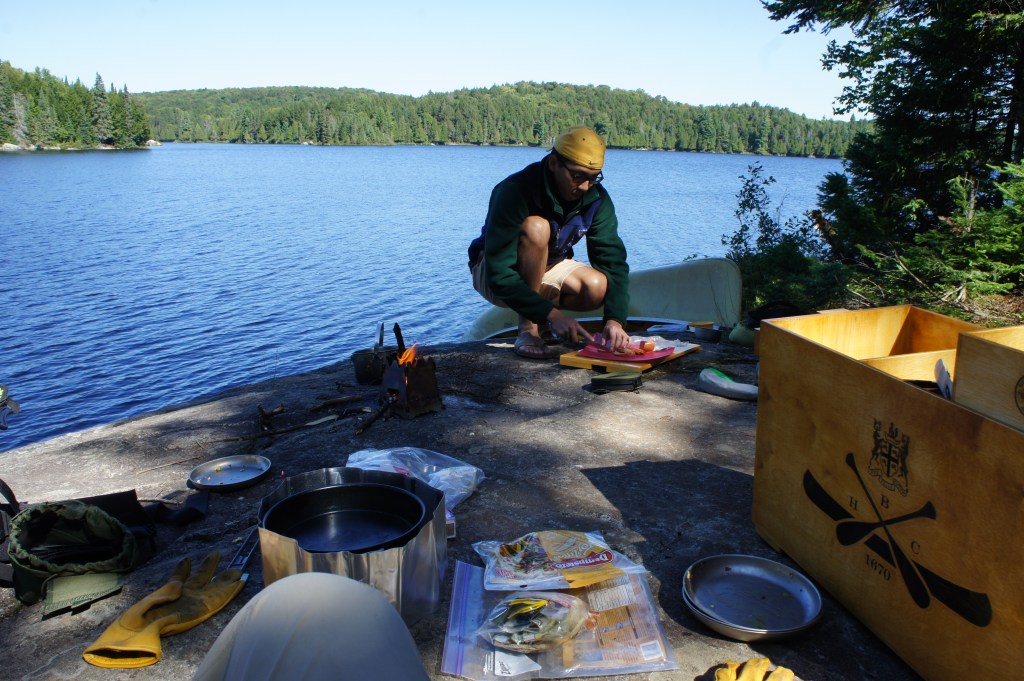
Bannock is a popular food item for us to make on canoe and camping trips. It is a simple, warm and tasty bread that can be easily baked over an open fire / oven. From the recipes of the First Nations people to the Scottish, there are innumerable ways to prepare bannock. Some involve leavening agents and some don’t. Some people bake it and others fry it. Over the years, I’ve learned to keep it simple, light and fluffy.
Over the winter season of 2025, Richmond, Virginia received snowfall on January 5-6 (approx 3 inches) and then subsequently January 10-11 (another 3 inches), we decided to was the perfect chance to make some winter holiday bannock (with cranberries). The kids did not mind the extended holiday break. Let’s get started.
INGREDIENTS
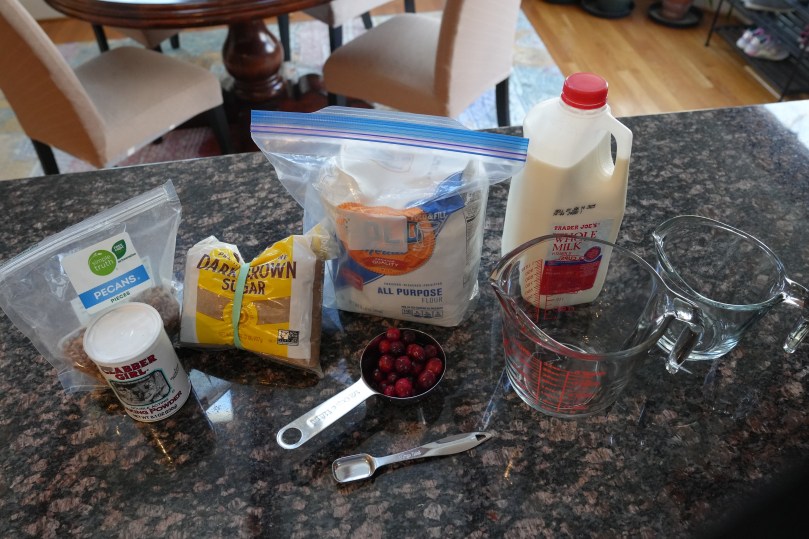
INSTRUCTIONS


ENJOY


Enjoy! Hope everyone stays safe and healthy this winter!
Outdoor baking tip: (consider a reflector oven!)
If you spend a reasonable amount of time baking outdoors, you could consider getting a reflector oven. The reflector allows for a more even heat distribution and easier to control temperatures than an open fire. Svante Freden of Sweden, makes an excellent, lightweight, aluminum reflector oven for baking in the outdoors. https://www.canadianoutdoorequipment.com/reflector-oven-by-svante-freden.html?srsltid=AfmBOoqjuGjAky6FZN4tMEjufelaGKQlVISv6CPWfuRRWCOc3bn41gn-
Over the years, we’ve gotten alot of use out of our reflector oven from Svante Freden.


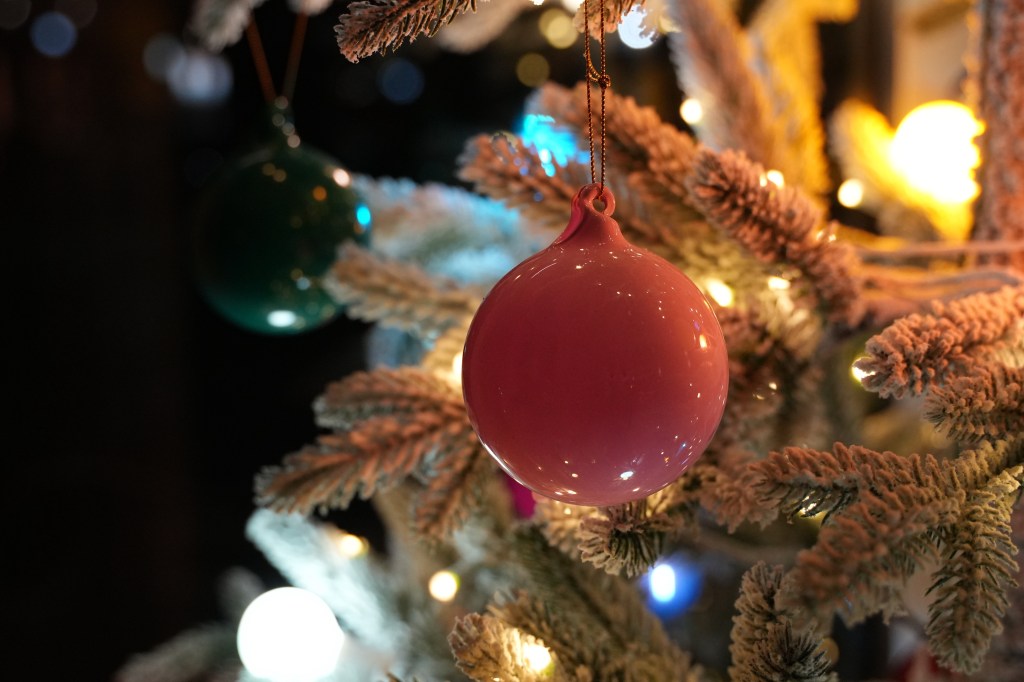
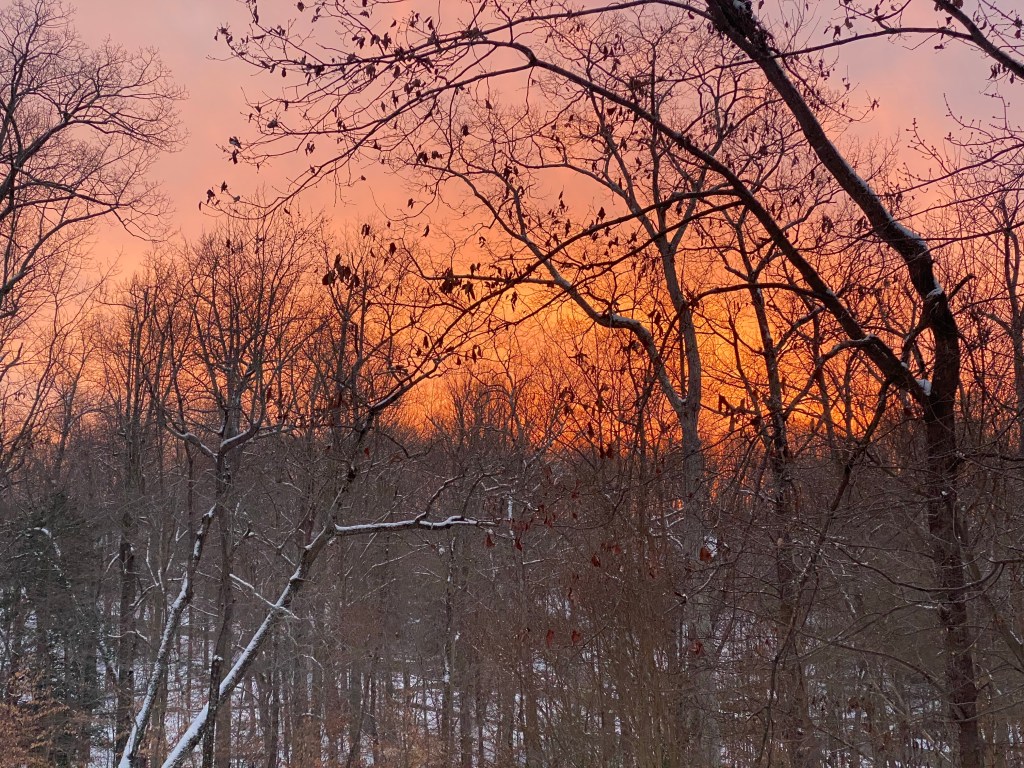
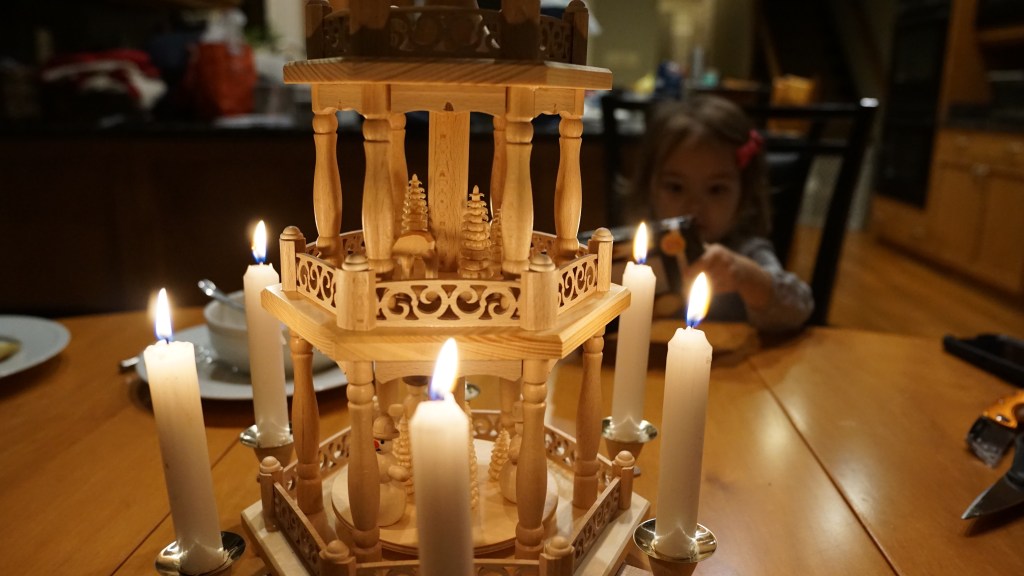
Wishing everyone, a beautiful, safe, healthy and happy Christmas. Merry Christmas to all!

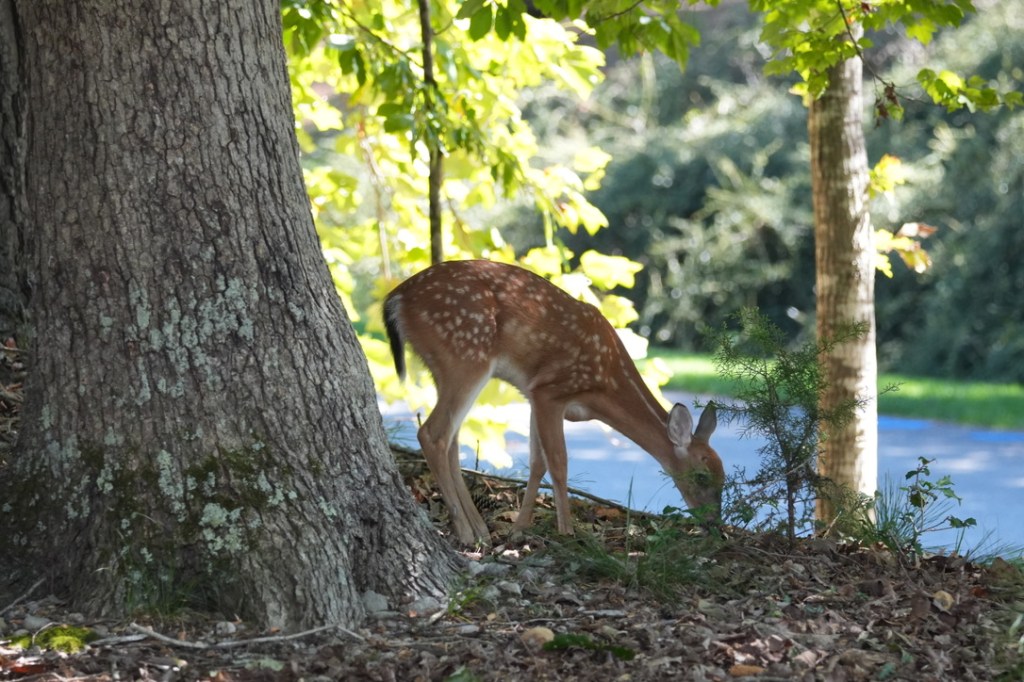
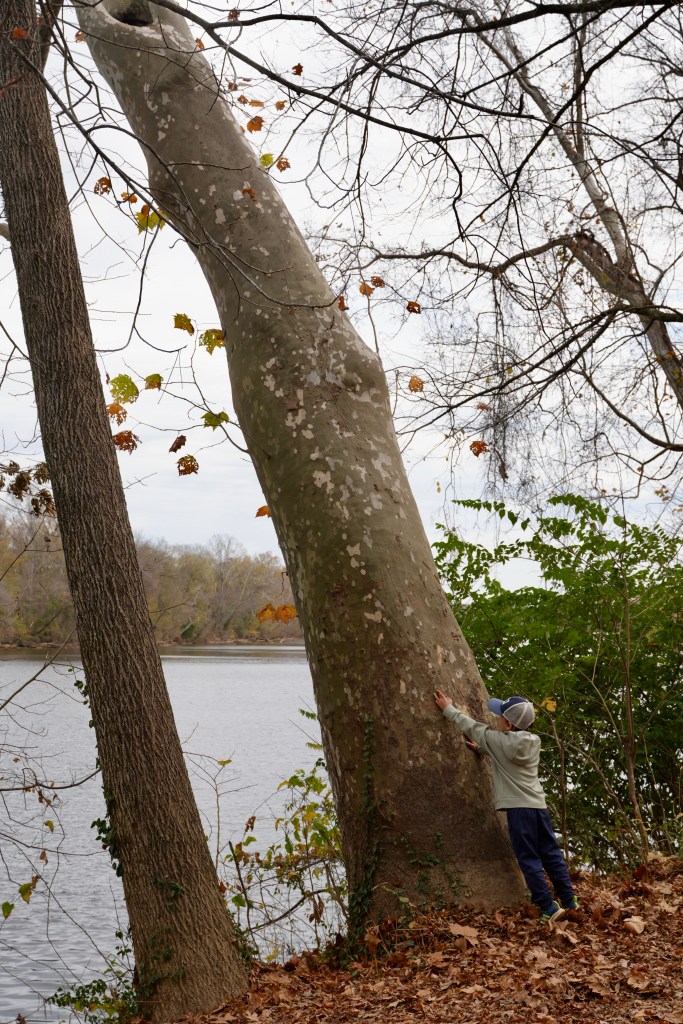
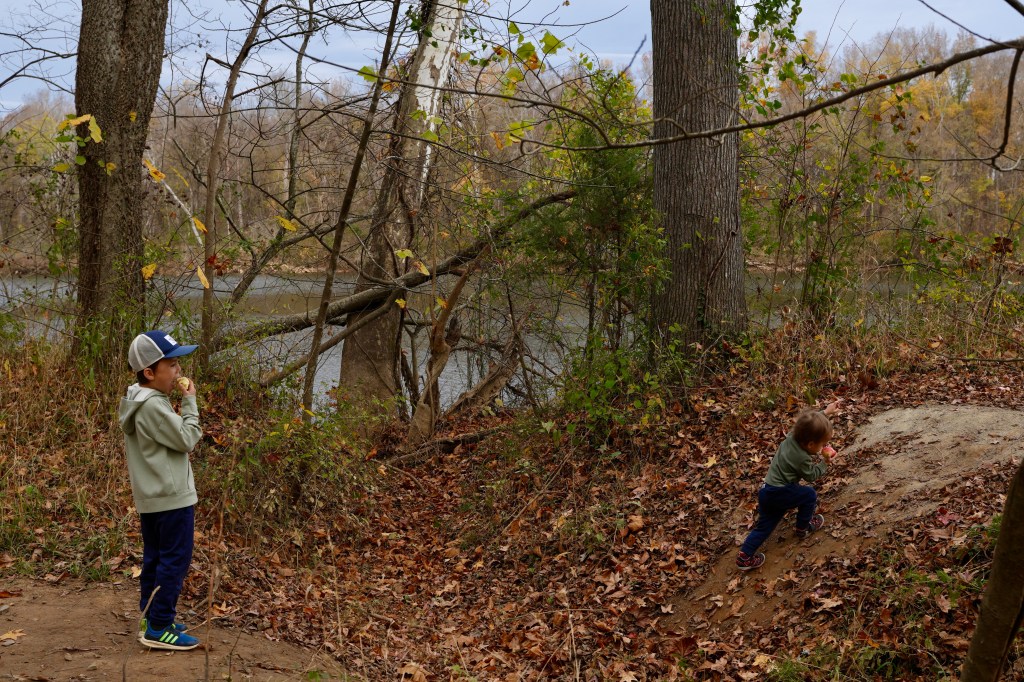
The temperatures are finally starting to get cooler. We took the opportunity to get out and check out the local scenery at Joseph Bryan Park and Robious Landing.
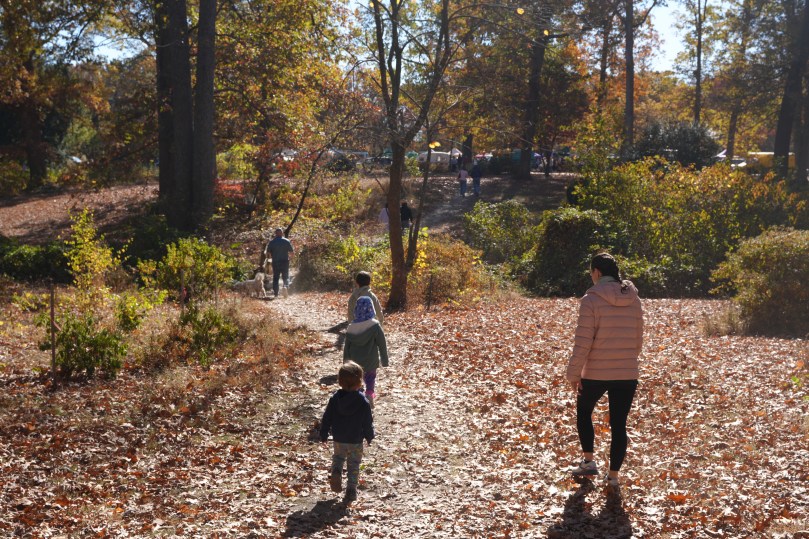
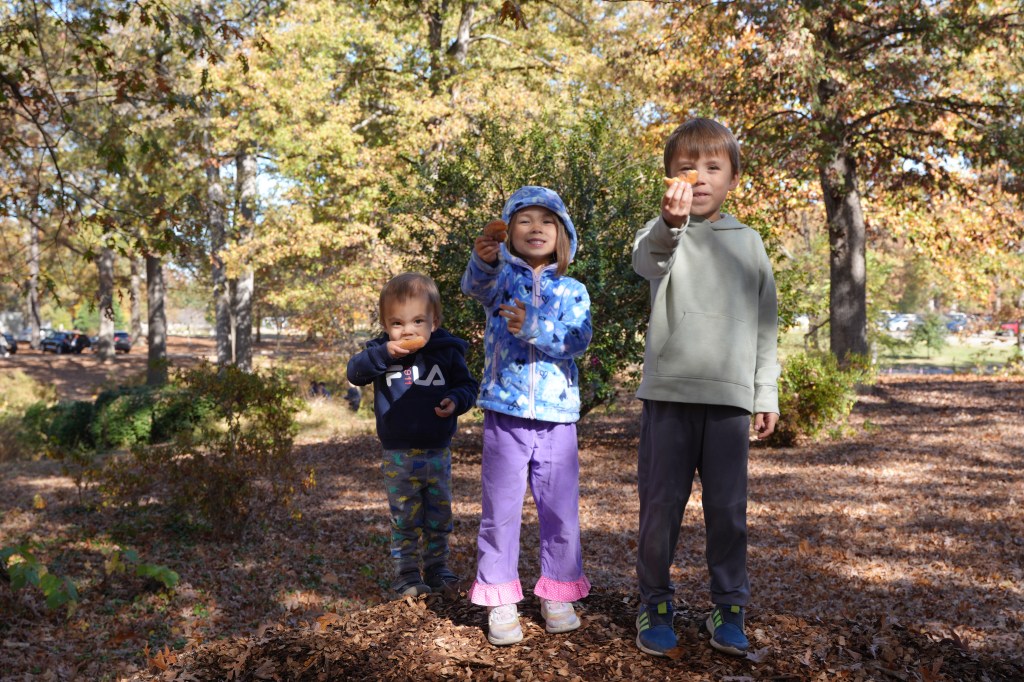


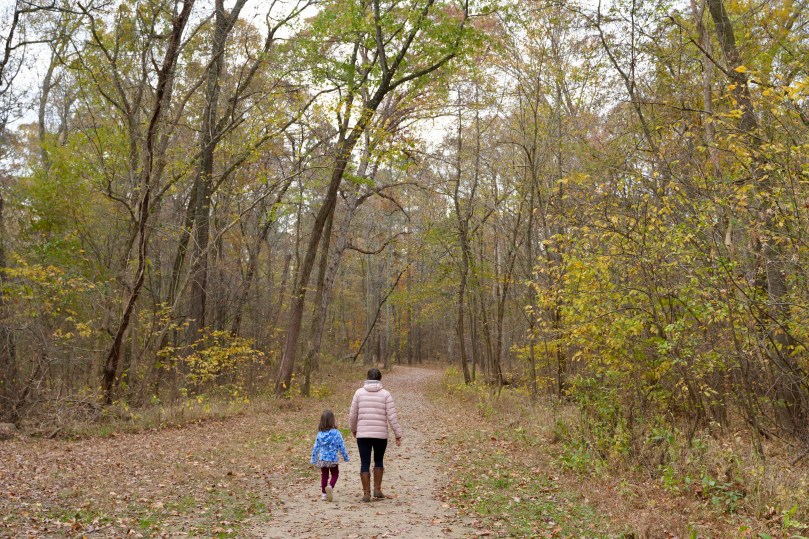


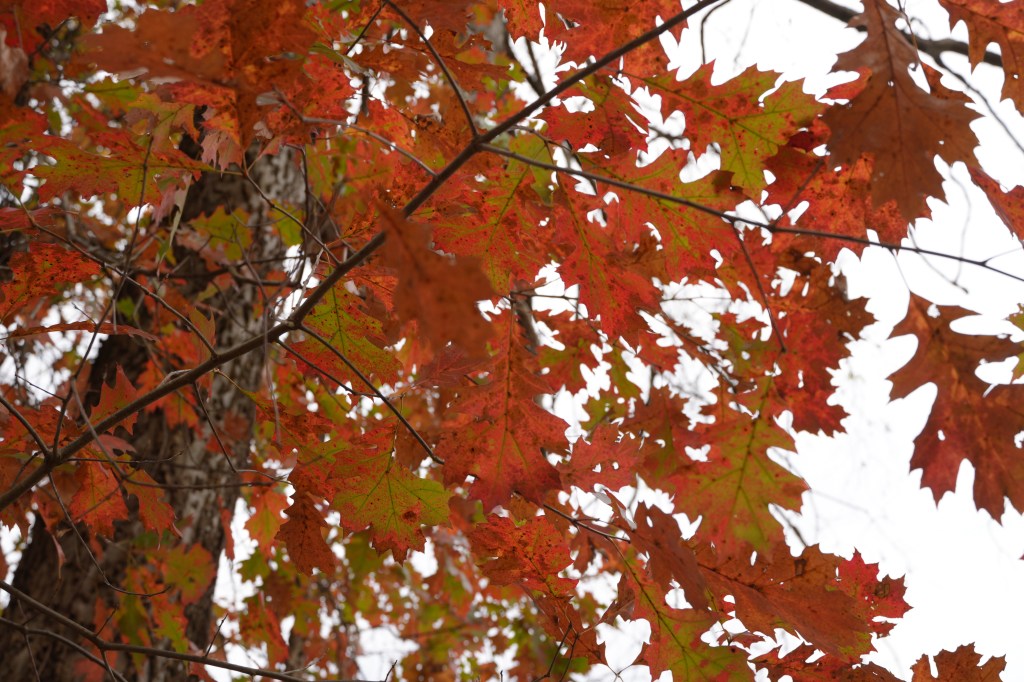

Wishing you all, a safe, healthy and peaceful fall time.

When you spend enough time outdoors; camping, hiking or just exploring – you need a reliable means to cook food, boil water, or simply have a small fire. Of course, there are a plethora of ways to get this done – portable burners, alcohol stoves, stick stoves…but my favorite, is still the Emberlit Stove that I purchased over 9 years ago.
My son and I recently found it amongst our old camping gear and decided to brew some hot tea with it. While dusting off the old soot, I was reminded at how convenient and easy this stove is to put together. We loaded it with some small sticks, struck a match and in moments we were getting a boil on in the kettle. He loved it.

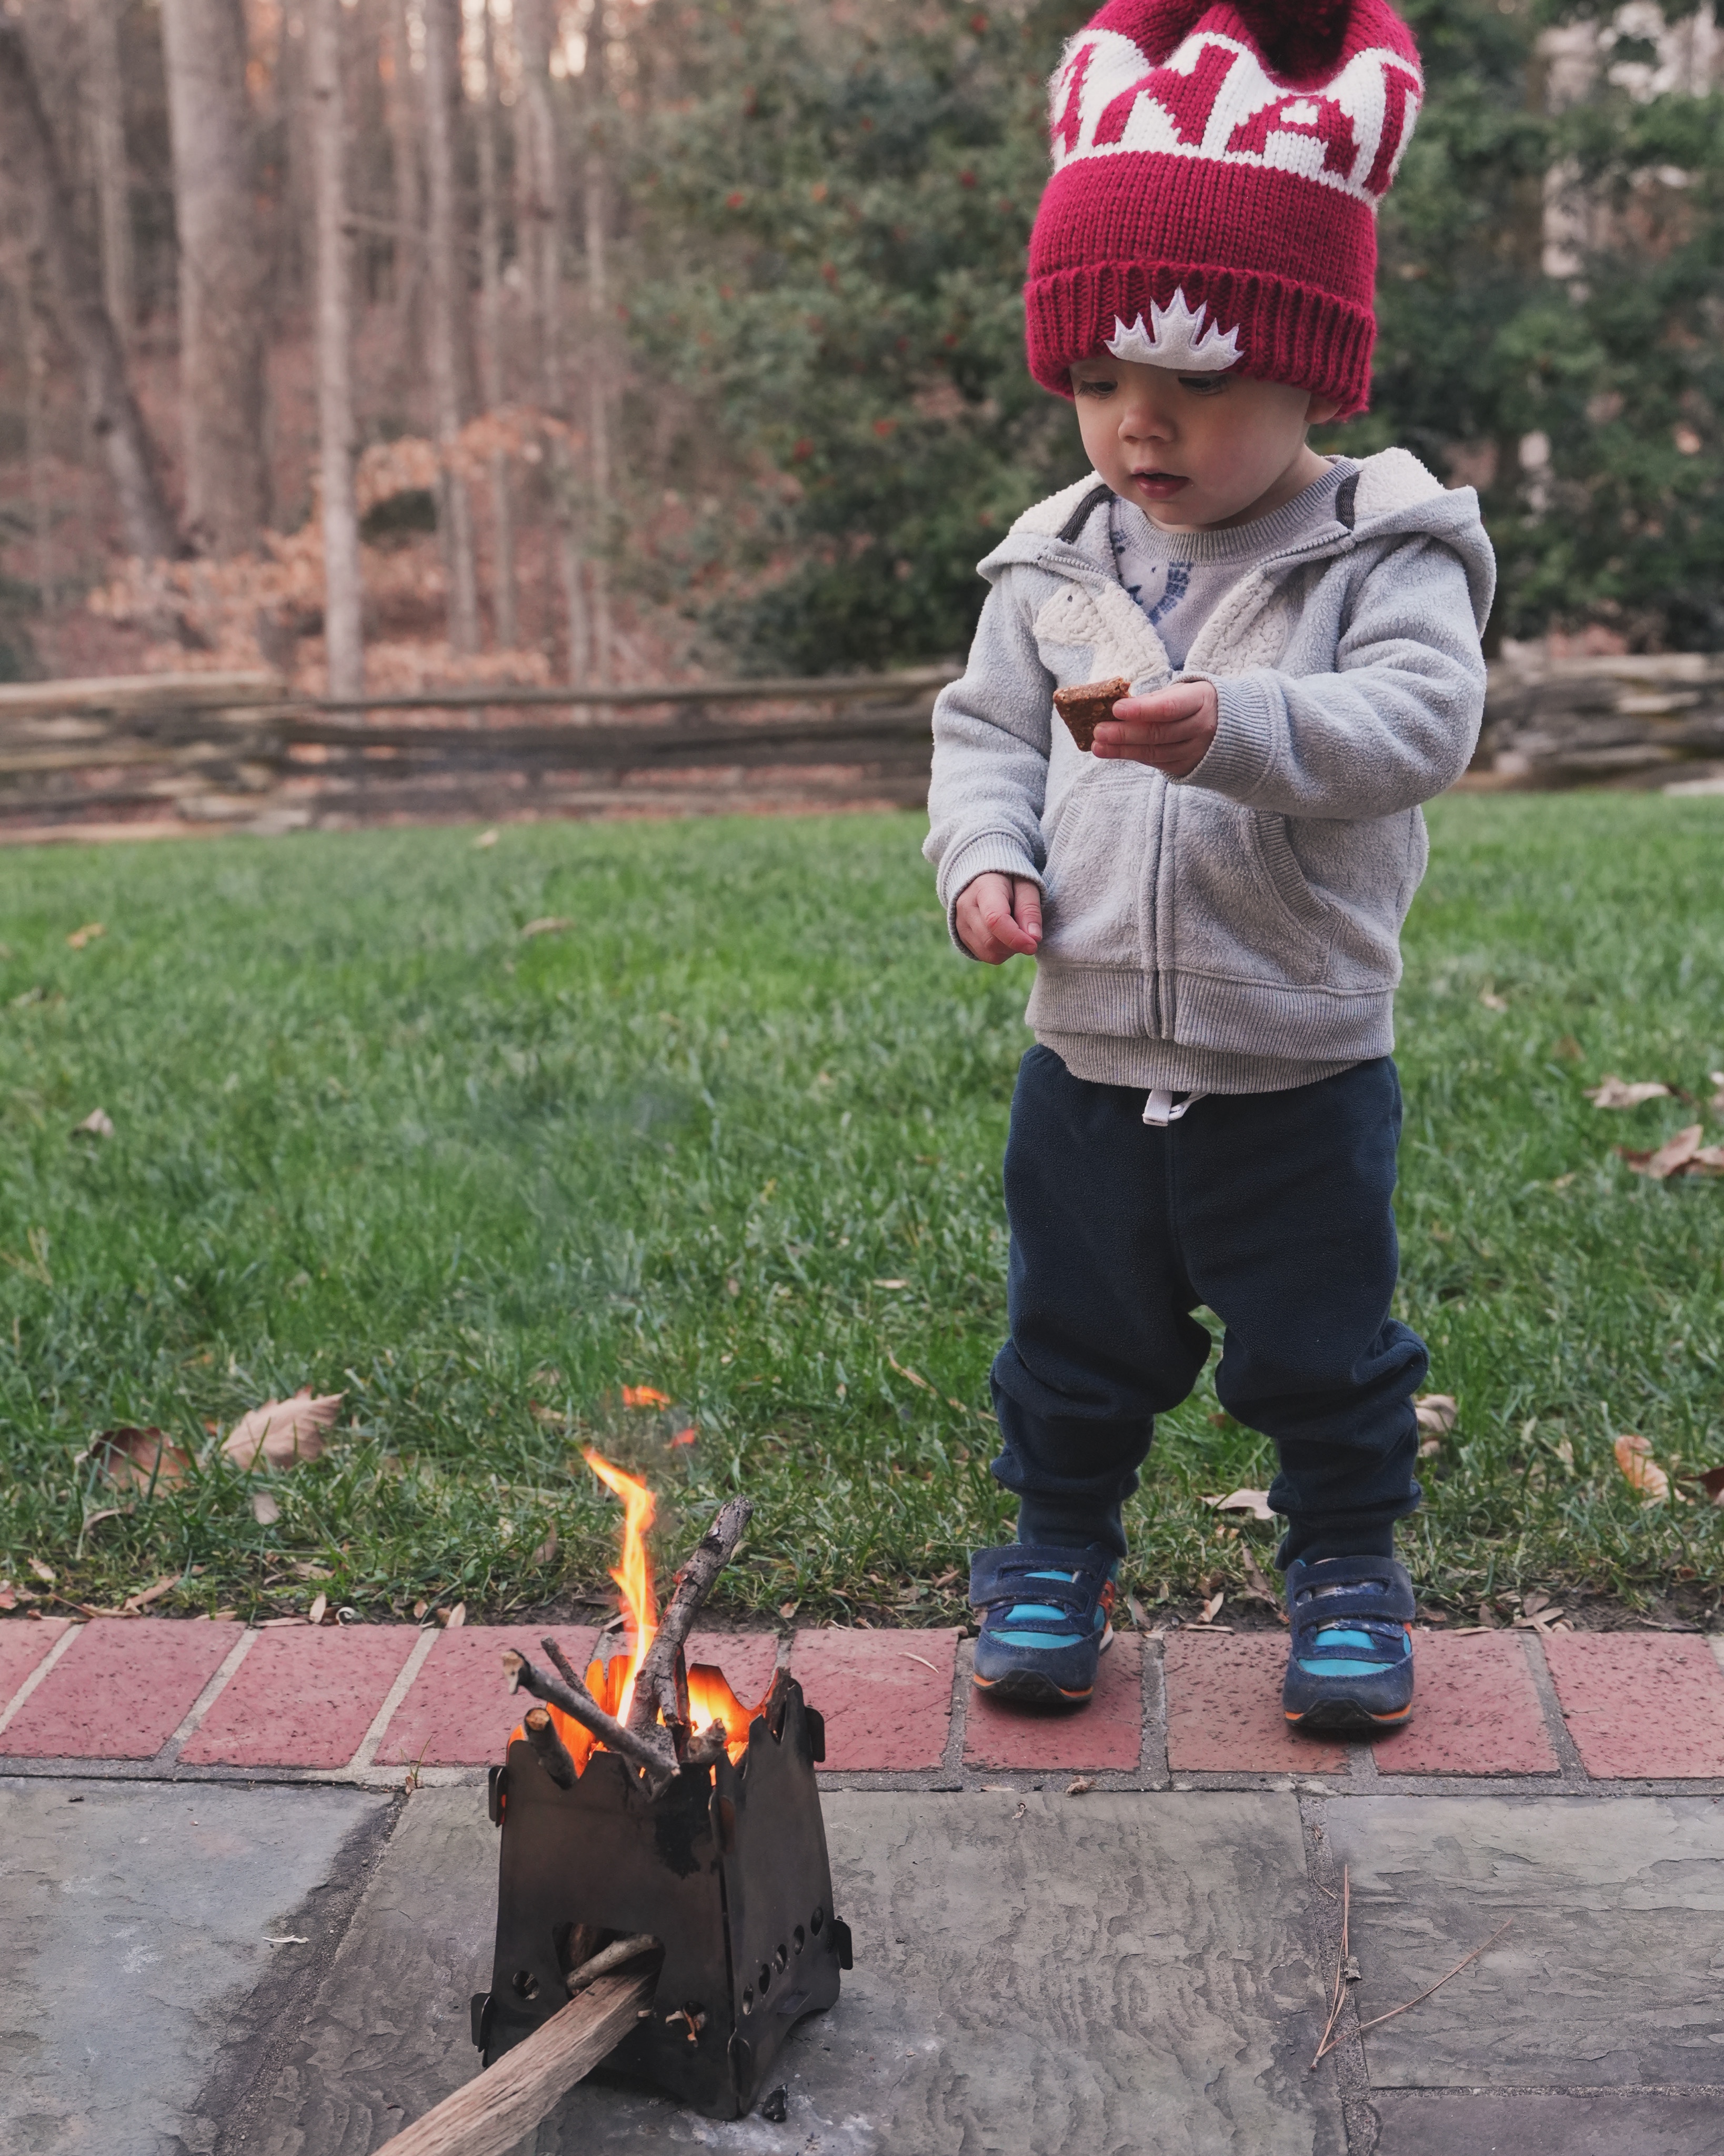

I took a moment to reflect upon where this little stove has been: On many canoe trips throughout Ontario, the blue ridge mountains of Virginia and even the highlands in West Virginia. This little thing has never let me down. On those cold nights under the northern lights, a warm tea boosted our spirits and helped us get a good nights rest. I think of the rainy days in Algonquin Park, when all is soaked and wet, but we found enough dry sticks to make a small fire in the stove and rekindle our spirits from the damp. Through thick and thin, this thing has been an absolute tank for us. If you’re thinking about it, just get one.
Pros:
Cons:
Specs:


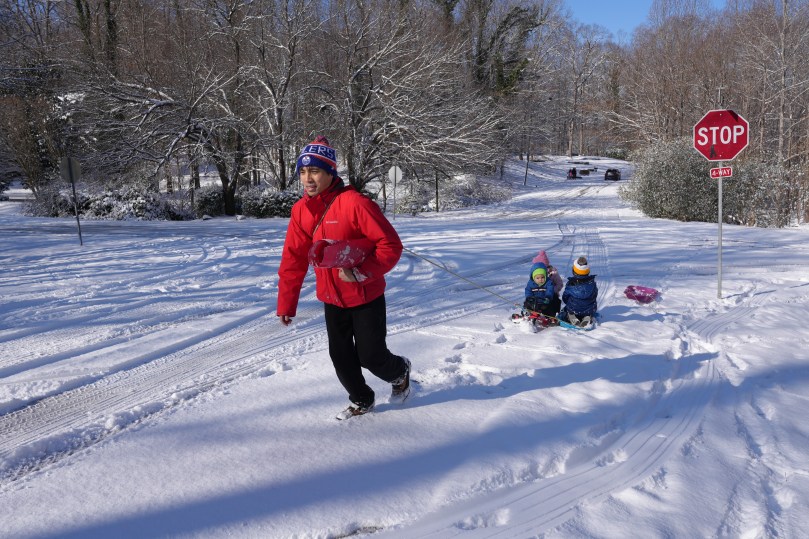
Wishing everyone a Merry Christmas, Happy holiday, and a Happy New Year! May you be blessed with good health and happiness.


We’ve been eyeing a dying chestnut oak tree on the side of our house for some time now. The size of it’s base is formidable and stands as a reminder of its once splendor. Over the years, the base of the tree had been hollowing out and it was time to bring it down, especially as the rains and winds approach. The kids watched in awe, as the tree surgeons dismantled this once magnificent tree. They asked me several questions: how old was it? why did it die? how long will it take for a new tree to grow here?


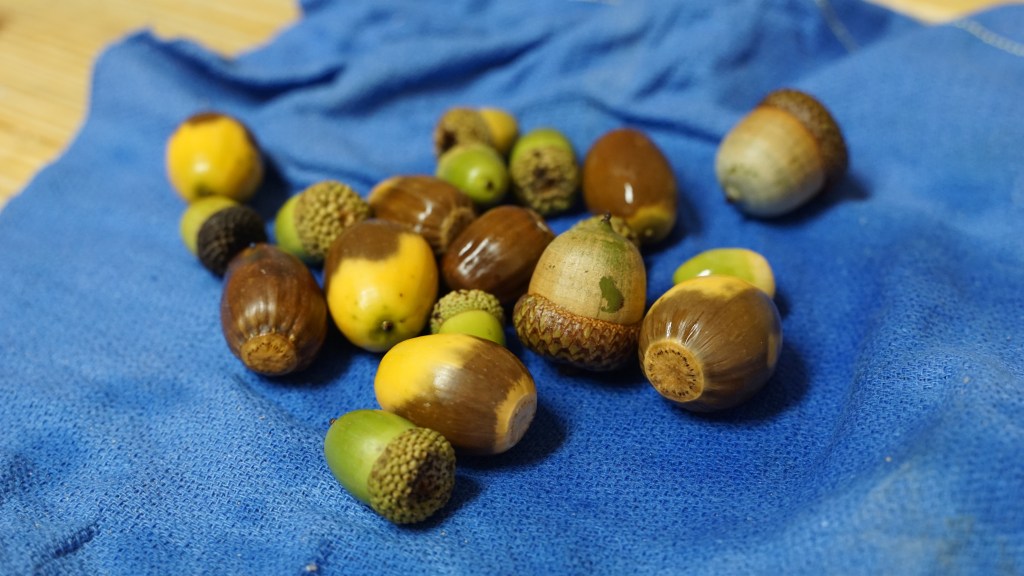
So, to help answer their questions, we decided to raise some oak trees from the beginning. This was the perfect time of year for it – the time when the soft thuds of acorns hitting the ground could be heard echoing between the trees. The kids gathered acorns of 3 varieties, white oak, chestnut oak and red oak. After conducting a float test to see which ones were viable, they twisted off the caps and planted them in jars with soil. It could take anywhere from 4-6 weeks for the acorns to germinate, depending on the species. Somer species of oak will not germinate unless exposed to cooler temperatures such as the red oak acorn. We will keep these in the refrigerator to simulate the ideal physiologic environment.


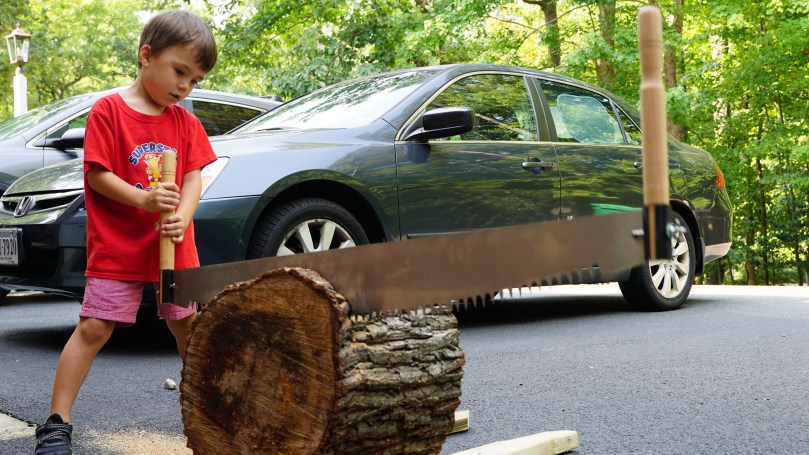
In the mean time, we got to work trying out a cross cut saw. I recently purchased a Lynx 4′ cross cut saw for simple tasks around the property that would not require a chain saw. Safer and also a whole lot of fun. We cut a cross sectional cookie slab, and the kids got to work counting the rings…..104 in total! This tree had been around for more than a century. We applied a generous coating of pentacryl (a wood stabilizer to it) and will let it dry for another season.


So while we wait for the acorns to germinate, the kids have learned a lot about oak trees, and their livespans and how like all things can be susceptible to disease. An adult tree could provide enough oxygen for 2 adult lifetimes. With the felling of this tree, we hope to raise several more in its place. Time will tell! Stay safe and healthy out there everyone.

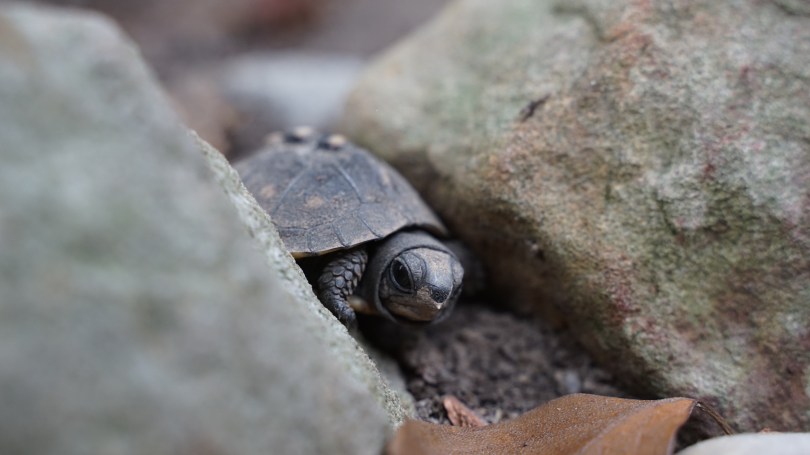
I never would have suspected that the bottom of our dogwood tree would the site of a turtle nest. It is actually a high traffic area for the kids so I’m not sure when a female would have found the time to dig a nest and lay her eggs. Nevertheless, life somehow found a way.

My son was the first to notice a small hatching, crawl out of the soft dirt. Behind it, the earth seemed to start to crack and cave, as others behind it began to stir. There were remnants of leathery egg shells and tracks out of the hole. I was amazed at how mobile these little guys were right out of the gate. My suspicion is that they are Eastern Box Turtles however I will need to investigate closer. The kids got a huge kick out of it, and they were mostly amazed that the eggs were here the whole time. The nest must have been deep enough for the soil to blunt the impact, because this was a heavily trodded area. It was an inspiring thing to see.


