Old Town (1929, 17′ OTCA) Wood Canvas Canoe Restoration – Part 5 – Stem and Inwales – Spring

Time to get to business. We needed to replicate the heart of this canoe…..the stem. This is the curved edge of the boat, made from solid wood that extends from the keel below to the gunwale of the canoe. Structurally it is a critical piece, that provides strength, and unites the port and starboard planks. It is also tapered to provide the aerodynamic shape of the canoe, allowing the boat to cut through the water. We are starting at the stern, where most of the work lies ahead of us.

The original stem, pictured here is nearly 100 years old. The tip is rotted and the remainder is in rough shape. We decided to replace the whole thing.

In many instances, the entire stem does not need to be replaced. The rotted section (usually the top) can be cut off and a new piece can be scarfed in. In our case, the whole thing seemed pretty worn out, so I decided to construct a new one. We used white ash (Fraxinus americana) to create this. I went to our local Woodcraft store to select the board that I needed. It was critical to find a board that had very straight grain, either quarter sawn or rift sawn. Having the grain run straight will reduce the chance of fracturing during the wood bending process. This piece was ripped on the bandsaw and then soaked in a creek for 5 days.

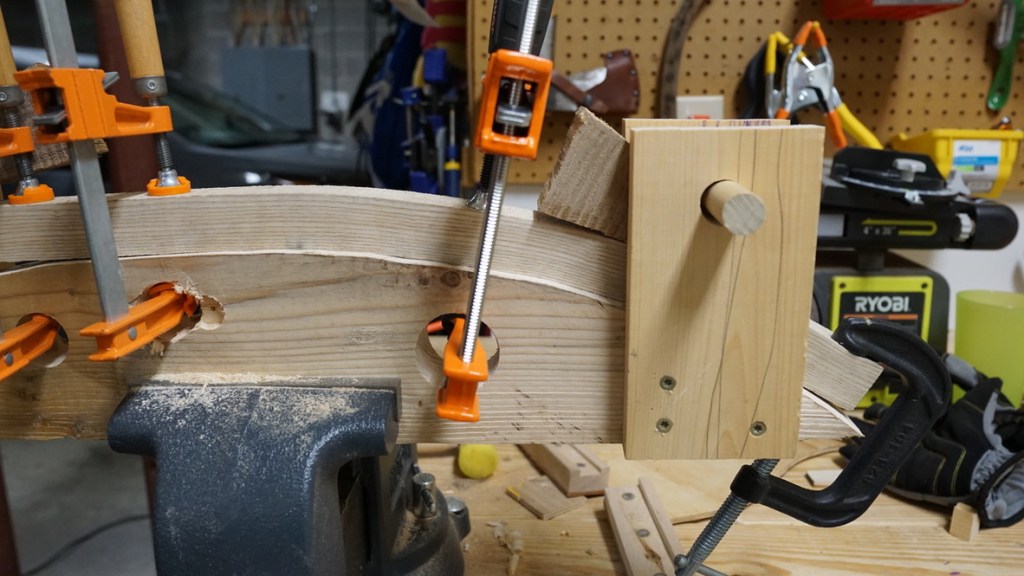
In order to bend the piece of wood, you will have to create a jig (or a form) to bend the wood over. The jig does not have to be pretty, but it has to be functional and accurate. I constructed ours using lumber from a pallet. I glued these pieces together and let it dry. I would use the original stem to create the outline for this jig. It is important to note that the radius of curvature for the jig will actually be tighter than the original stem. This is because we have to account for spring-back, once the piece of wood is removed from the jig.

After the 5 days of soaking in a creek, I fired up our wood steaming box and steamed the piece of ash for 1 hour. Once the wood is removed from the steamer, you have 60 seconds to bend it onto the form before it loses it’s elasticity as it cools. This part can be a pretty harrowing experience if you’ve never steam bent – I’ve never steamed bent anything. I was very fortunate to have the first attempt succeed. For any critical part of canoe building, I often practice the motions before I actually do it. All the clamps were at the ready, my path was clear, I made sure I had enough ceiling clearance etc. I ran through the steps with a mock piece of scrap wood. I also used a piece of steel strapping to help reduce the chance of fracture.

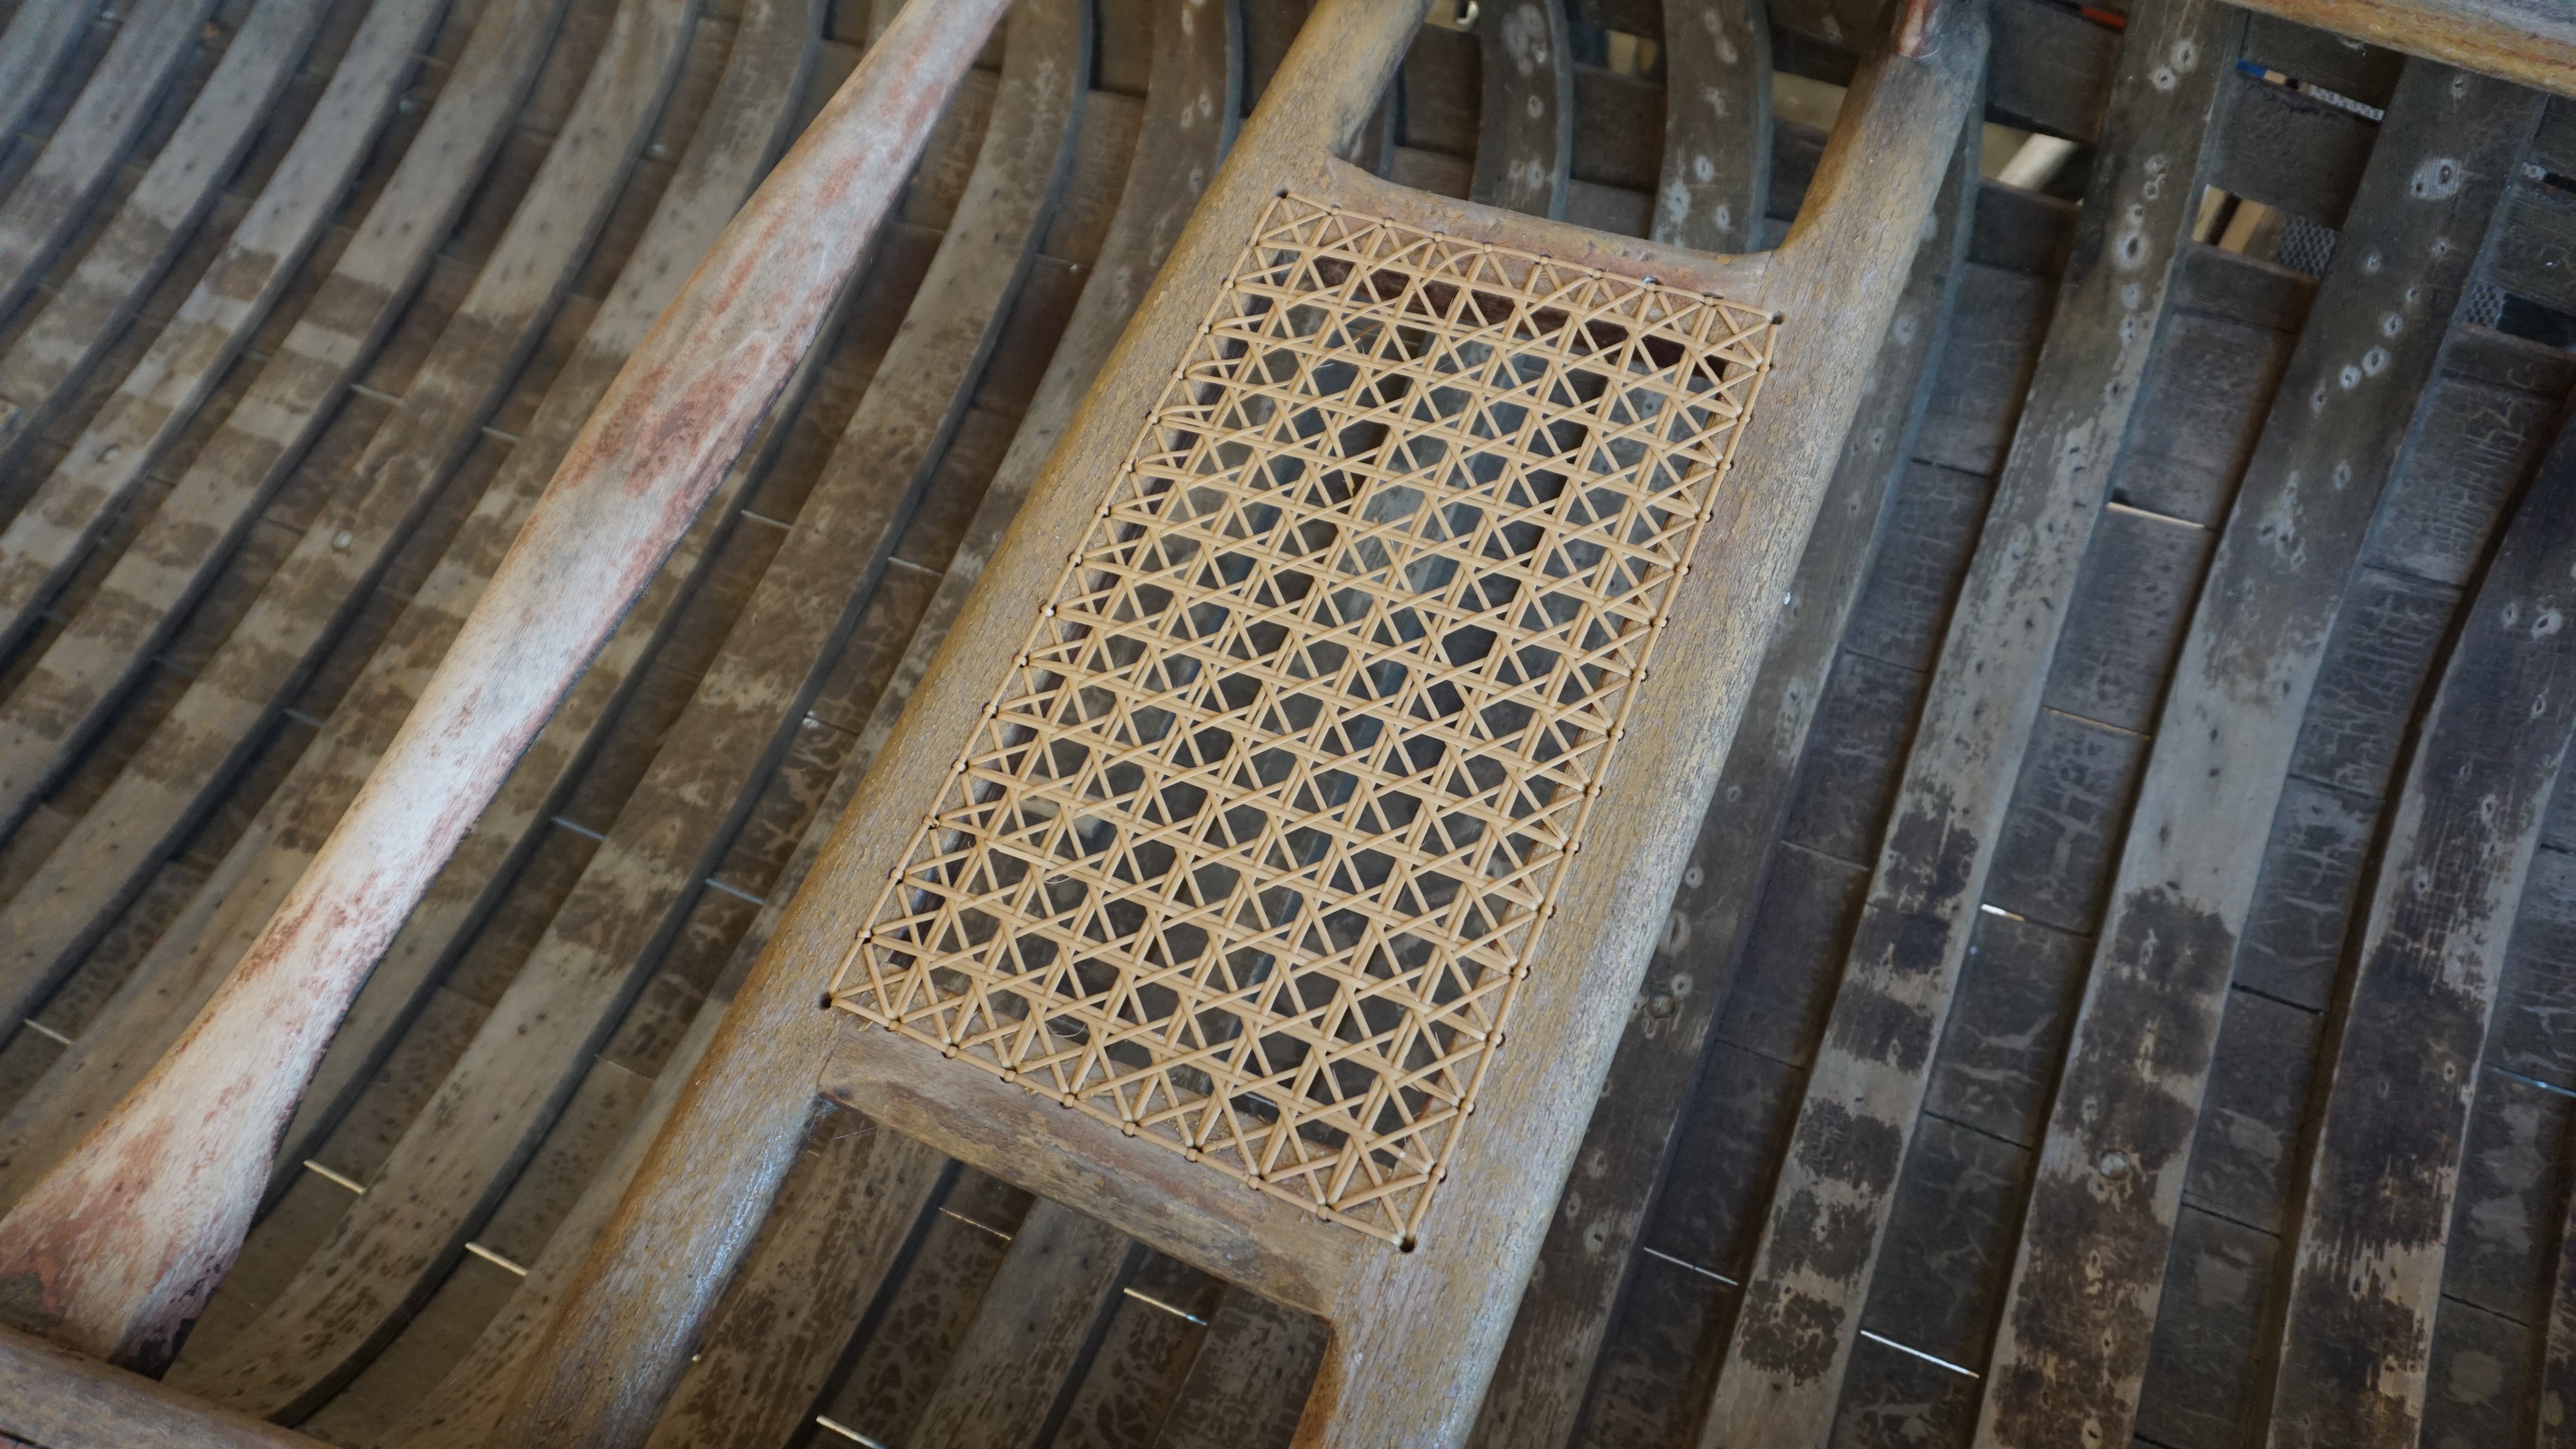
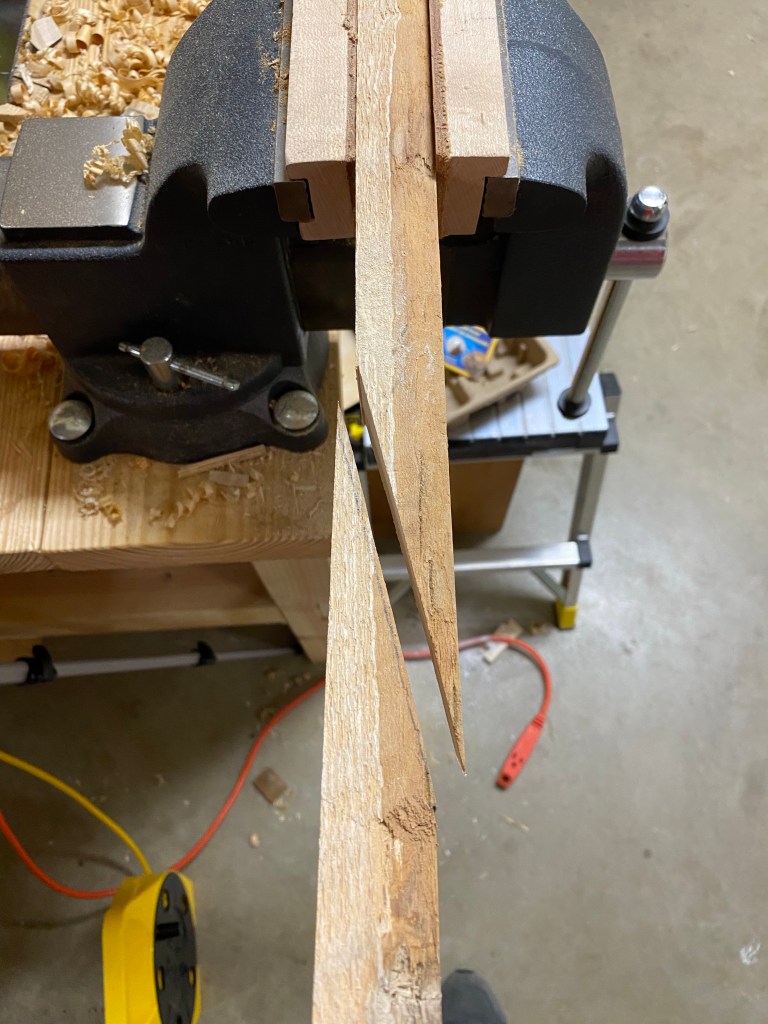
After a week in the jig, I removed the stem from the form and began to notch out the slots for the ribs using a dove tail saw, a coping saw and chisel. This is where we spent alot of time, measuring angles of tapers to get it just right. I used a block plane to get it to the right thickness and then a spokeshave for the beveling.

In the meantime, I steam bent some pieces of ash for the 2 inwales that would need replacing. I created another small jig for these as well. I cut them roughly to size and then used a block plane and spokeshave to get it to the proper dimensions. Ash is very satisfying to work with. These pieces will need to be scarfed into place and glued together using System Three T-88 epoxy. The length of the scarf joint is approximately 4 inches to allow for as much surface area contact as possible.

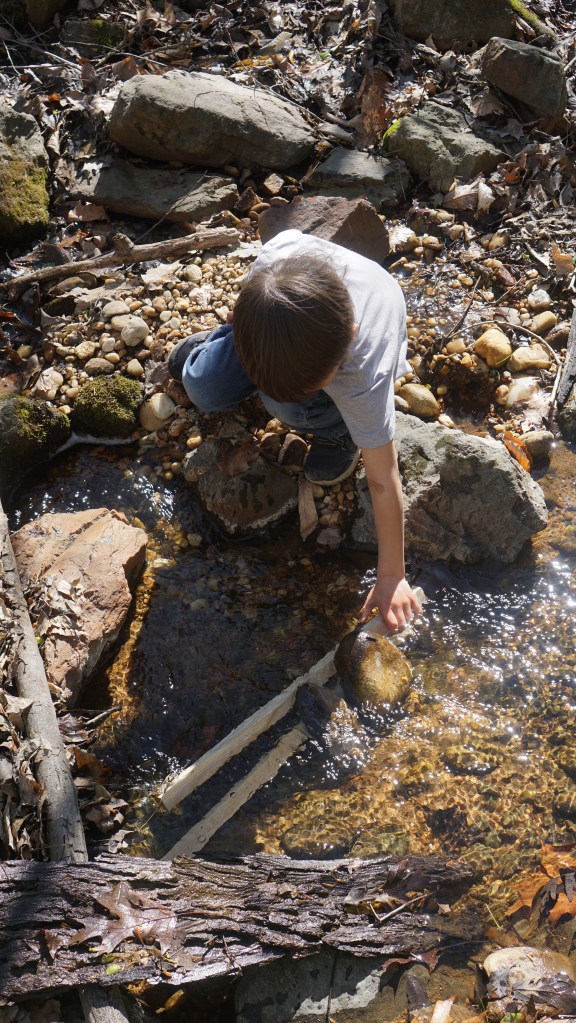
One of the ribs in the stern end also needed complete replacing so we soaked some eastern white cedar boards in the creek for 5 days and then stem bent these for 20 minutes prior to bending them on the form. This step is fun because a jig does not need to be created. We have an intact hull to bend it over! As with any steam bending step, you have to account for springback once the wood is removed from the form. So in order to replace the rib that you want to fix, you actually will use the rib form adjacent to it (with a steeper angle) to bend over. These worked out well thank goodness.

So everything right now is just dry fitted and held together by clamps, the next step will be to fit the stem in place, glue in the inwales and get the ribs and planking changed at the stern. Progress! Spring has been absolutely beautiful as well and we are taking full advantage of that! Wishing everyone good health.

Old Town (1929, 17′ OTCA) Wood Canvas Canoe Restoration – Part 4 – So it begins…

With the final weeks of summer upon us, I’m glad to say that we’ve finally broken ground on canoe rebuilding. I’ve been delving into the depths of wood canvas canoe construction books, YouTube videos, discussions forums and phone calls, to figure out the next steps. Of course, we spent a lot of times outdoors as well. It’s been a pretty mild summer in Virginia thank goodness.

We spent a good amount of time, first doing some careful demolition. Removing one piece at a time to get to the guts of the canoe. The outwales were rotted for the most part, these came off pretty easily. What was left of the stem bands and the keel were removed next. I was just amazed that overall, the wood seemed to hold up well, despite being stored in the Virginia elements uncovered for several years.

We had to cut out some of the old bolts to remove thwarts and seats.

The keel proved to be rather tricky to remove because the heads of the screws were corroded. Once upon a time, they were flat heads. Using a utility knife to carefully score out the old slot and then a few gentle raps on the head with a hammer loosened it enough to get purchases with a screw driver. Another approach would have been to use a Dremel tool to basically create a new slot in the screw head.

After numerous trips to lumberyards, Facebook marketplace searches, I made the decision to purchase my lumber already milled from a canoe builder. When it comes to Old Town Wood Canvas canoes, why not go straight to the source. Island Falls Canoe in Atkinson, Maine is run by legendary canoe builder Jerry Stelmok. He wrote the book: The Wood and Canvas Canoe: A Complete Guide to its History, Construction, Restoration and Maintenance (1987). I had a few pleasant discussions with him on the phone and after a few weeks, our supplies arrived! It was like Christmas, boxes of white cedar planking, ribs, new thwarts, tacks, bolts, canvas and much more. We also had to acquire some new tools as well as a clinching iron, purchased from Northwood Canoe Co.

One of the issues I ran into, that I haven’t really come across in any of the discussion forums or videos, is the fact that probably 80% of the canoe plank tacks were so severely corroded that they were literally falling off the canoe. When the canoe was first constructed, eastern white cedar was used to plank the canoe. These are thin 5/32″ thick boards that were steamed and tacked onto the ribs to create the shape of the hull. After 90 years, most of these were literally popping right off! As a result, the planking unstable. To preserve the shape of the hull, I started removing these corroded tacks and placed a few tacks to stabilize the hull, until they can be addressed properly. I did NOT fully clinch these tacks.

Clinching basically means that these specialty tacks (designed with a taper) are hammered into the plank and into the rib. A large piece of iron (the clinching iron) is held against the rib on the other end where the tack would exit. As the tack is exiting the rib, the tack hits the clinching iron and it curls upon itself back into the rib. The problem with working with nearly 100 year old white cedar, is the risk of splitting the planking. So to prevent this, I wetted the planks with water and then steamed it using a fabric steamer. Some people use irons. This softens the wood, making it less brittle, and less prone to splitting. The thwarts and seats were relatively easy to take out, once again, corrosion left very little to work with for the nut sand bolts. I ended up cutting several of the bolts to get the seats out.

My son got to work cutting out the old cane, and we stripped the old finish and got to sanding. The seats seemed to still be in decent shape and we worked on bringing them back to their old glamor. We were actually working on the seats while we waited for the lumber to arrive from Maine.

After a few trips to the local lumber mills, I decided to purchase my lumber, right from Maine. Island Falls Canoe, in Atkinson.

Once the hull was decently stabilized, we were now looking at taking out the stern, stem of the canoe . This is especially difficult to do, because the canoe was essentially built around the stem. This area of the canoe is especially prone to rot. In many scenarios, only one section of the stem would need to be replaced (perhaps 1/3 or 1/4 of the stem). There are different ways to scarf the new stem into the old, however, gauging from the amount of rot, I knew I needed a whole new stem. This is the part I’m working on currently.

Was it necessary to fill all of the old tack holes in the ribs? Probably not, but it gave the shop mites something fun to do.

It is becoming more apparent to me that there is no cookie cutter way to restore/rebuild a wood canvas canoe. I found this interesting posted on the “Wooden Canoe Heritage Association” YouTube channel. It details the restoration of an “Old Town Ruston” wood canvas canoe. Through watching these videos, I gather different types and tricks to help with my restoration.

Interesting video posted on the WCHA channel about the restoration of an Old Town Rushton.

The weather has been getting milder and we spent many grand days outdoors. My daughter was able to go on her first canoe trip and I do believe she is hooked. She is asking for her own paddle like her brother’s. We will probably have to carve one of those as well one day. Alas, fall is approaching and we are ready for more! Stay safe and healthy everyone!

Taking my daughter out for her first canoe trip this past summer.
Canoeing in Pocahontas State Park, Virginia.
Side projects keep the kids interested. Like this canoe sign made from a CNC machine.
Fall is approaching with cooler temperatures. We are looking forward to spending more time in the shop.

Old Town (1929, 17′ OTCA) Wood Canvas Canoe Restoration – Part 3 – Assessment

In typical Virginia fashion, we have experienced all 4 seasons in the past few days. There were days when I was out in a t-shirt, and then shoveled some snow the next day. Nevertheless, the first signs of spring have finally made their appearance. I’ve noticed some cherry blossoms beginning to bud and the occasional days of full sunshine beating on the face is certainly welcoming after another long pandemic winter. The warmer temperatures in the shop, is also helping to motivate me to get some things done.

After building our steam box, we really haven’t had a chance to do much. I have mostly been reading, and researching the art of canoe restoration. It definitely seems like a daunting task however, one that we willingly take on. I honestly believe that it might be easier to build a canoe from scratch, this one looks pretty beat up. Most of the ribs are cracked in more than one place, the gunwales are spent and the stems on both ends have suffered some degree of rot. The decks actually appear to be in decent shape and the seats as well. All of the diamond Old Town Canoe bolts will be changed out for new ones, and probably all of the planking will have to be replaced. I’ve actually really enjoyed reading about boats, and different properties of wood and the structure and framework of canoes. It doesn’t matter how slow you go as long as you don’t stop…

As a non-boat builder, my research pointed to the direction of the Wooden Canoe Heritage Association (WCHA) for further guidance. The WCHA is a nonprofit membership organization dedicated to preserving, studying, building, restoring, and using wooden and bark canoes, and to sharing information about canoeing heritage throughout the world. The discussion forums are particularly helpful, where boat builders can share experiences and troubleshoot through problems. It was here, where I was able to learn more about my canoe. It is certainly interesting to see what many builders are willing to restore. Some boats are more reasonable for the firepit, however, as myself, I find others that are restoring these vessels for the pure joy of it.

When it comes to Old Town Canoes, there is a way to find out more about your particular wood canvas model. There is a 4-6 digit serial number printed on the stem of the canoe, towards the stern and can be read from the starboard side. Often times, the serial numbers are faded and worn so I was fortunate that I was able to still make out mine. Through careful inspection with lighting from all possible angles, I was able to make out….#103607.

It’s there if you can make it out: “Serial number: 103607”. (Not pictured is the “17” that indicates a 17 ft long canoe)

Through the Wooden Canoe Heritage Association discussion forums, I was able to get help from a very kind member who was able to look into the specifications of this particular canoe and gain access to old build records. I find it absolutely amazing that this document still exists! After reading the form, I knew this was definitely her. 17 foot long OTCA model, Grade AA (top), with western cedar planking with gunwales and decks of mahoghany. This particular model also has a keel. The Design Color #10 is one of the paint schemes back then, which was mostly green, it is shown in the drawing below.

Old Town Canoe build record: Dates this canoe back to 1929-30! Special thanks to Benson Gray of The Wooden Canoe Heritage Association.

Western red cedar (thuja plicata) has a variety of uses in construction and carpentry. It has many properties that make it ideal for canoe planking. It is light, intrinsically rot resistant, naturally resistant to bugs, flexible, with a high tensile strength. My next task is to track down straight grain red cedar boards. With the new bandsaw, I hope to resaw these boards to get 5/32″ boards. In terms of the gunwales, I will unlikely be able to find 17′ long mahogany pieces, so I’ll likely have to scarf shorter pieces together. I’ll see what my journey through the mills bring me too. This is where the fun begins….stay safe and be healthy everyone.

This video, although certainly not politically correct, shows some of the steps of building a wood canvas canoe in an Old Town Canoe workshop. Amazingly as old as this video was, the canoe I’m working on was made at least 20 years earlier. The credit of this amazing vessel is to the First Nations People and the Native Americans who perfected it.