The Frazier Discovery trail is a 1.3 mile circuit hike on Loft Mountain in Shenandoah National Park, notable for several great overlooks. With an elevation gain of 462 ft, it is labeled as one of the easier trails in the park, we found it perfect for our small hikers (4 and 2 years old). Located at milepost 79.5, it is closest to enter from the Southern end of the park at Rockfish Gap (approx 20 miles). There are several overlooks on your way to the trail head, so take your time getting there.
Make sure you take the time to pull on one of the beautiful overlooks as you make your way to Loft Mountain.View from one of the outlooks from Skyline Drive near the Rockfish Gap Entrance to Shenandoah National Park.The beginning of the trail. Cross Skyline Drive on foot to begin.Trekking poles are helpful but not mandatory. A hiking stick can be just as good.
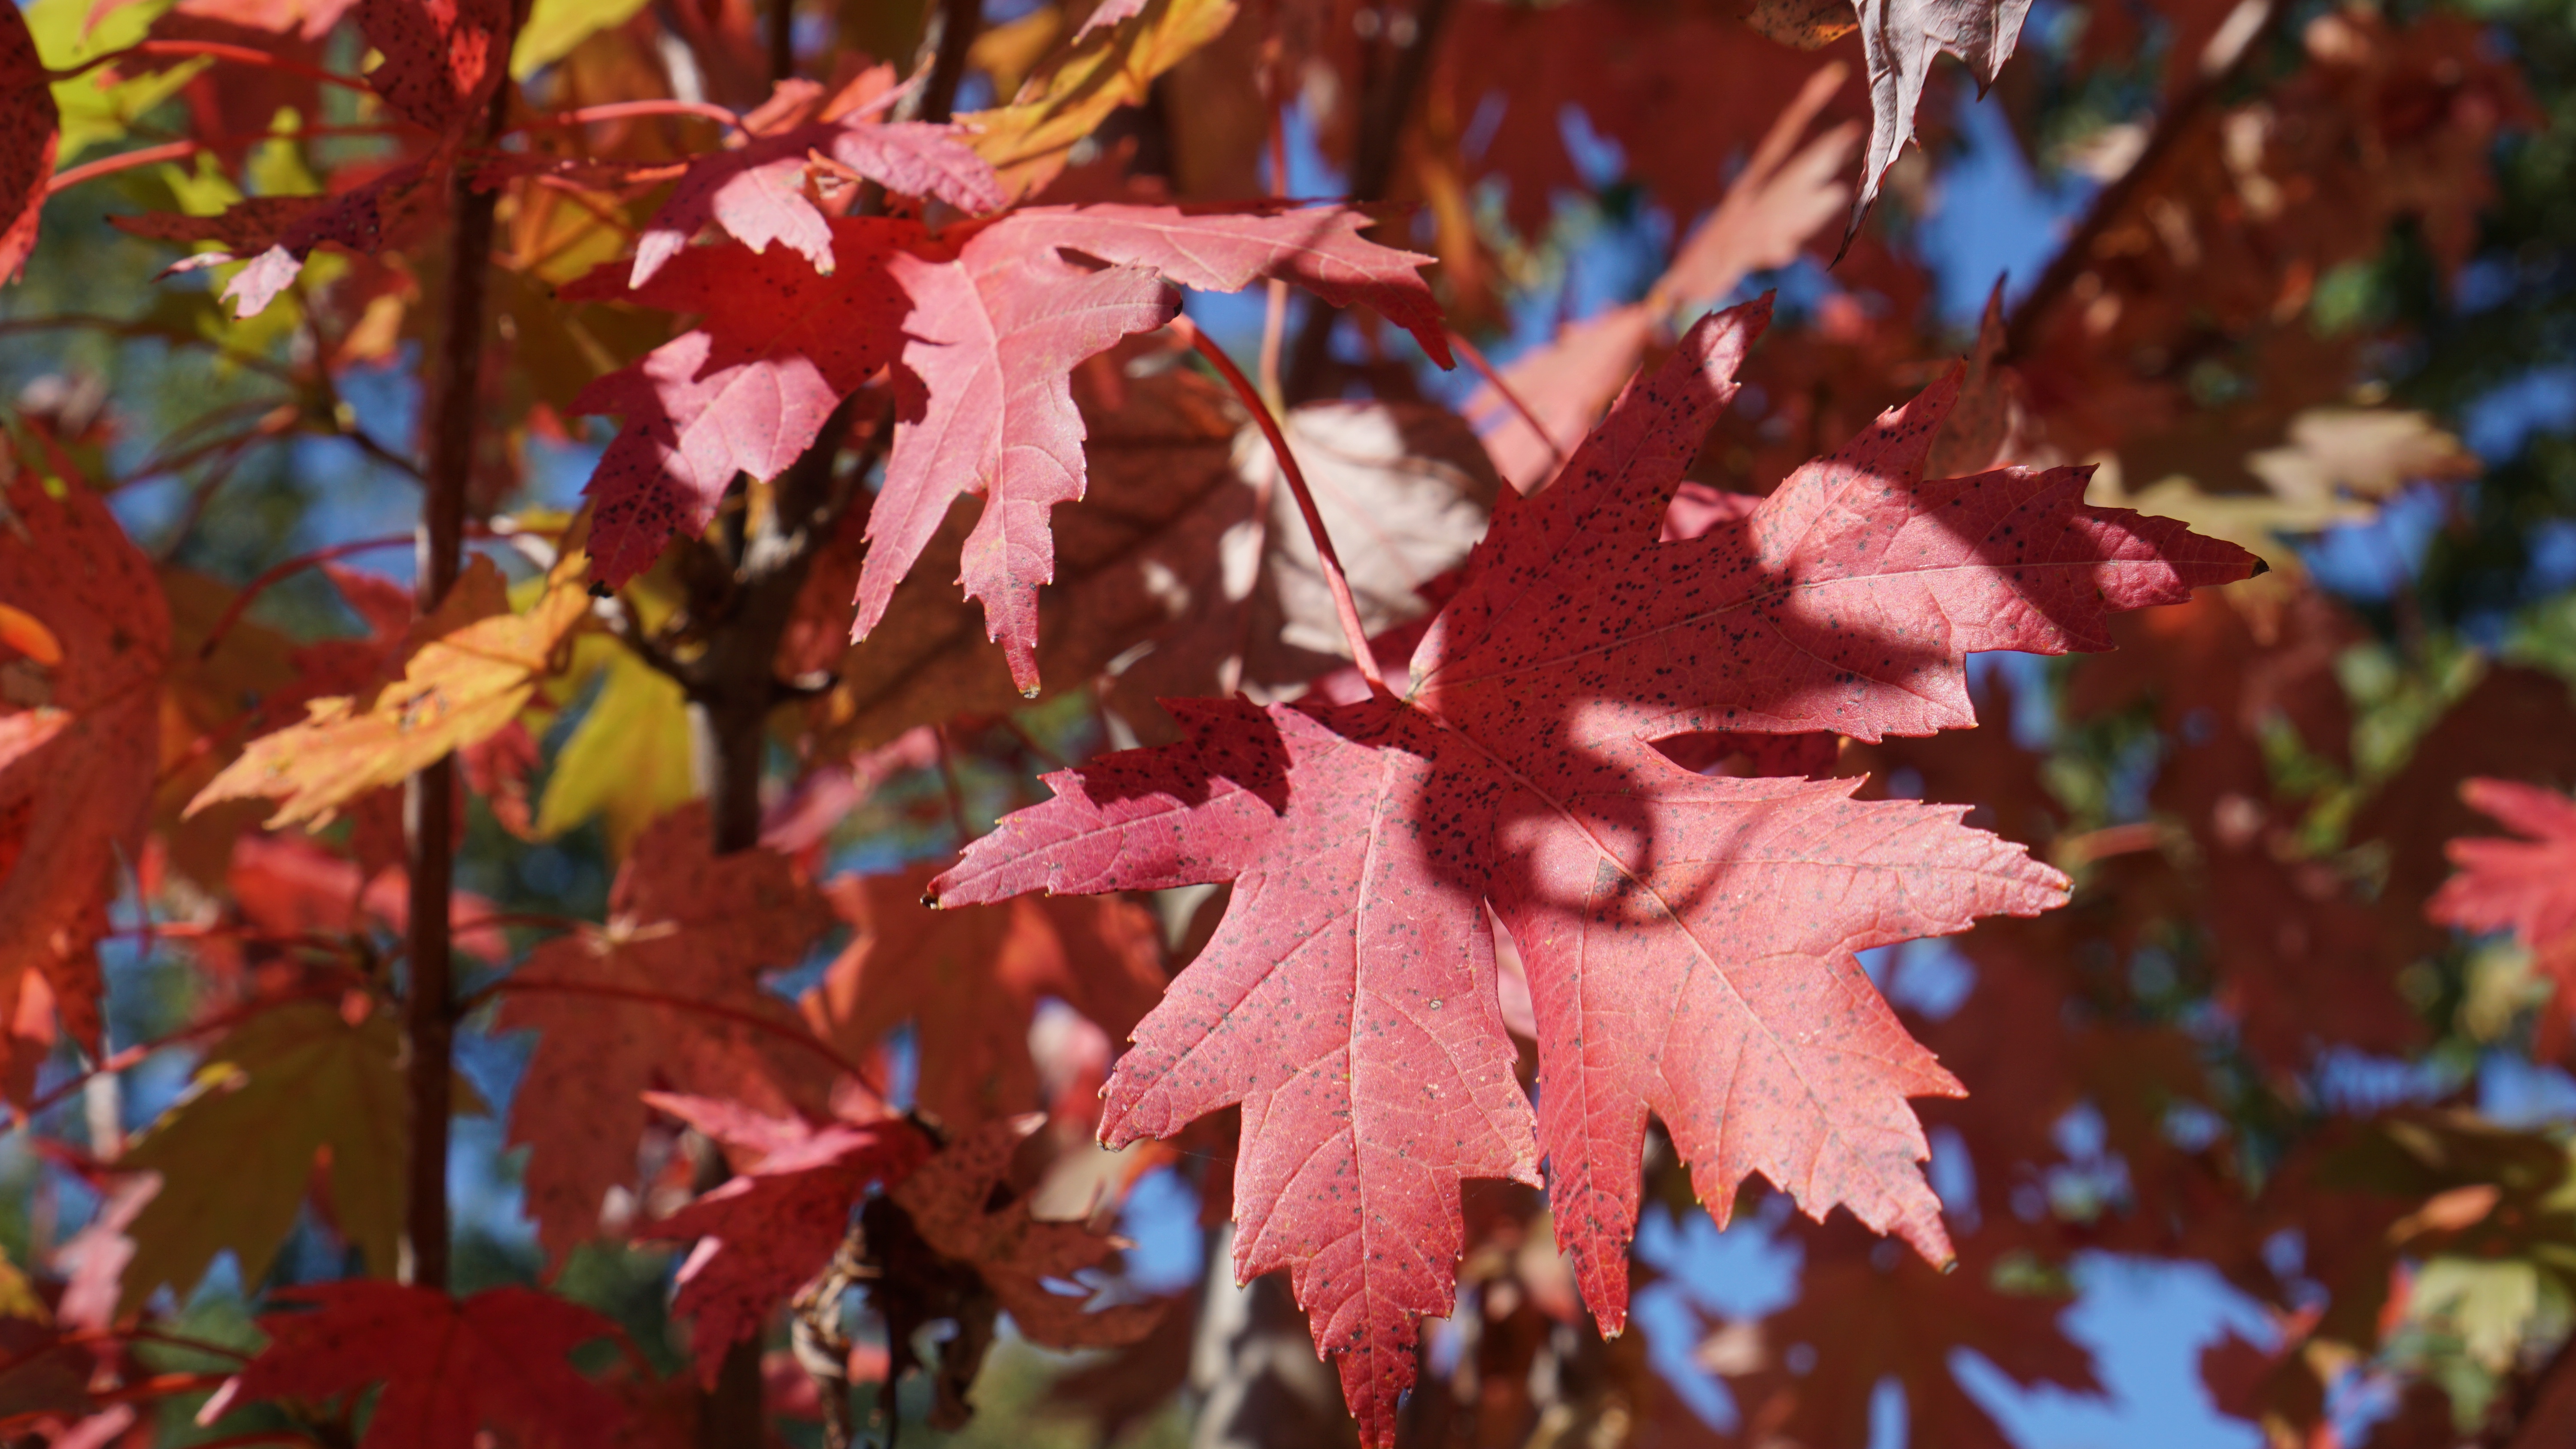
We parked at the Loft Mountain Wayside Camp store and information center and crossed the road (skyline drive) to begin our hike. Hiking on a Tuesday, we were fortunate enough to have the mountain to ourselves. It appeared that the leaves were changing colors slightly later than normal. I find that peak fall color in the Virginia Blue Ridge Mountain region is last week of October and early November.
The trail is well marked, and frequently traveled. There are plenty of rocks so hiking boots are definitely recommended. Unlike several other trails through Shenandoah National Park, there was no stream or river bed on this hike….But the views were killer. Have fun out there, and be safe.
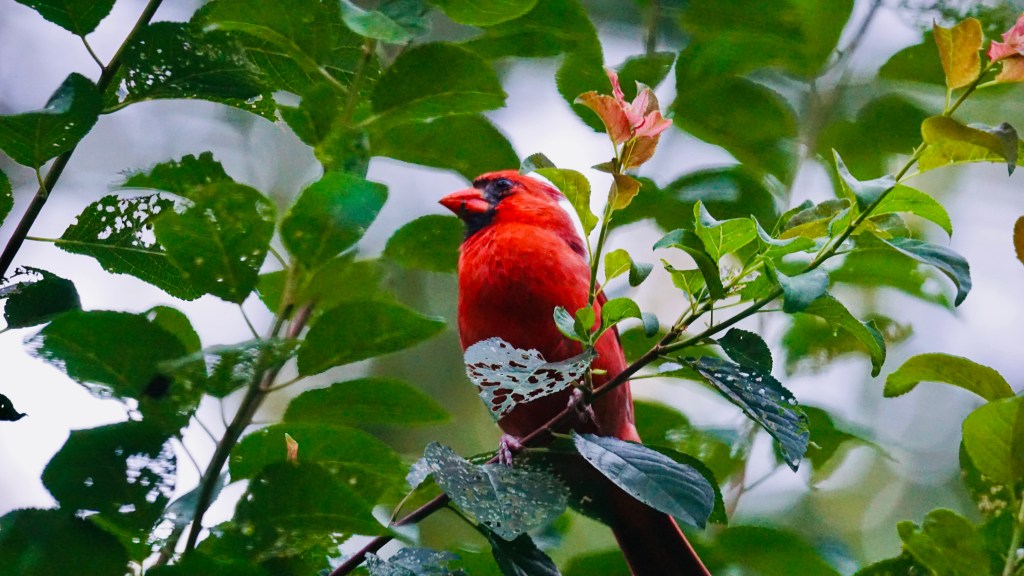
Overlook from Frazier Discovery Trail on Loft MountainDon’t forget snacks!
I recall many days of my childhood in Ontario, Canada on school field trips where we were asked to identify trees, plants and animals. These were always great memories for me and helped opened my eyes to the natural world all around us…even in our very own backyards. Looking back now, I’m amazed at how much emphasis, the canadian public schools placed on educating their youth about nature. It has certainly left a lasting impression upon me and how I view the world. I try to pass this wonder on to future generations.
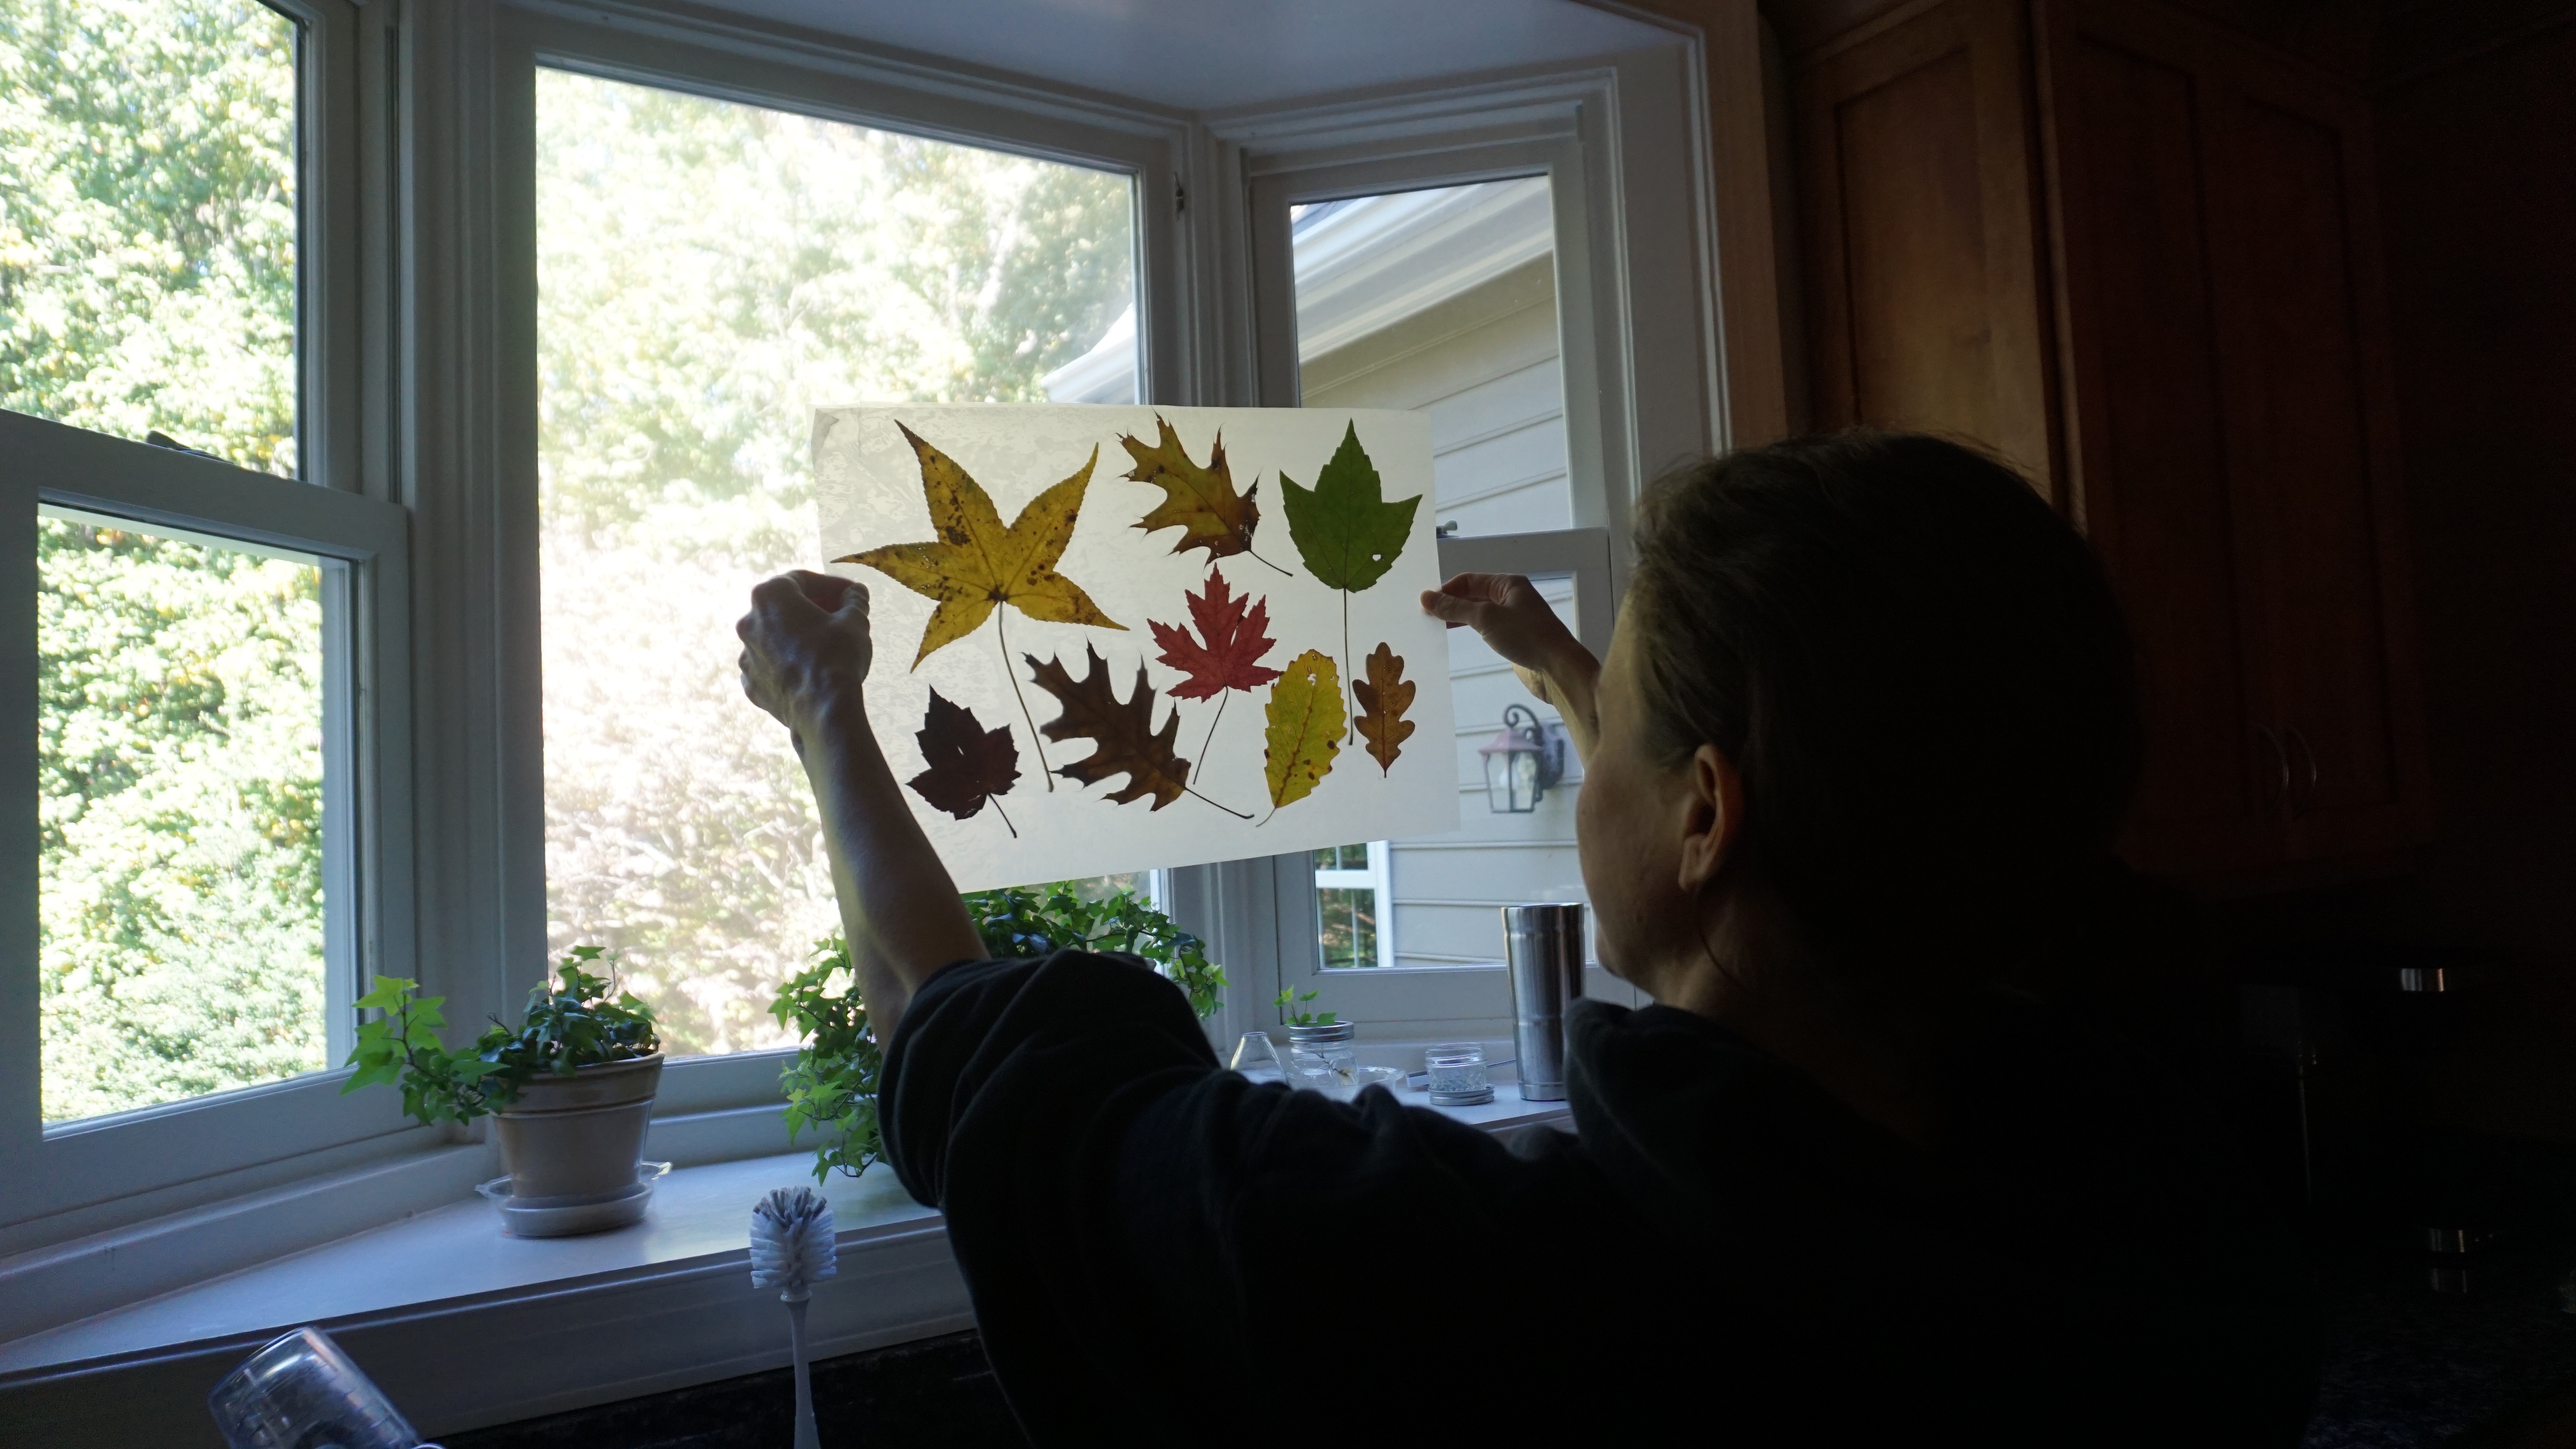
The weather this past week has just been perfect in the central and western parts of Virginia. Fall is certainly underway and we have been trying to get out as much as possible to soak it all in. This was a great opportunity to do some leaf hunting. My son has enjoyed watching the leaves change and he also loves tree identification with his trusty tree guide. We didn’t have to go far, we had enough species of trees in our neighborhood to keep him occupied with a good field activity. We were going to collect leaves and seal them up in wax paper.
We hunted for acorns of many varieties of oak: white oak, red oak, chestnut oaks. It appeared that sugar maples were still far from turning in our neighborhood. Gum trees were yellowing and so were sycamores.
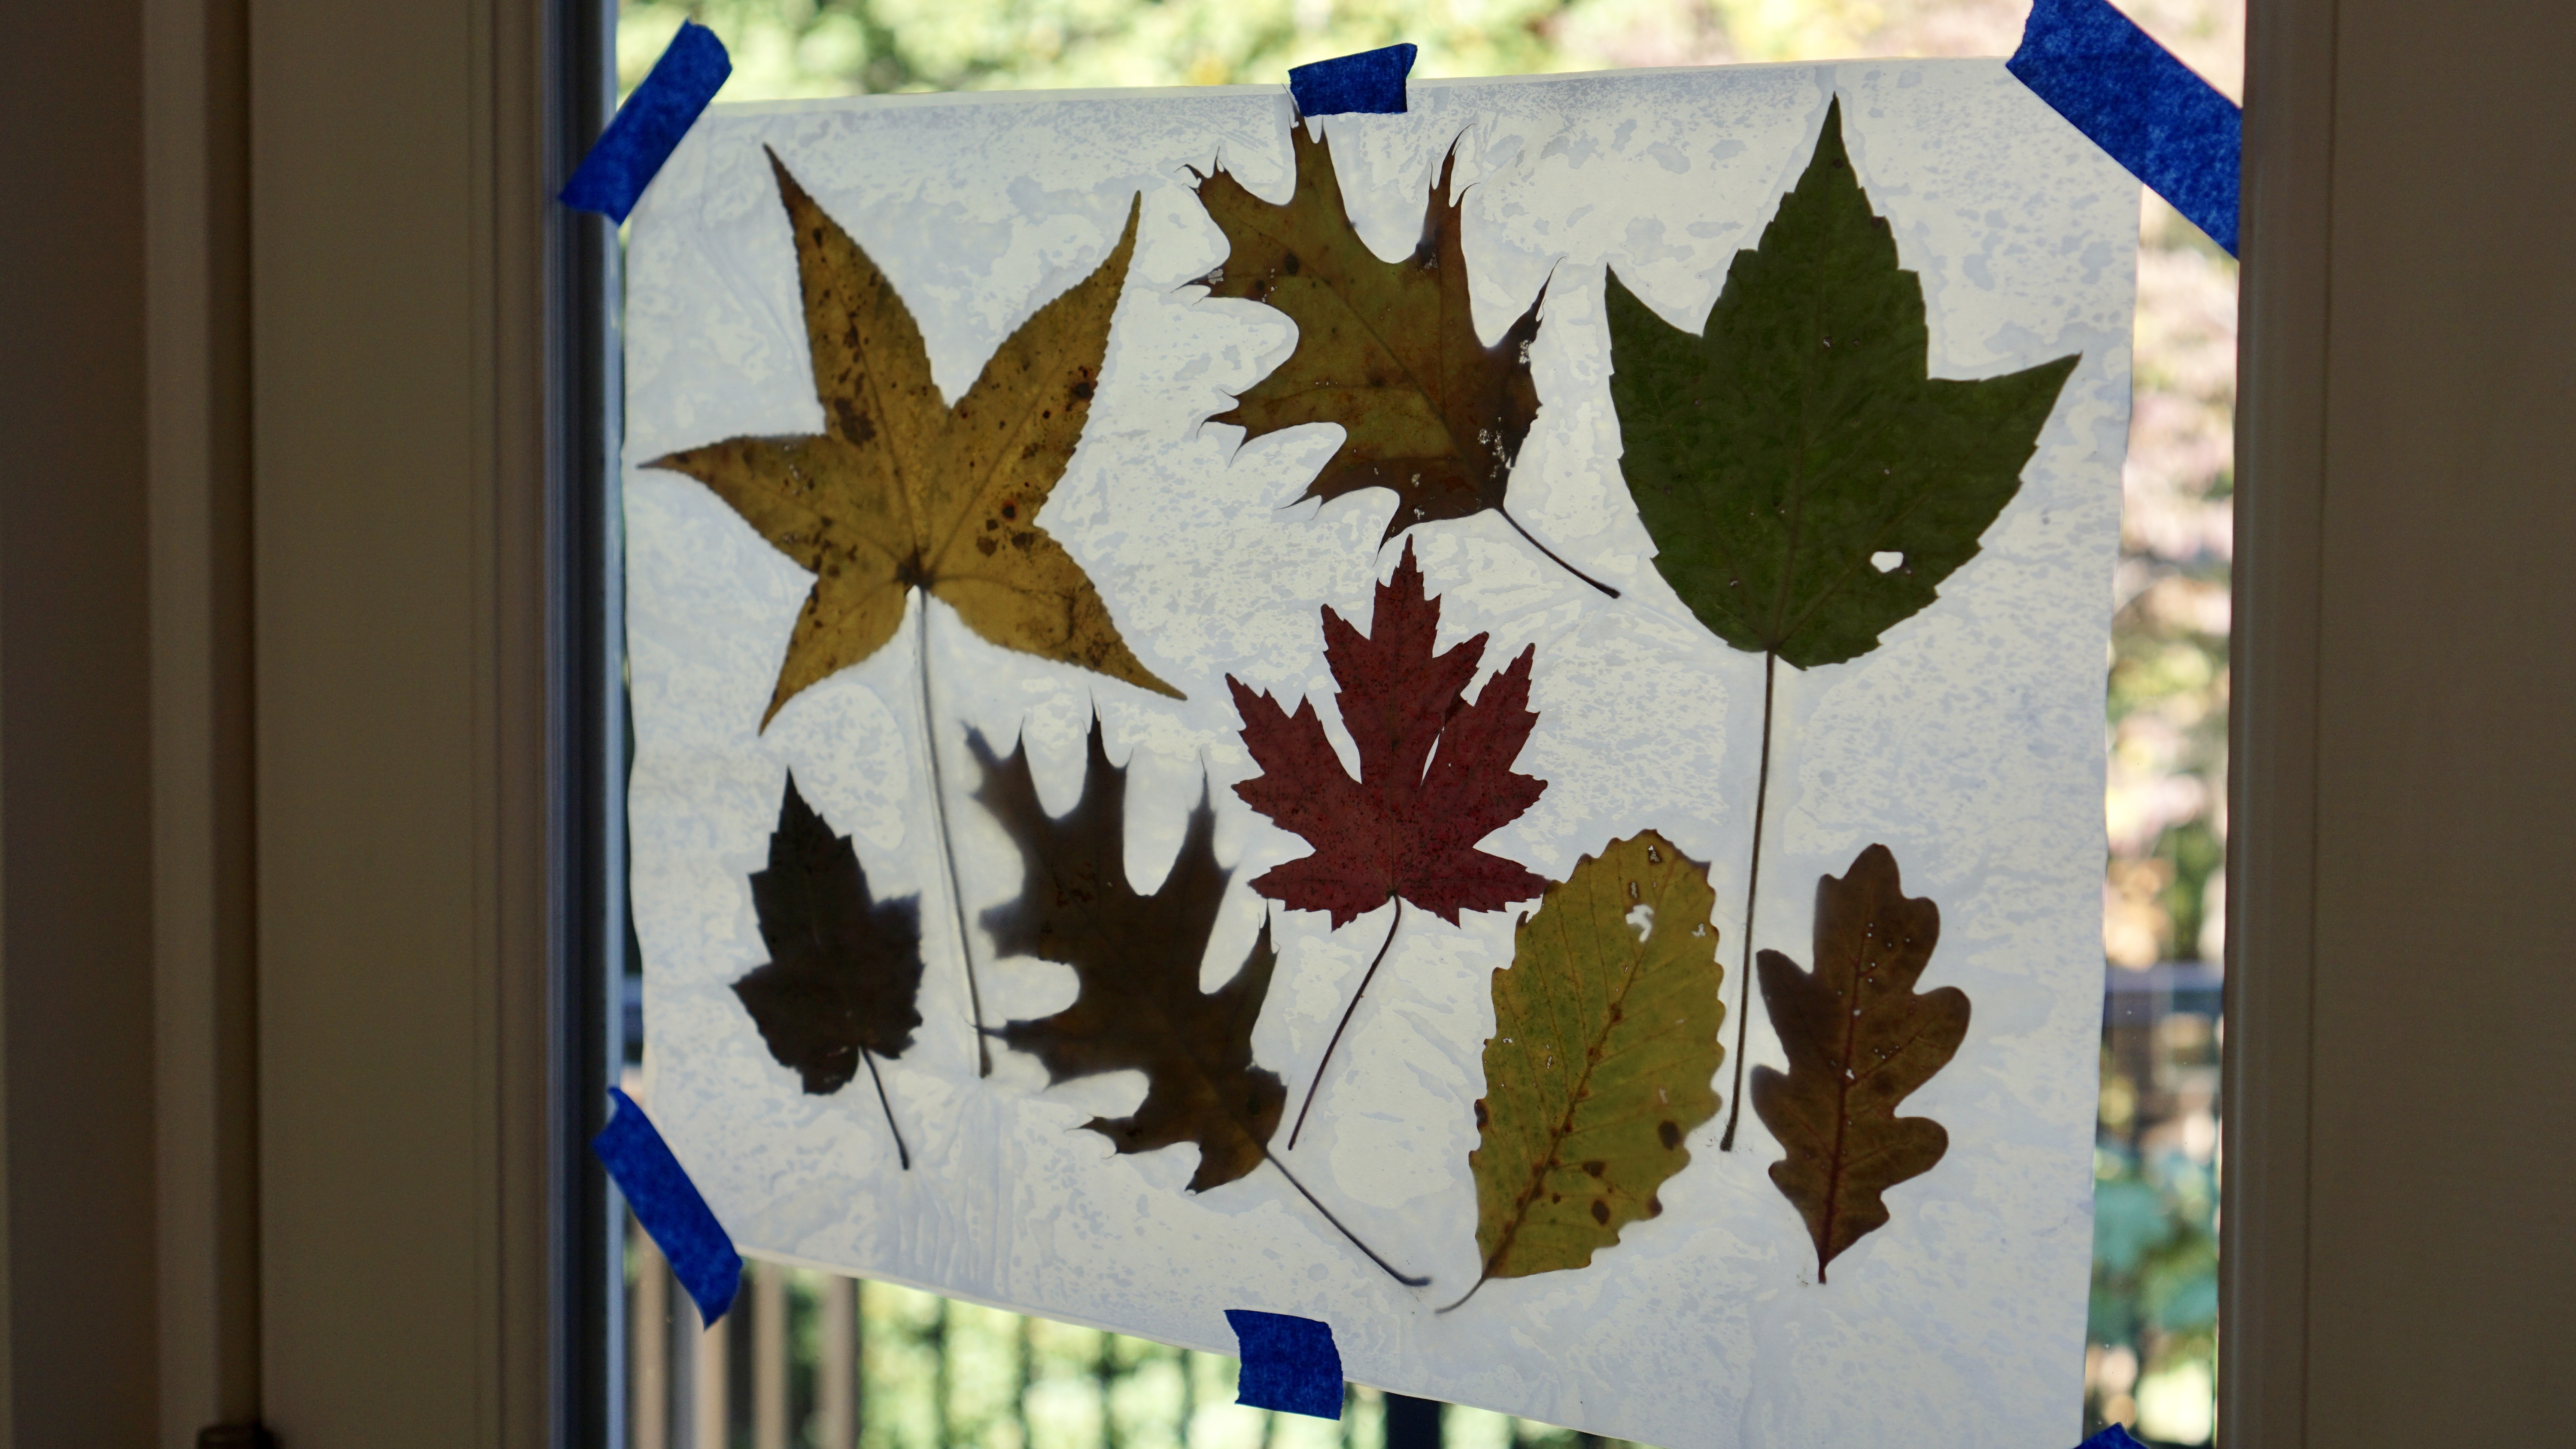
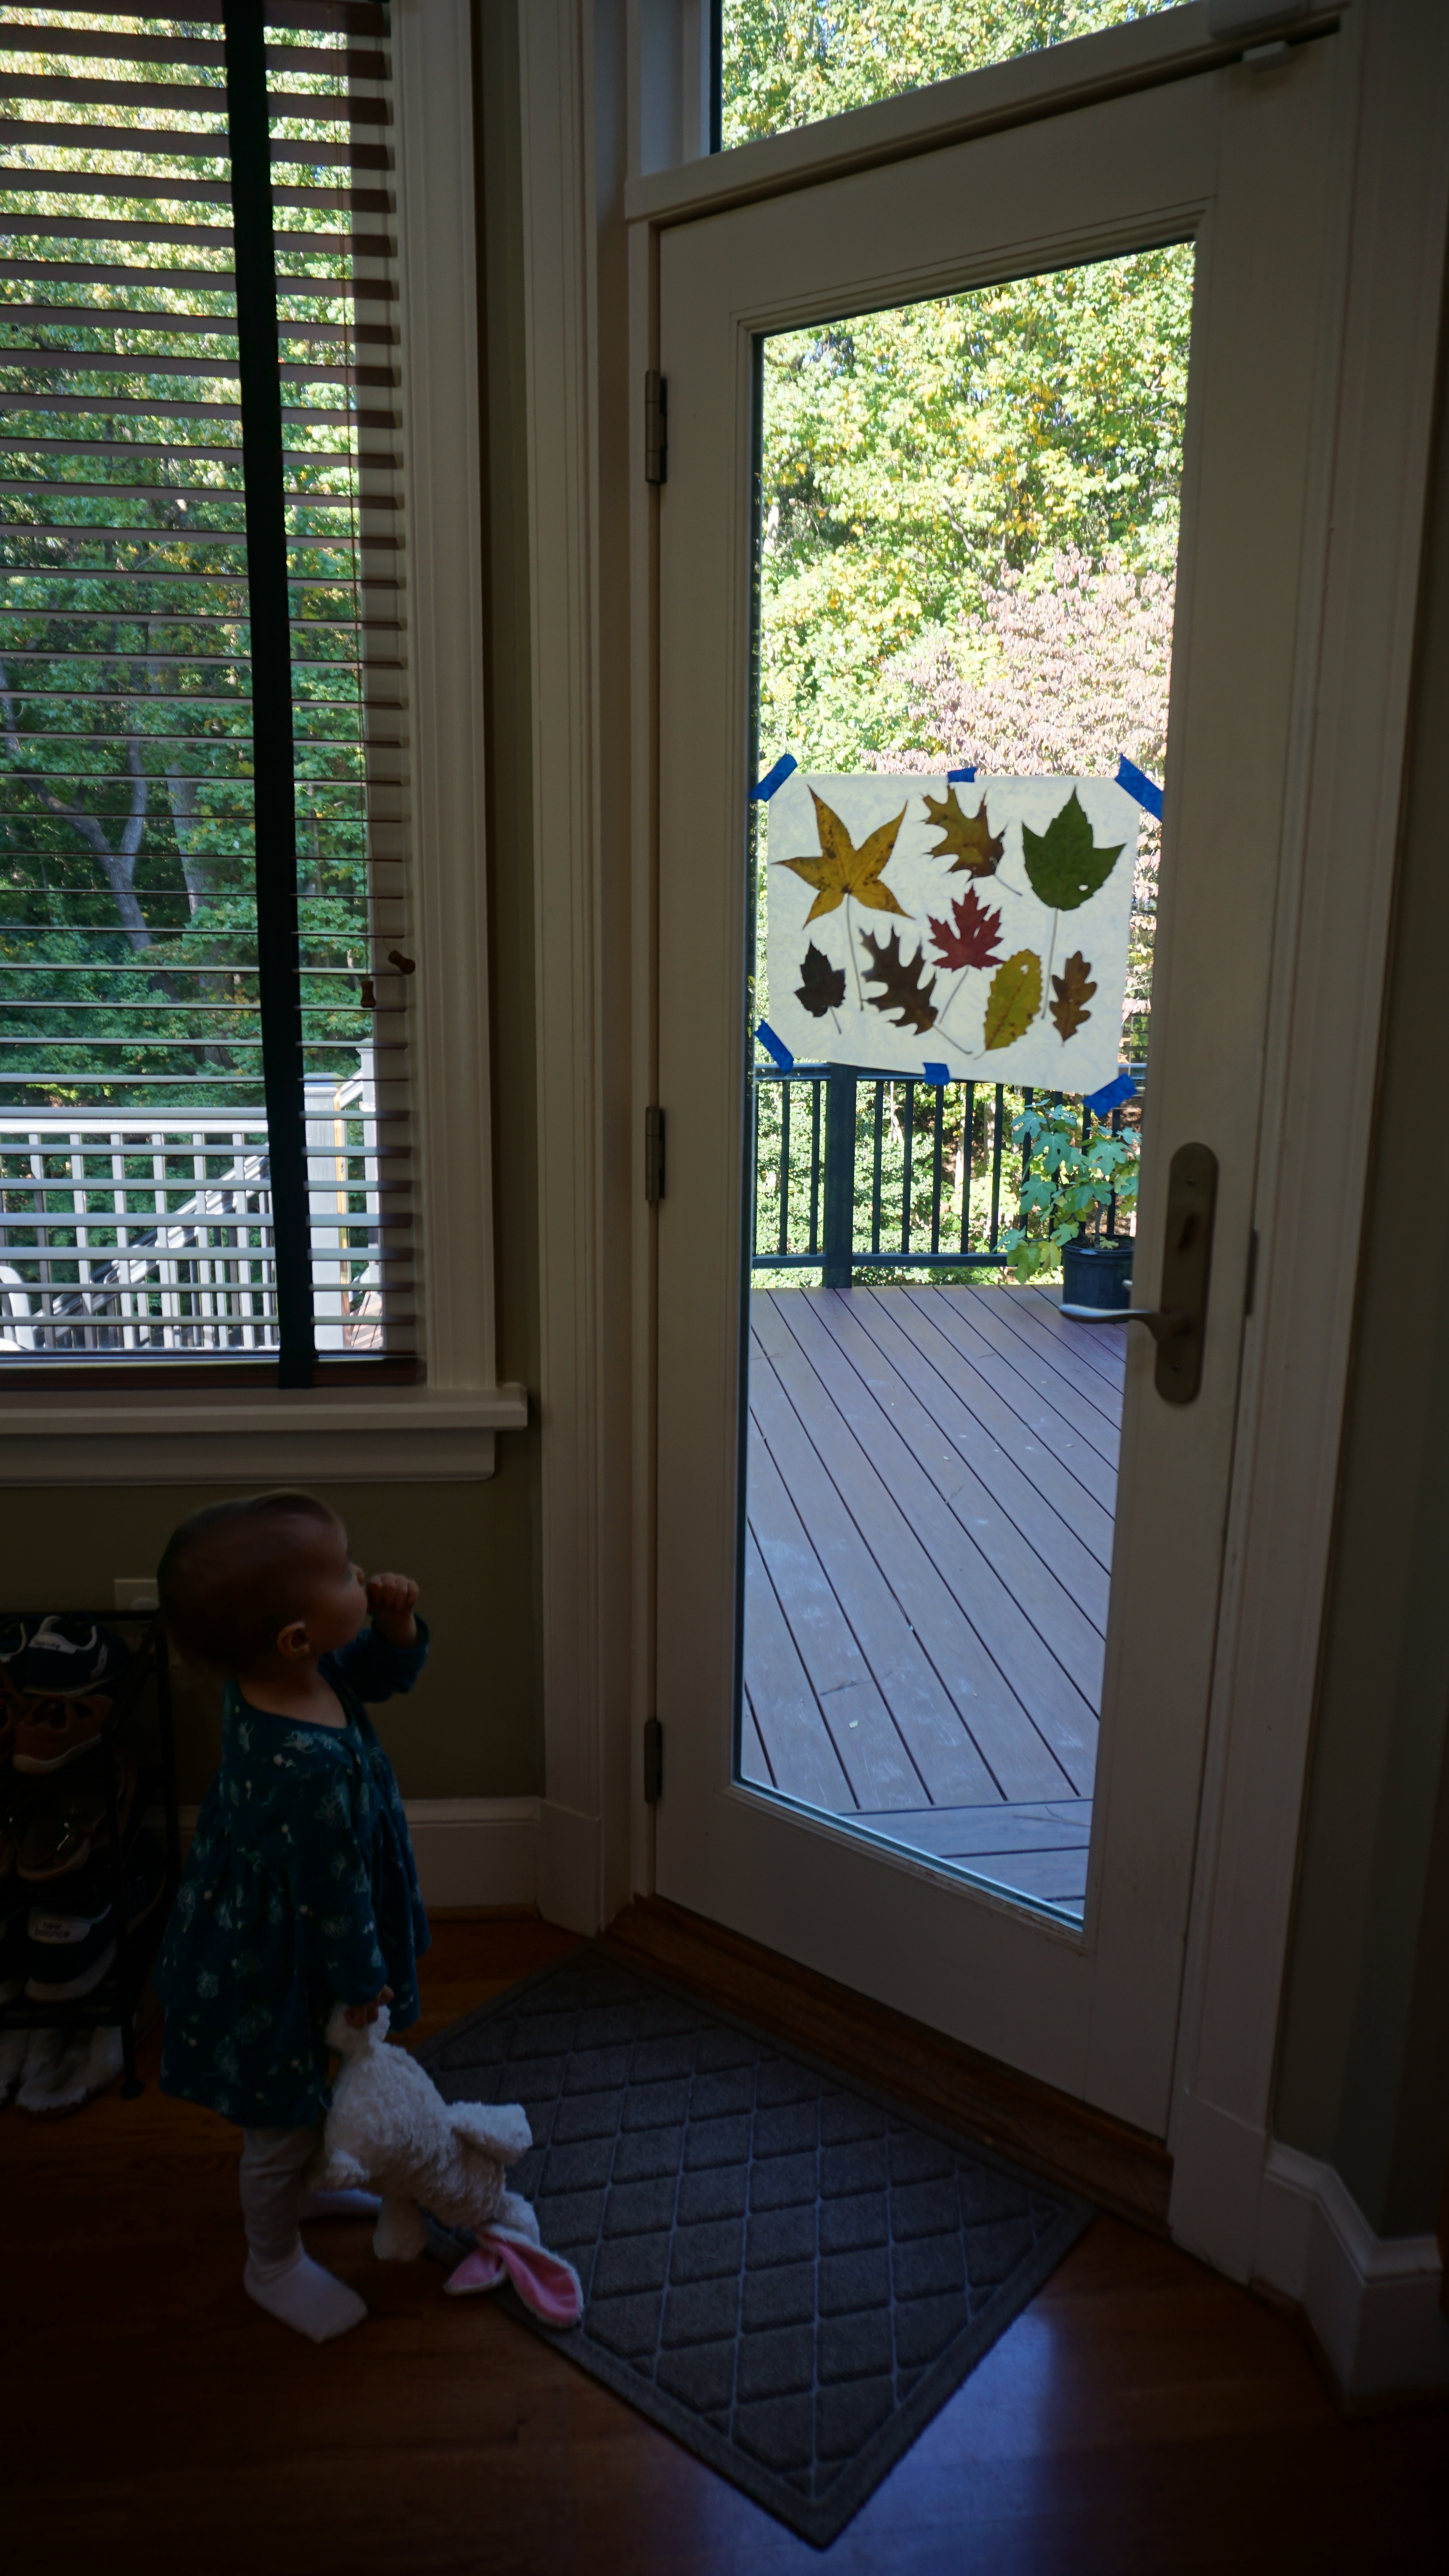
Once you have found your collection of leaves, simply lay them out on kitchen wax paper. Cover it with another layer of wax paper and iron them. The heat will keep the two papers adhered to one another and your leaves preserved inside.
All in all, it was great way to get outside, feel the sun and admire nature. Enjoy and be safe everyone.
It’s hard for me to believe that the last entry regarding canoe restoration was back in June. Our progress has been slow but certainly steady. Amidst the throes of this pandemic, things at my workplace seem to have gotten busier….I’m seeing more patients and doing more surgeries….meanwhile COVID cases in Virginia continue to soar. Wear your masks and get your vaccines people!
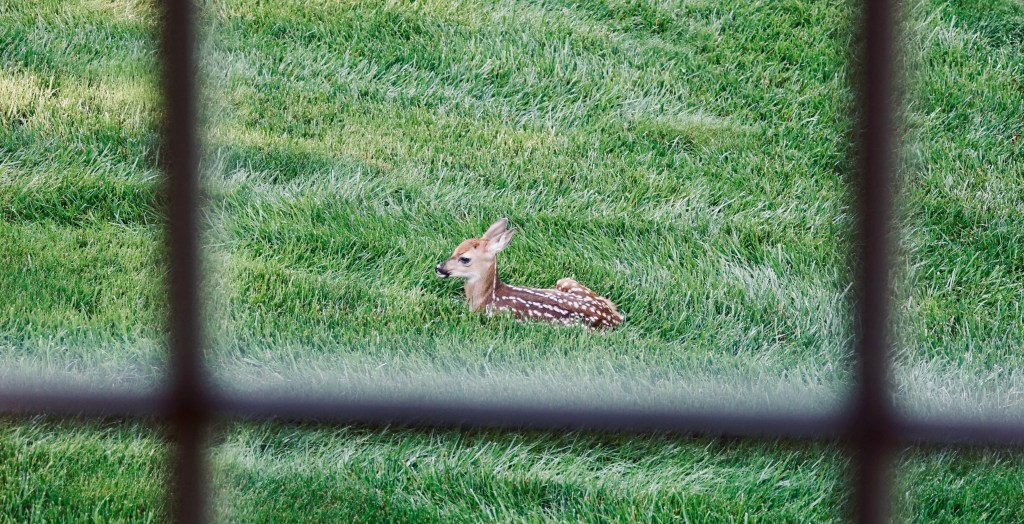
We’ve been blessed with numerous wildlife sightings throughout the building process. One of most special was the birth of a white-tailed fawn right on our lawn. He was named “kangang” by my 3 year old son.
I’ve been finding some time every night, to go into the garage with my kids and work on something….anything….if only for 20 minutes at a time. Lately, I’ve been striving for more discipline, the practice of doing a little bit of work, everyday, in several different areas: exercise, work, learning languages, woodworking, music. It really is incredible what can be accomplished with just 30 minutes a day towards a goal.
Step 1: Building canoe cradles
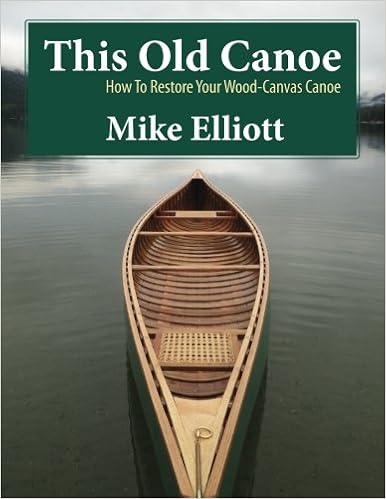
We are grounding most of our work around the guidance of this book: “This Old Canoe” by Mike Elliott. It has proved very helpful so far.
The priority was building a stable platform for working on the canoe. Flimsy and old cedar planks were coming off the side of the boat and it was simply not safe to keep the canoe on saw horses with children about, not to mention the strain it was putting on this old canoe. I’ve been reading the book: “This Old Canoe – by Mike Elliot”, and used the plans inside to build some basic canoe cradles. Basically out of 2x4s and old carpet stored in the attic. The slings on the cradle allow for an equal distribution of forces along the hull. Also, you can rotate the canoe along its long axis so you can work on different angles of the canoe.
Once the cradles were completed, we could breathe easy. The canoe was in a sturdy and safe platform, and most importantly it was out of the elements and I knew that it would not further deteriorate. Psychologically, it was a huge boost, knowing that from this moment on, this thing will only get better.
Step 2: The Workbench
What we needed now, was a work area to launch our operation of repairing this canoe. We needed a workbench.
We decided to take down some old cabinets and free up some space for an 8ft bench. The cabinets found new owners through Facebook marketplace….they weighed a ton.
After looking at several different workbench plans on the internet, I settled on this one:
It was a very simple design and it seemed sturdy enough for our work. After many hot, summer day trips to Home Depot and a lot of sweating while sorting through lumber piles, I acquired all the wood that I needed. The cost of materials was less than $150. My son and daughter had a blast building this thing. My son, particularly enjoyed chiseling the half lap joints for the 2x4s. I didn’t have a table saw, so the cuts were actually just made using a compound miter.
We coated the table with a coat of boiled linseed oil. (Whenever you work with flammable oils like linseed, make sure your rags are disposed of safely. These can spontaneously combust. I generally soak the rags, and then leave them out to dry either in a metal can or on the drive way before disposing of them).
We subsequently had to paint the wall where the cabinets used to be and then replace the wall base vinyl which was easy enough.
Now we’re ready for the next phase……doing a thorough assessment of the extent of canoe repairs and figuring out a way to acquire the materials and tools necessary for the job. We are looking forward to working in a cooler shop now that autumn has arrived. Onward!
***As with all projects please make sure you wear proper eye protection. As an ophthalmologist (physician and surgeon specializing in eyes), I have treated vision threatening eye injuries from accidents in the workshop, construction sites and even in the gardens. In ophthalmology, it does not get more serious than an “open globe injury”. This is a scenario where the eyeball itself has an opening, either from a tear, blunt trauma or a projectile object. In the workshop, some of the worst injuries are from flying species of wood or metal that can penetrate the eye. The surgeries to repair these injuries can take hours and the visual prognosis often very poor. Prevention is key, WEAR safety goggles…PERIOD. ***
This is a photo of me repairing an “open globe injury” in the operating room. The eyeball in this case has been penetrated by a piece of steel. This was a high velocity injury. This occurred when the patient was hammering a metal stake with a sledge hammer. A piece of the stake broke off and went flying into the patient’s eye. The surgery was over 4 hours and the patient never regained meaningful vision. Wear safety glasses people.