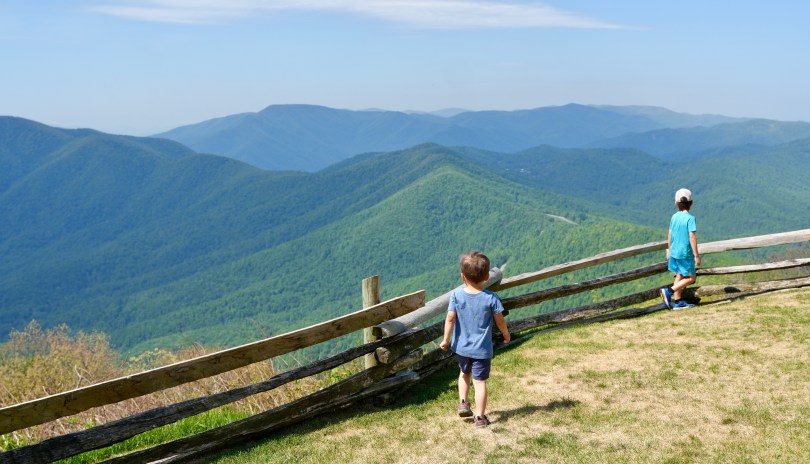
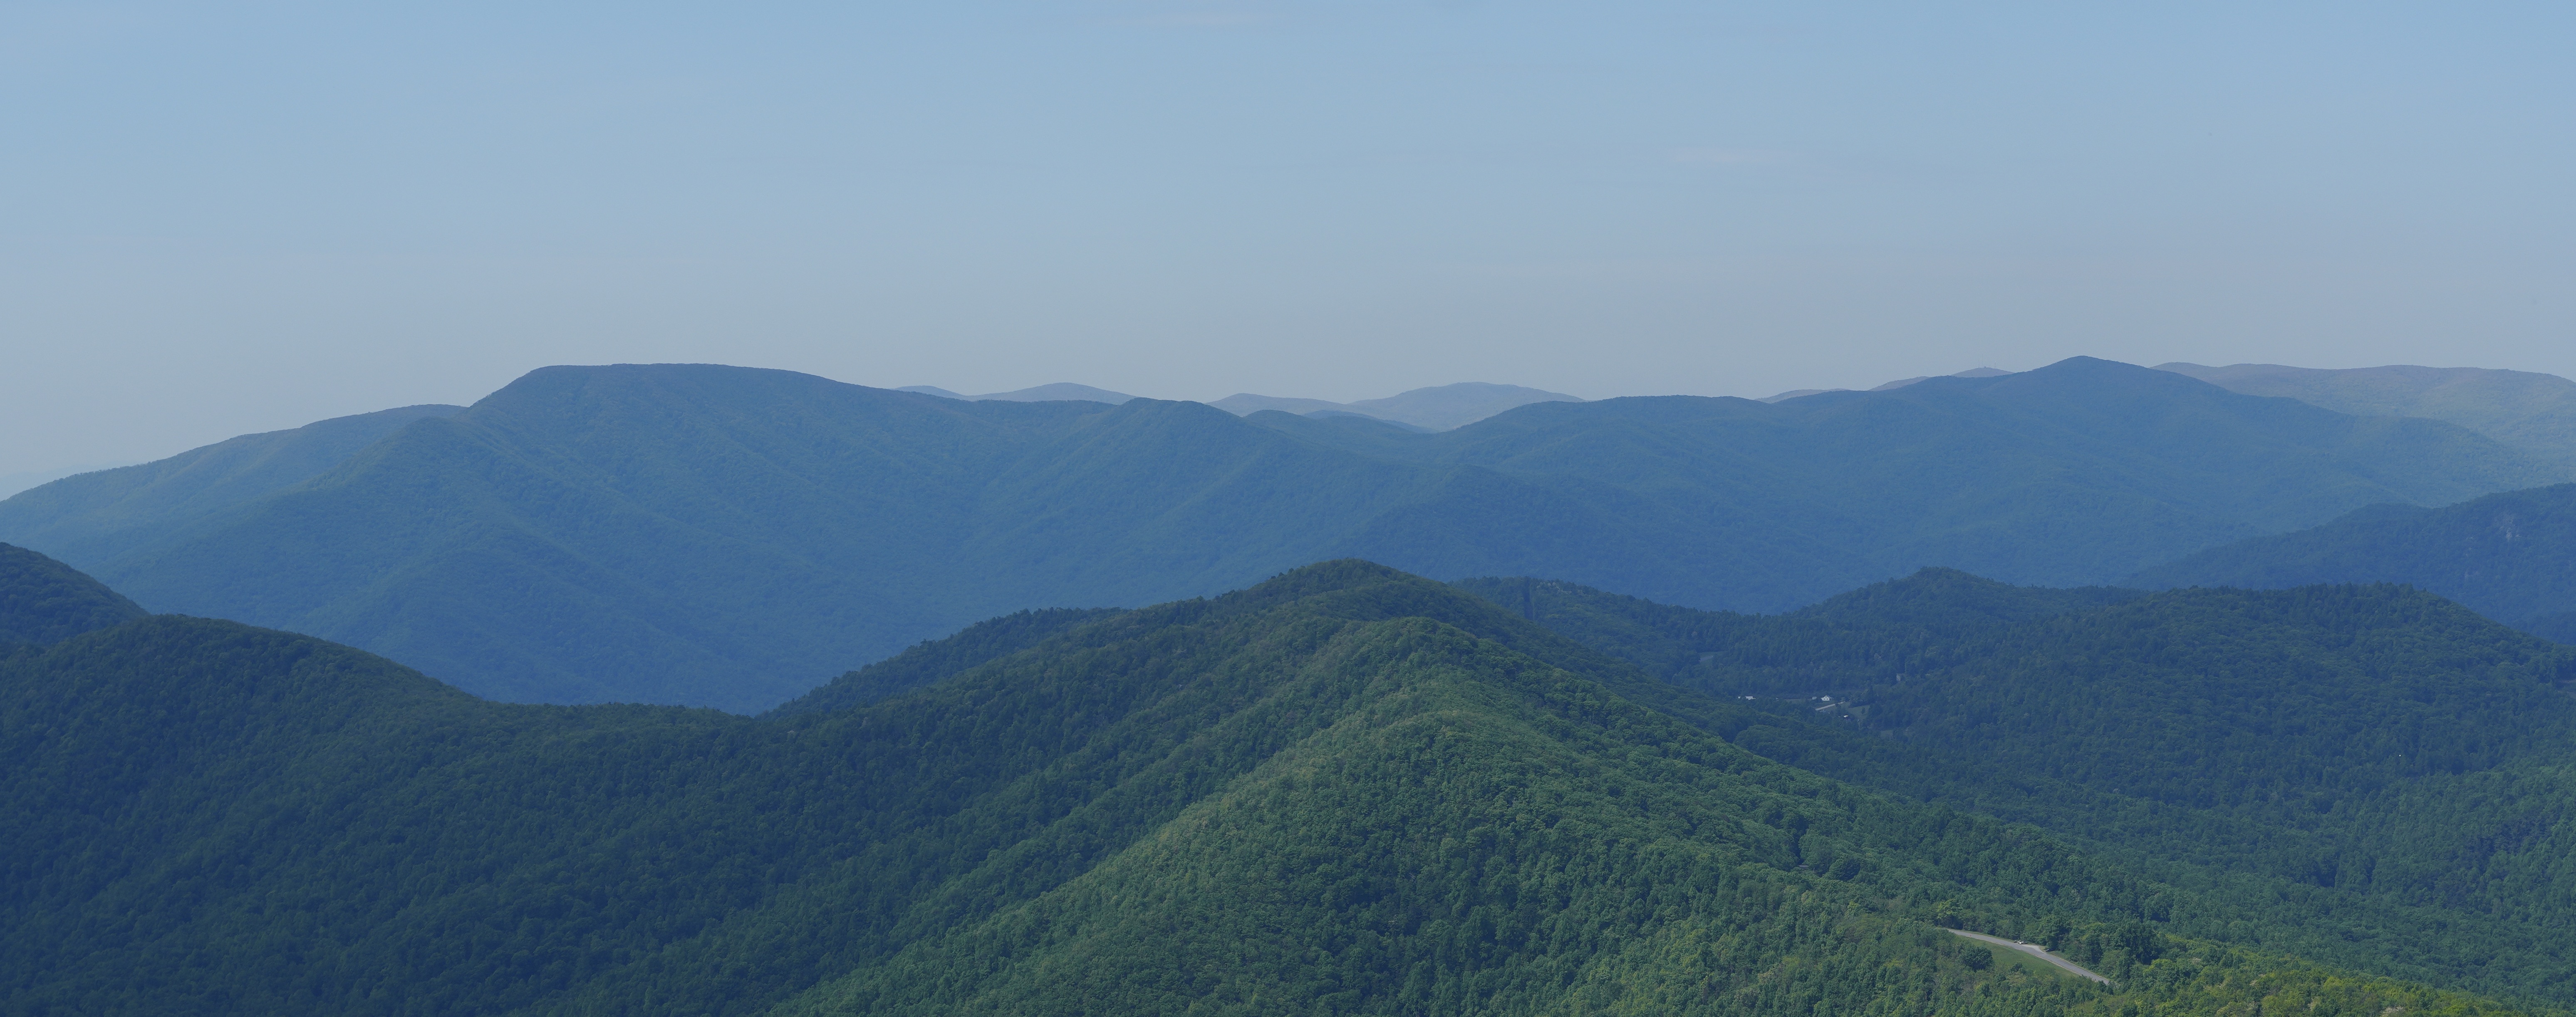
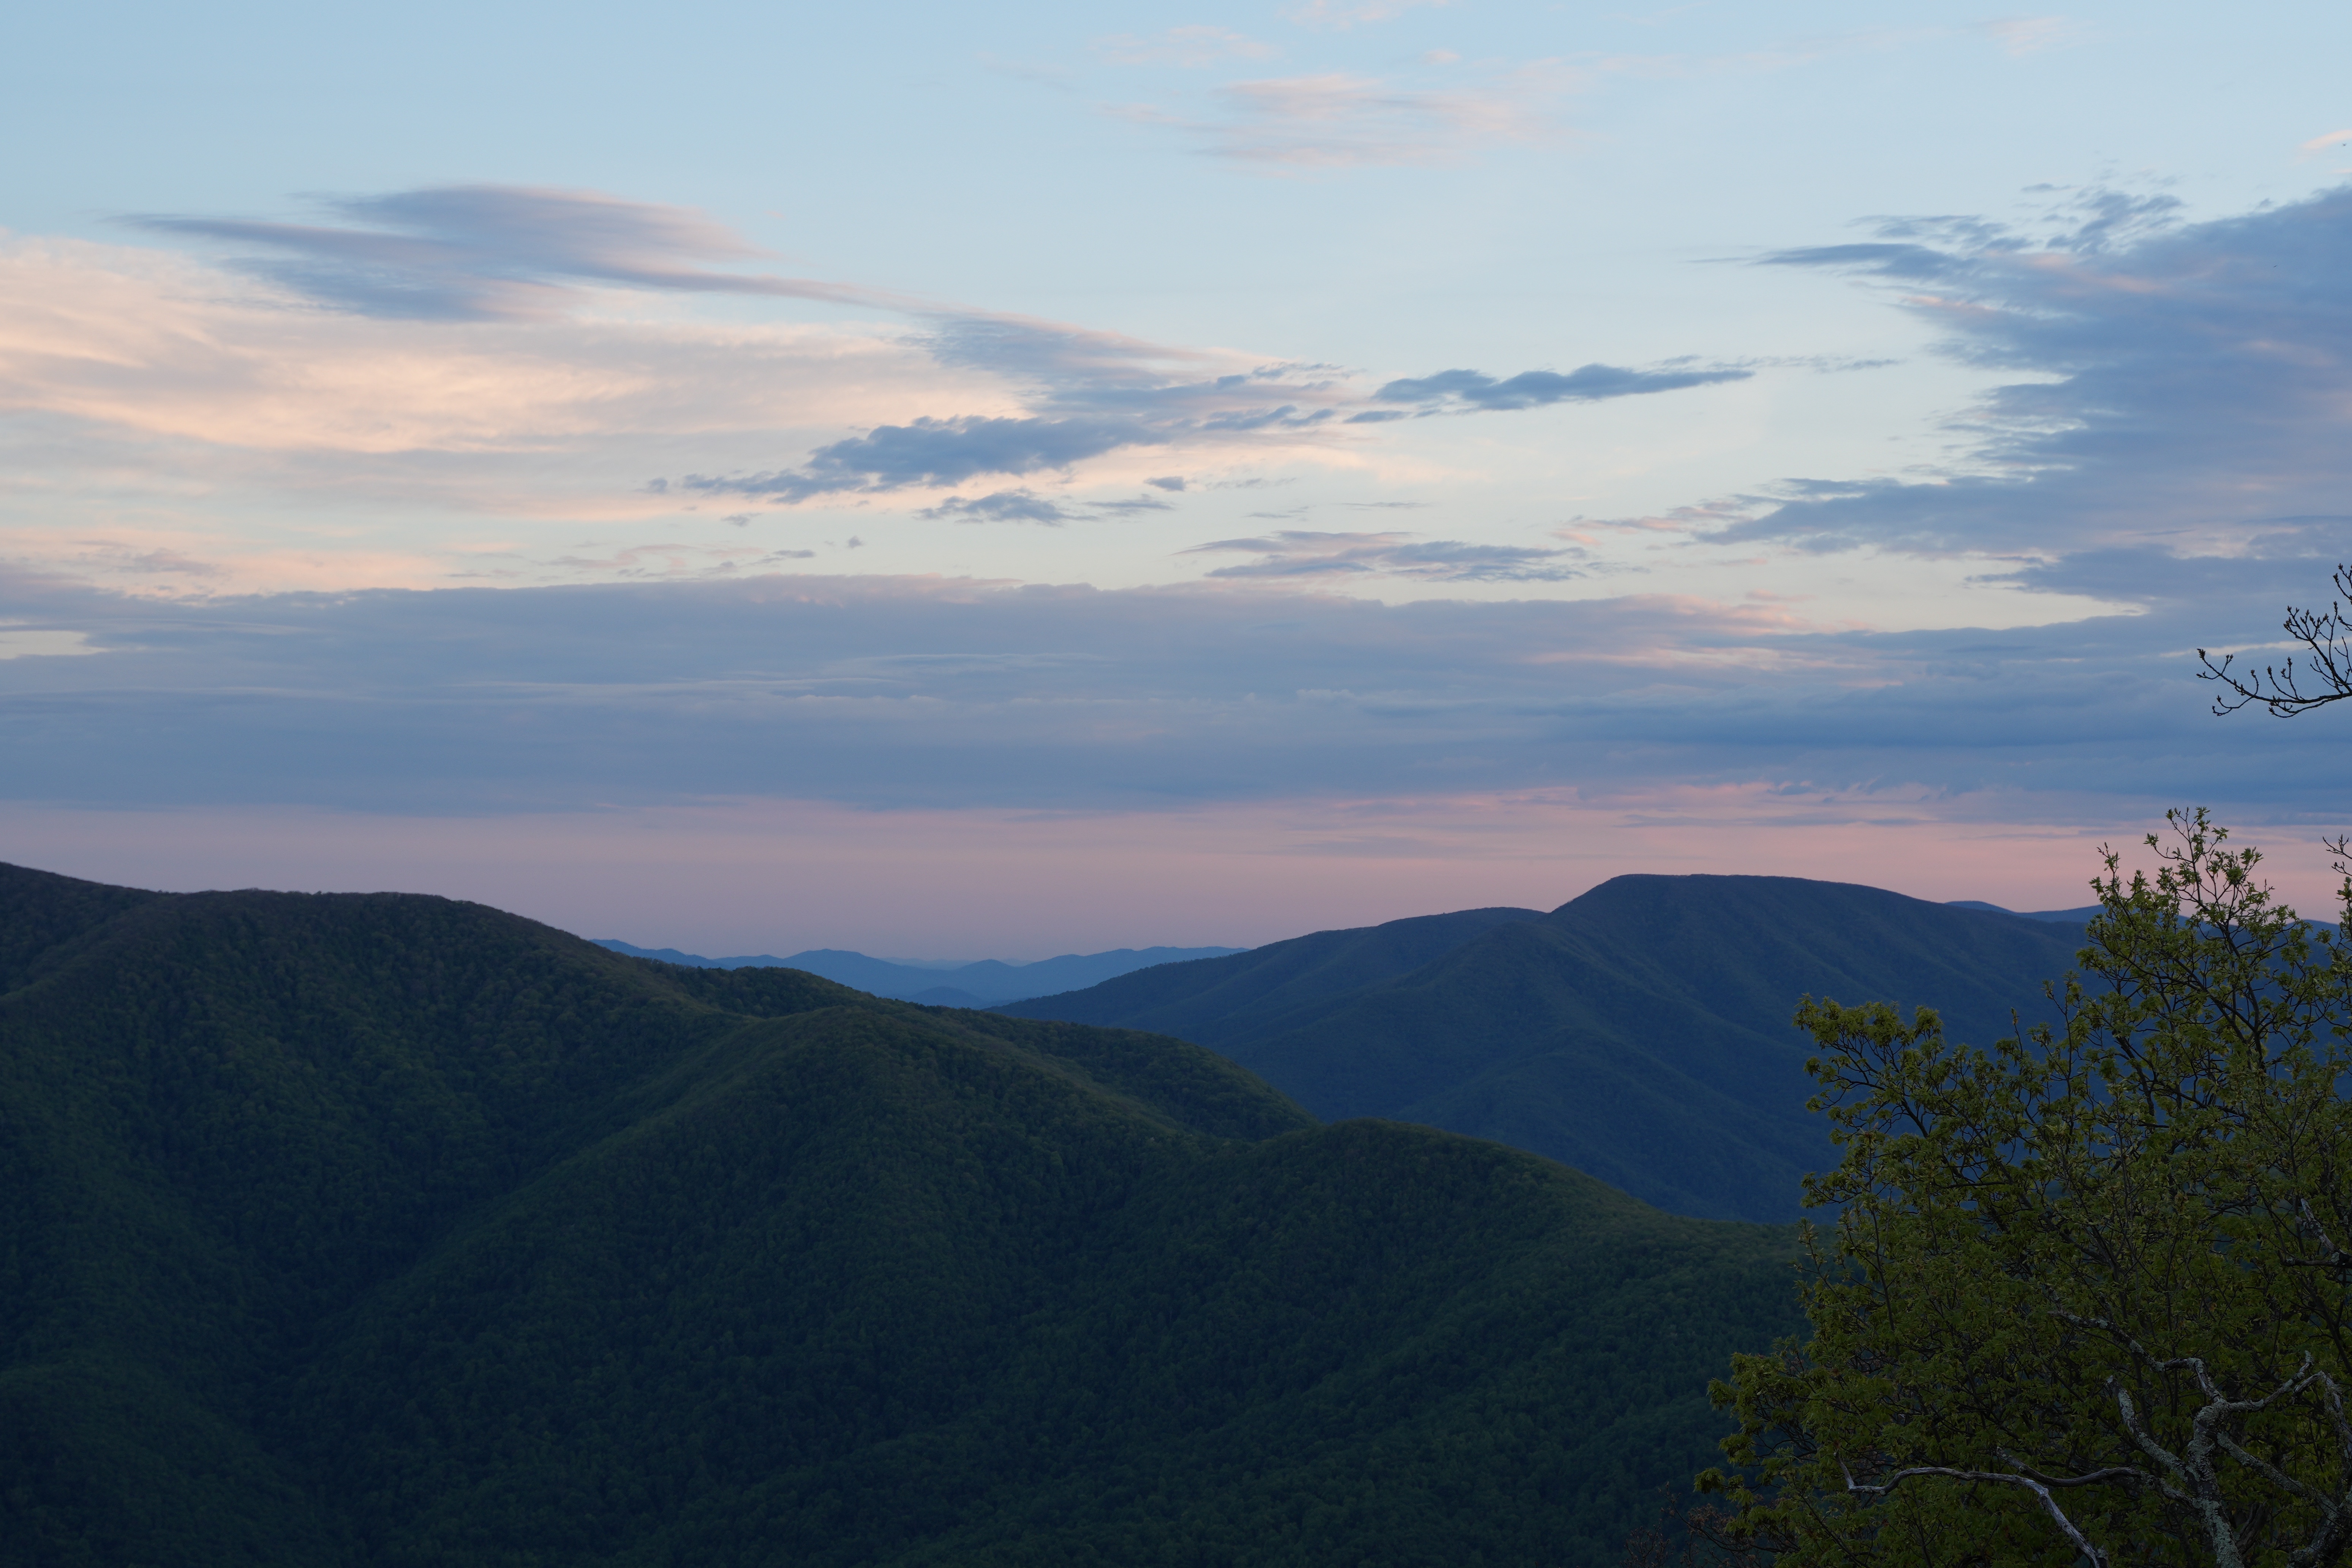
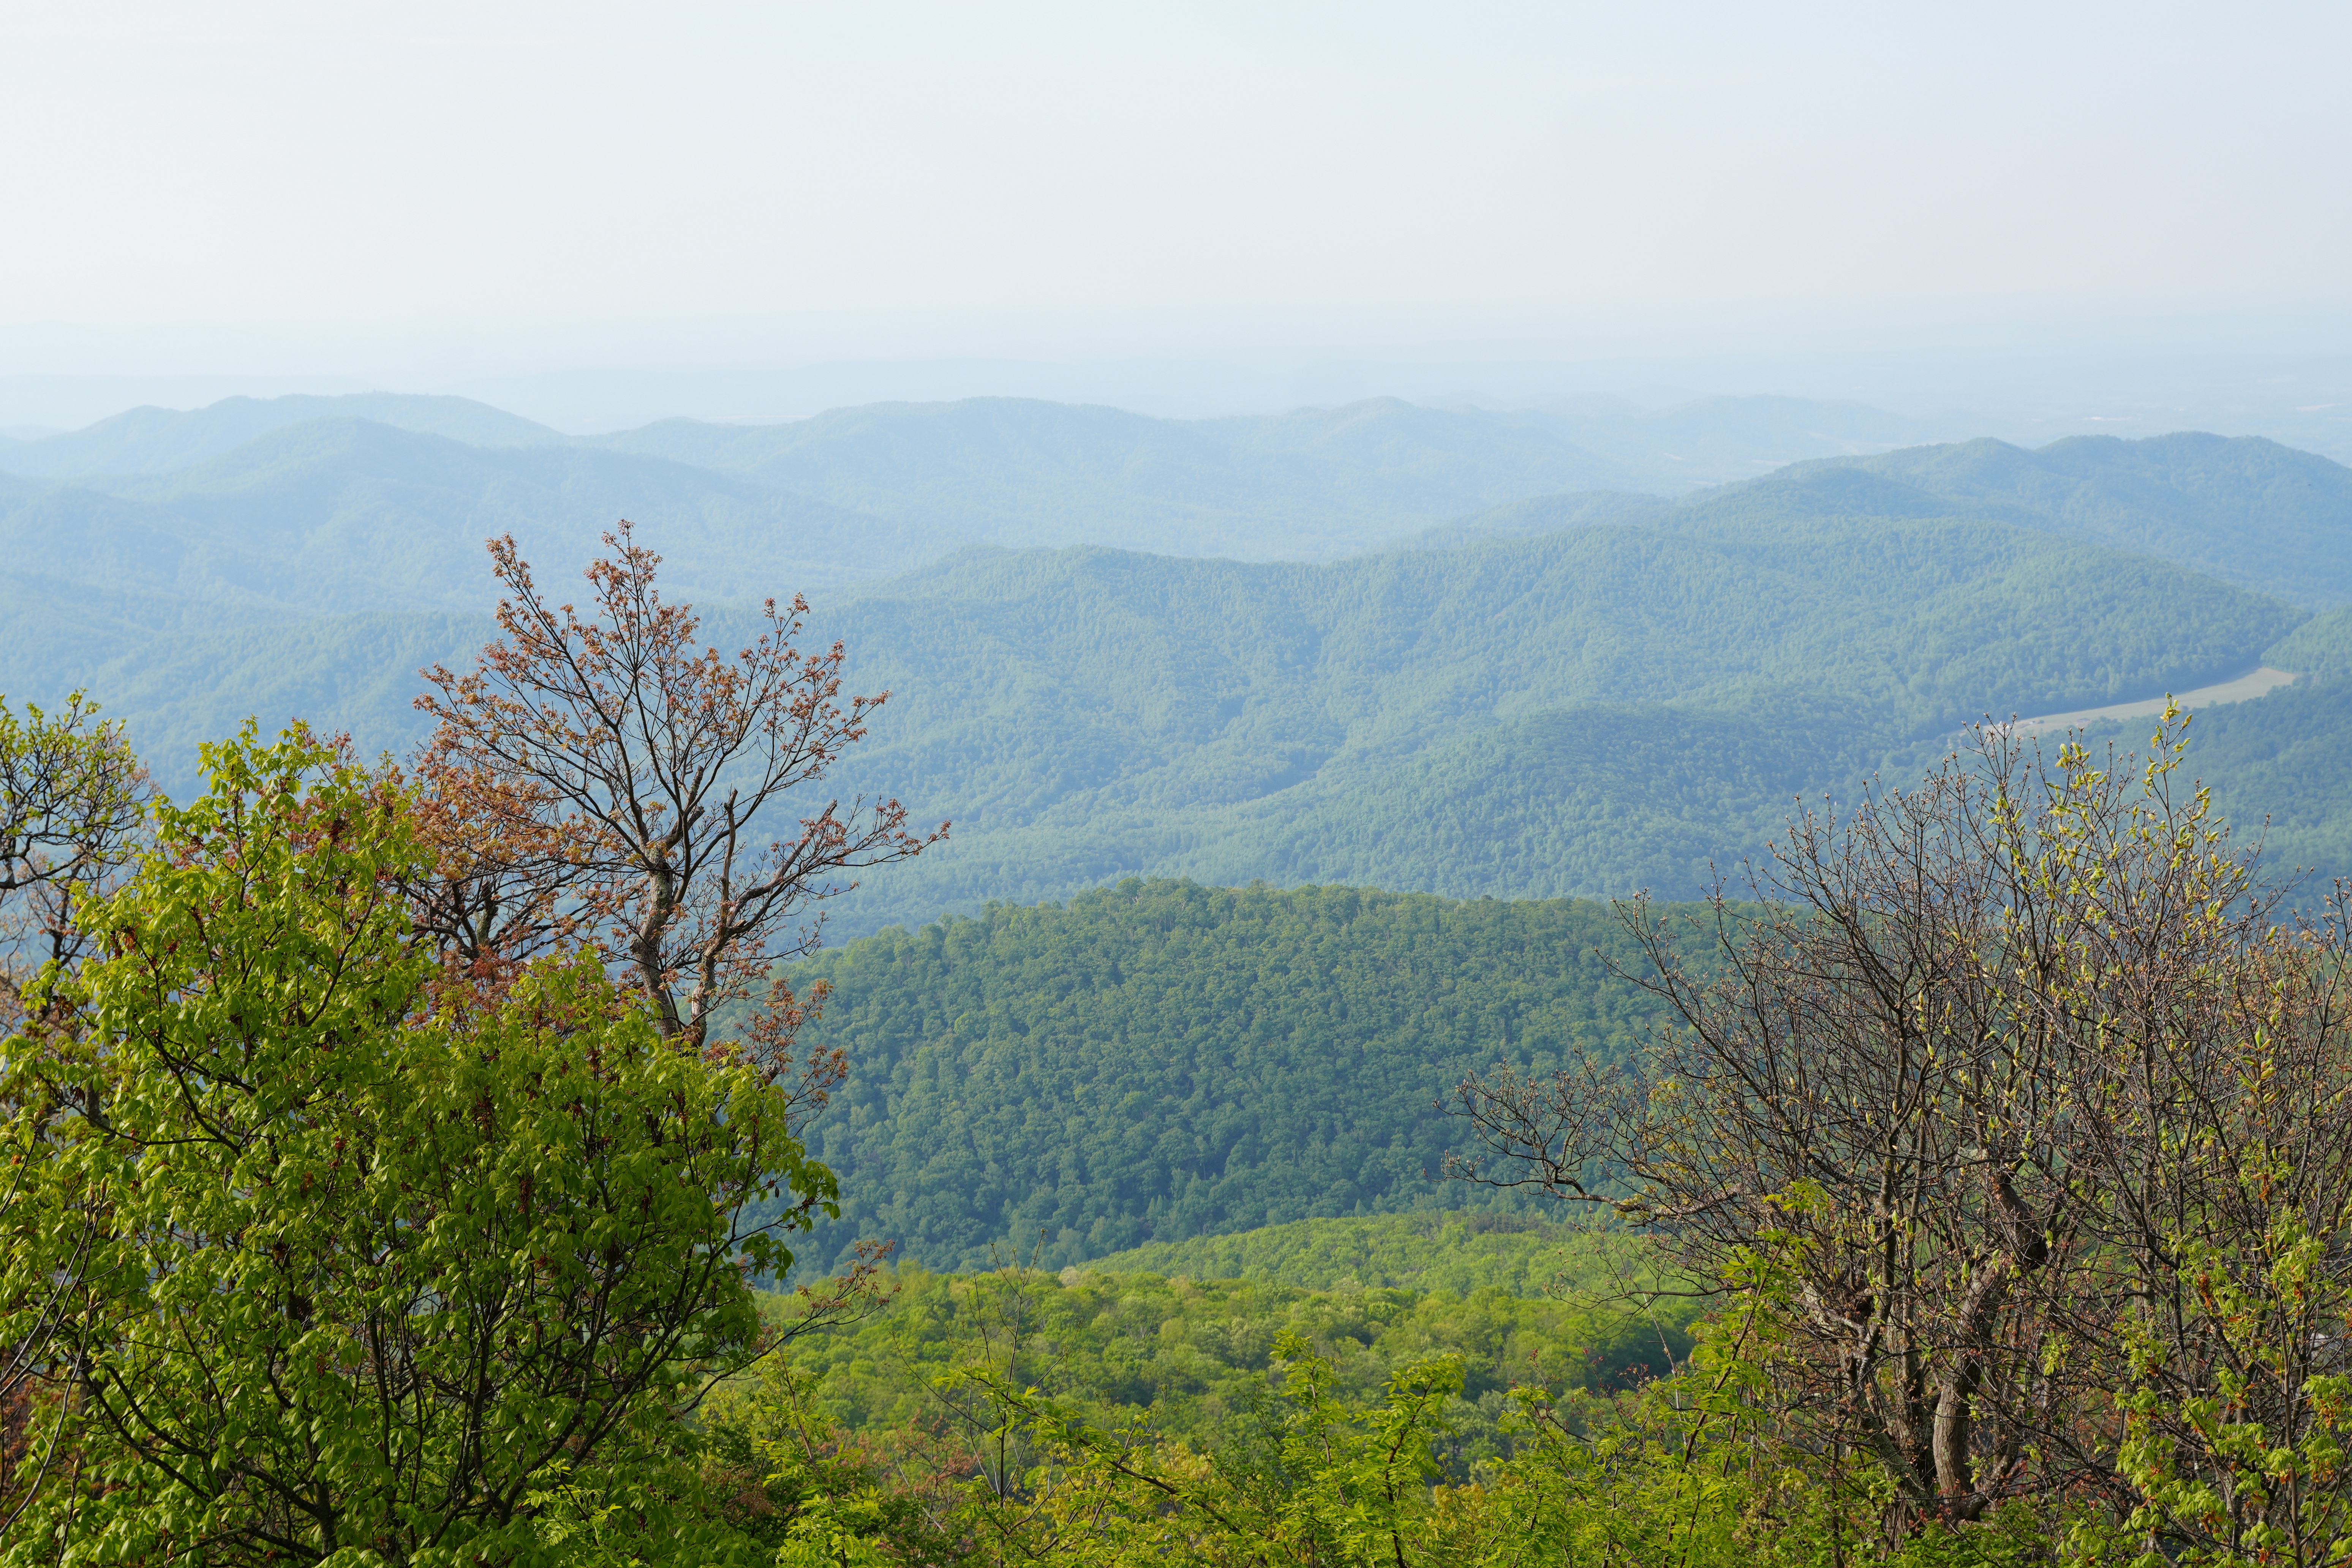
No matter how many times I lay eyes on the Blue Ridge Mountains, its vastness and splendor never ceases to amaze me. I have been hiking this range for over 20 years, and it has always been a place where I can realign myself, clear the mind, and recharge the soul. When I was younger, during tough years of schooling, I remember coming up to this place to help me navigate difficult crossroads and decisions. I always found the crisp, mountain air and the rigor of a tough hike, rejuvenating and it never failed to bring me clarity.
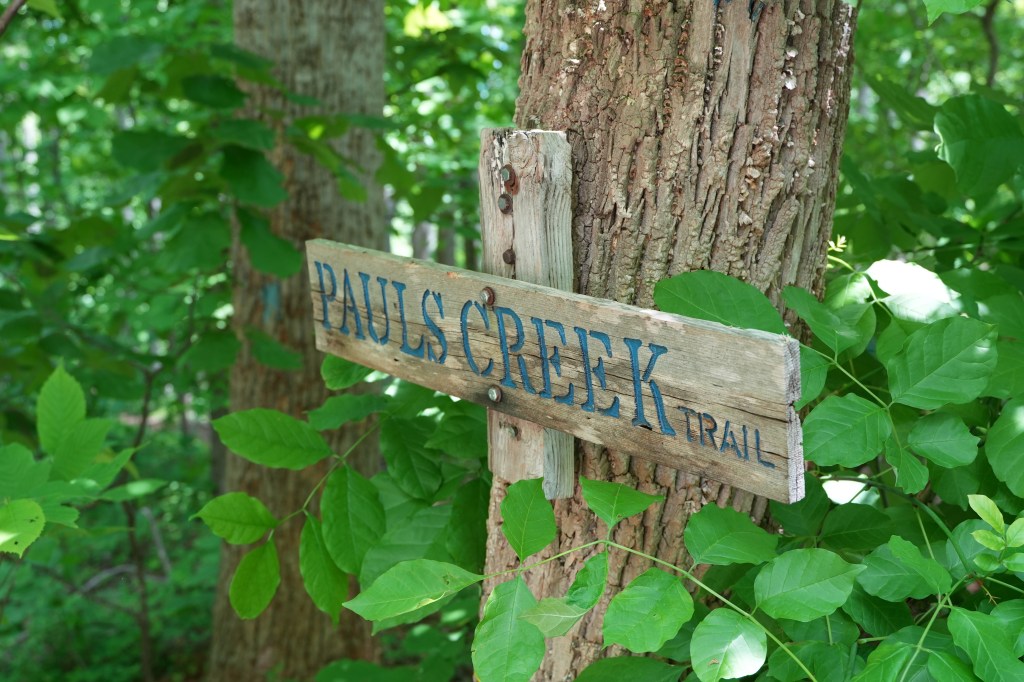
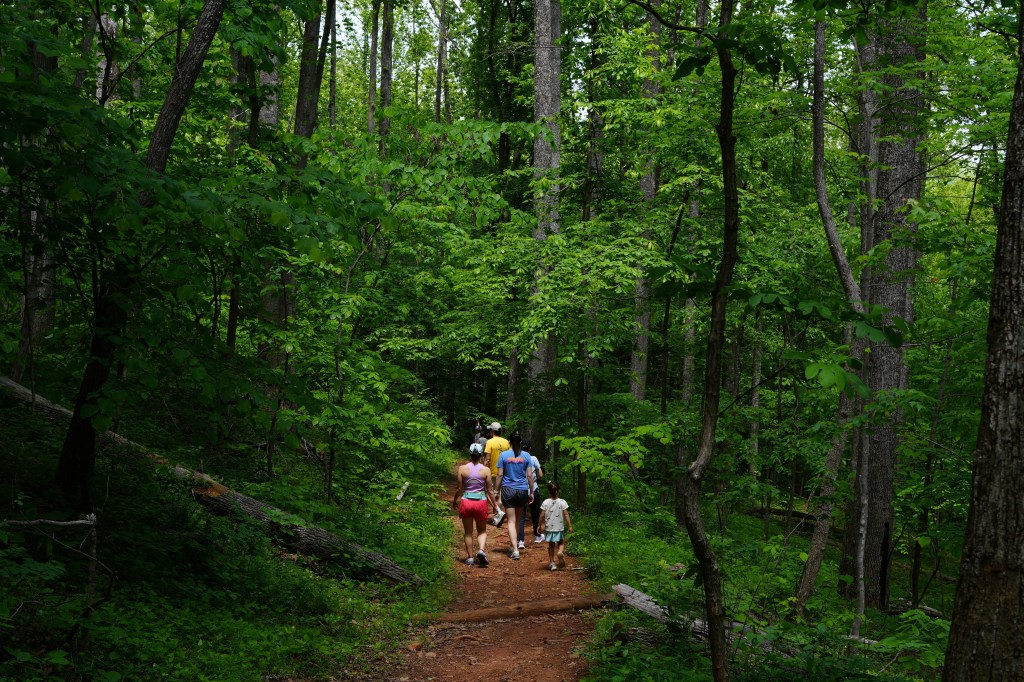
Paul’s Creek Trail is located in the Wintergreen Resort area
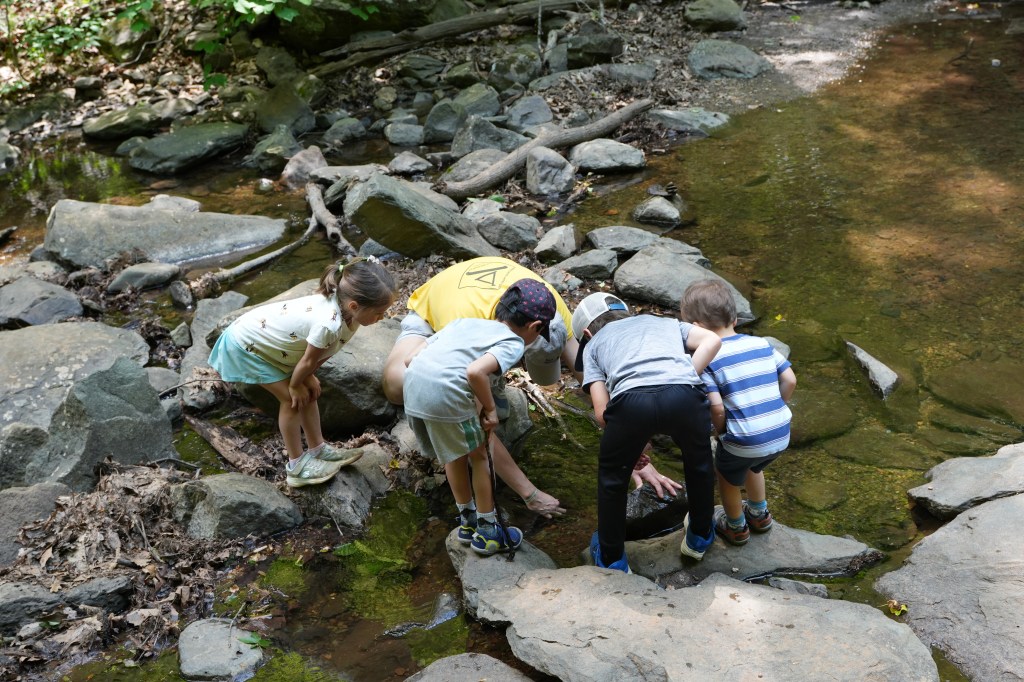
We found a perfect weekend in May to bring the whole family to enjoy the mountain air in the Wintergreen Mountain area of Virginia. We took a platoon of young children and found a very relaxing and peaceful trail called Paul’s Creek Trail. The trail is an easy 1.2 mile in and out trek through a gentle cascading creek. During times of heavy rain fall it serves as a natural water slide as well with a couple of good wading areas.
It’s certainly nice to get off the busier hikes in Virginia (Old Rag Mountain, Dragon’s Tooth, McAffee’s Knob) once in a while. The distance was appropriate for young toddlers and the elevation change was only 328ft.
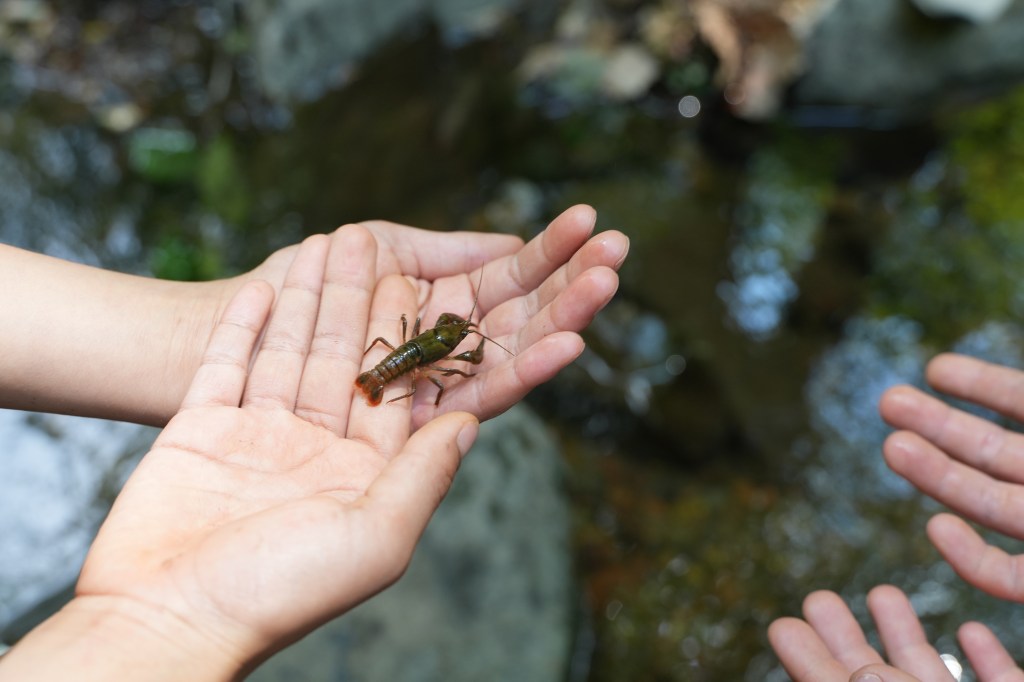
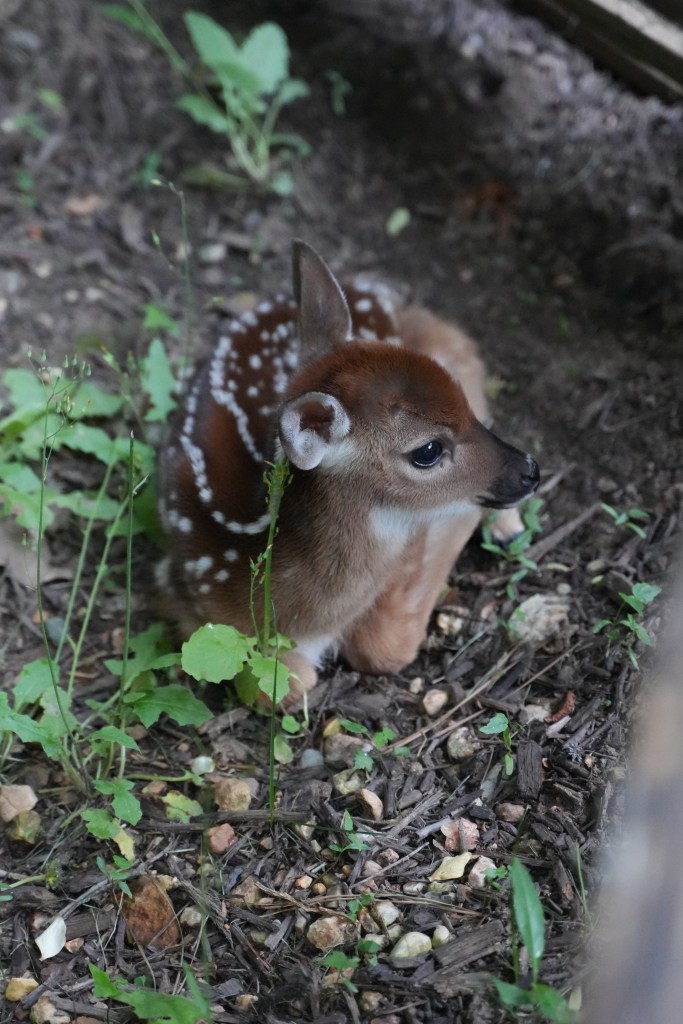
We encountered alot of wild life during our time in the mountains. May to June is typically when the white tailed deer give birth to new fawns. The month of May is also a big one for migratory birds making their way back up north. The Blue Ridge was alive. We spent the days watching the sun light up the valleys, and listened to the sounds of the mountain range. Virginia is a beautiful place.
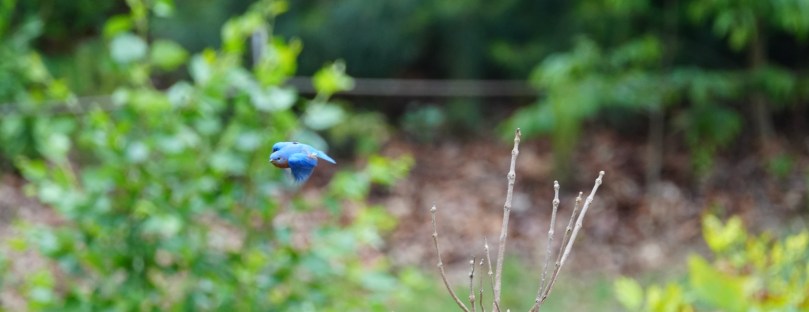
Catching a busy bluebird mid flight
Photos taken on a Sony A6700 with a Tamron lens 28-75mm.
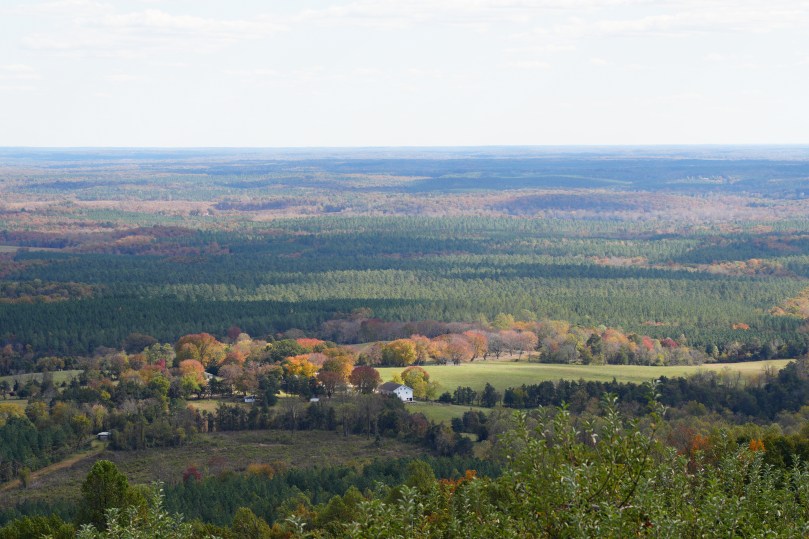
The view from on top of Carter Mountain Orchard, in Charlottesville, Virginia. A good pit stop for apples, apple cider and donuts.
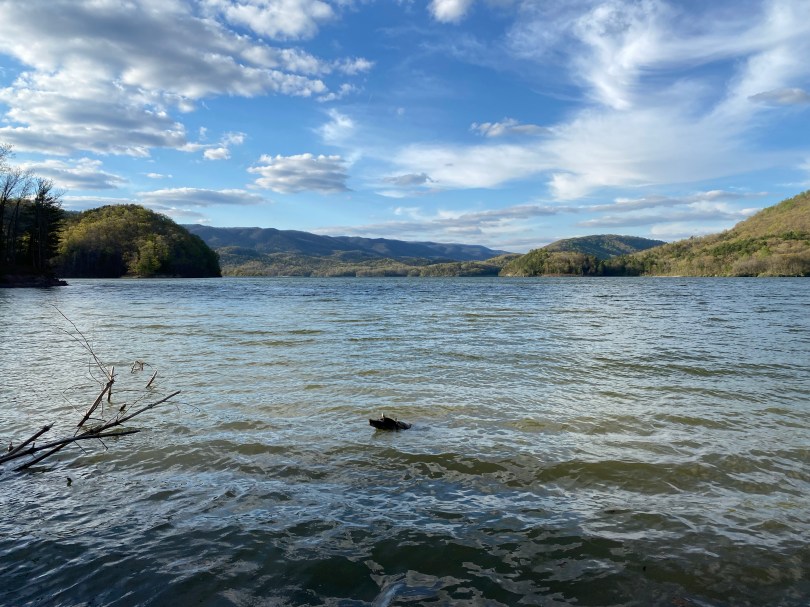
“Virginia State Parks are a tonic for the mind, body and spirit”. This creedo is printed on Virginia State Park trail guides, and I couldn’t agree more. I’ve heard so many great things about the Virginia State Park cabins but I have never actually stayed in one. They are also known to book up very quickly so I reserved a cabin at Douthat State Park about a year in advance. Situated near the Virginia and West Virginia border, Douthat, is one of Virginia’s oldest state parks, featuring miles of fishing streams, a 50 acre lake and loads of trails.
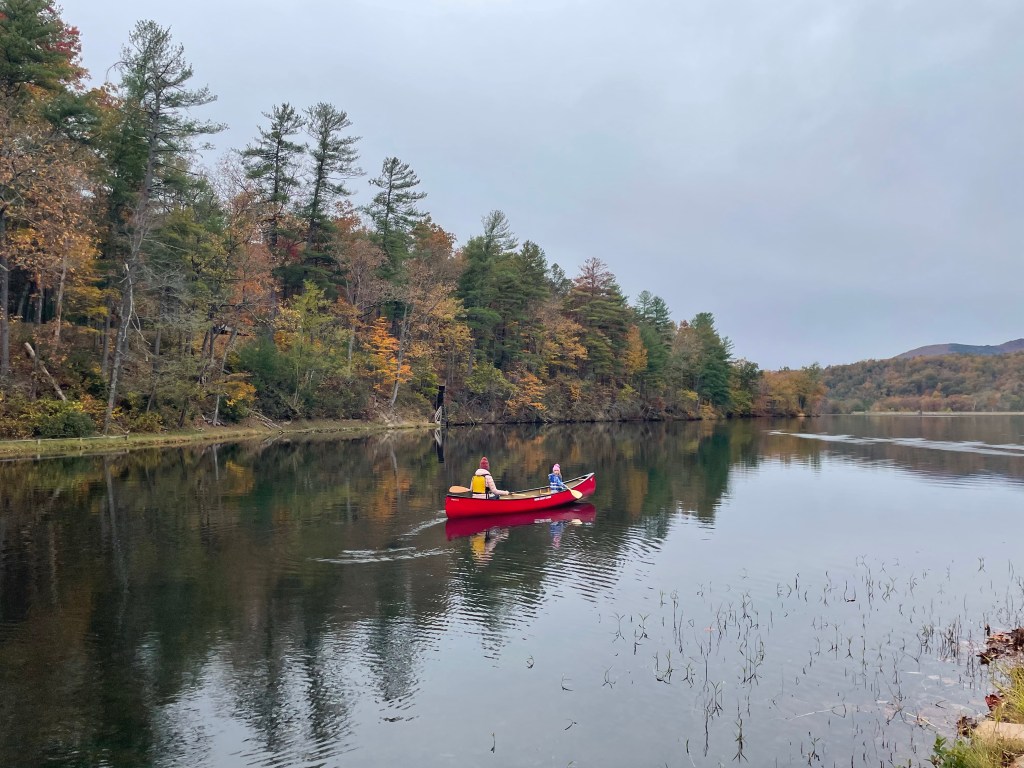
The jewel of Douthat State Park is a clear, 50 acre mountain lake. The lake is fed by a Wilson Creek, a park of the mighty Jackson River watershed. We brought along our Nova Craft Prospector canoe to paddle the glassy waters. It’s remarkable how noisy day to day life can be. You don’t really notice such a thing, until you sit on an empty lake, hearing a woodpecker rap on a tree, miles away. I do think such experiences are important to our soul and nervous system, to help reset and get away from the bustle of day to day life. As someone who sees dozens of patients per day, it is such a welcoming feeling.
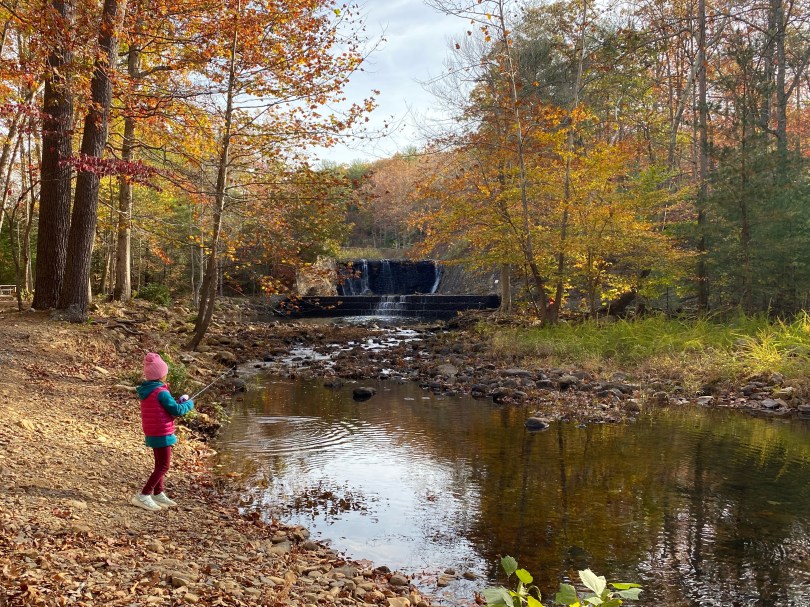
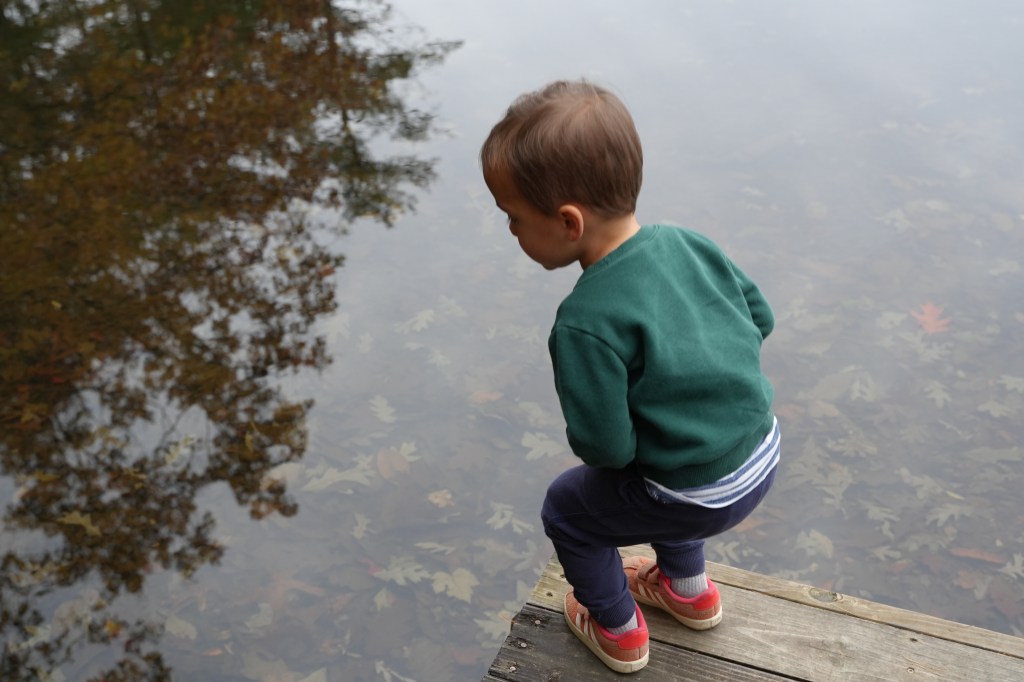
The kids particularly loved the trout fishing streams at Douthat State Park. They are stocked with rainbow trout, and the kids spent hours just casting and reeling. The leaves were at peak color change, the wind was sharp and crisp and the falling leaves around us made for such a mesmerizing backdrop. It hadn’t rained in several days so the water was particularly clear. The slim outline of the trout were visible underneath the shadows cast but moving leaves. This perpetuated the excitement of the children.
We spent time exploring the trails, bike trails, cabins, and the well stocked camp stores. The kids also loved the cabin as well. Douthat State park was thoughtful enough to provide a bundle of firewood waiting for us at the cabin. I suspect that most visitors don’t use all of their wood, because there was an accumulation of it at our cabin. We put it to good use, especially when it dipped near freezing at night. I brought my old Wetterlings axe to split it into kindling. I can’t believe I’ve had that axe now for over 15 years. Still working just as good.
The cabins do not have wireless internet or cellular service, and this is a great thing. We filled our time, reading, painting, photographing the landscapes, enjoying the wood burning fireplace and playing board games.
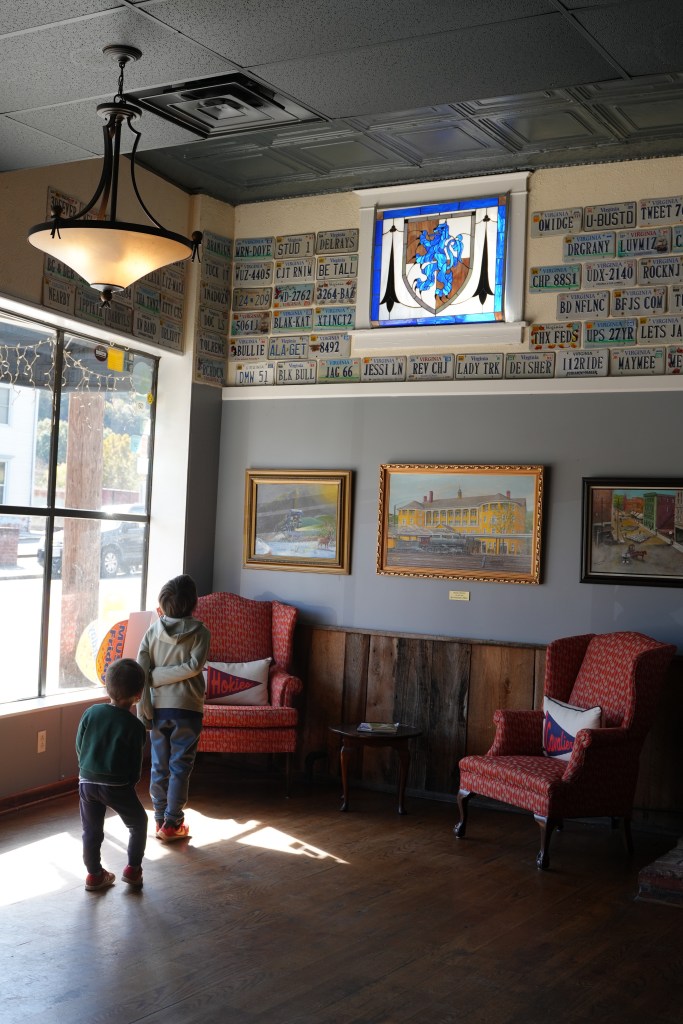
Exploring small towns in the Virginia mountains, is always time worth well spent. Douthat State Park is only 15 minutes away from Clifton Forge where we had lunch at Jack Mason’s tavern and picked up some local provisions. Their warm food and dark ales were especially welcoming on a chilly fall day. On the way home, we stopped in Lexington, Virginia for coffee and picked up some books at the “The Bookers”. THis quaint book store is like a scene out of Harry Potter, the books were stacked up to the ceiling and in every which direction. Very cool book store.
Jack Mason’s tavern was very warm and welcomingexploring a maze of books in “The Bookers” in Lexington, VA.
Douthat State Park is simply beautiful. The park is well laid out, the facilities are accessible and clean and the cabin was stellar. There are plethora of activities to partake, trails to hike, streams to fish, paths to bike, a lake to paddle, not to mention the excellent visitor center and camp stores and structured activities – an outdoor enthusiast could easily spend a week here. Thank you to the Virginia Department of Conservation and Recreation and to all the staff at Douthat State Park.
Wishing everyone a safe and happy holiday season ahead!
Photos taken with Sony a6700 (tamron 17-28mm lens)
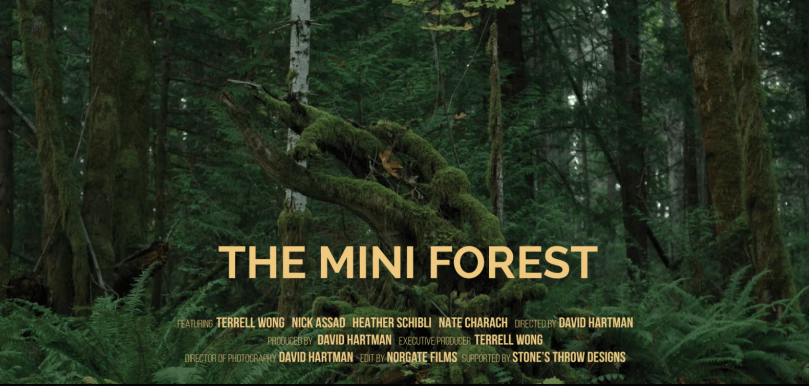
David Hartman is one of my favorite film makers. Based out of Ontario, Canada, his messages and themes hit close to home for me. His filming style is thoughtful, well-paced, beautiful and a breath of fresh air compared to the overstimulating films and movies of today. I came across “The Mini Forest” and thought I would share. The film speaks to sustainability, growth, and how our individual actions can have profound effects on the earth. It has certainly got me thinking about my own lawn…
“Terrell Wong is about to plant 100 trees in her small Toronto backyard, a dense mini forest based on the Miyawaki Method. What at first seems like a simple act soon evolves into a complex story about dirt, lawns, fungus, wildlife, native species, and finally the human brain. An anti-lawn anthem from director David Hartman, The Mini Forest explores this innovative form of afforestation and the importance of restoring the native woodlands that once covered so much of Canada and the World.”
When things get busy, stressful and hectic…..go for a hike. This was footage from one year ago, we did a short loop hike in Lake Anna State Park on a mild winter day.
I hope everyone is having a safe and happy holiday season. Things can be especially busy and hectic this time of year so don’t forget to take some chill time, relax, go outside, or watch a canoe documentary. I found this one recently online and it’s pretty awesome. This one features 6 friends who spend 2 months in the Yukon and Peel watershed. Happy Holidays everyone.
“This documentary is a captivating documentary chronicling the 1,500-kilometer, two-month canoeing expedition of six adventurers through the pristine wilderness of Canada’s Yukon and Peel Watershed. This thrilling journey traverses six rivers in three canoes, capturing not only breathtaking landscapes but also the profound cultural and ecological significance of the area. A chance encounter with a First Nations family transforms their adventure into a mission to spotlight the urgent need to protect this fragile and unique ecosystem from industrial development. The film blends the grit of exploration with a heartfelt environmental message, showcasing the resilience of nature and the enduring traditions of those who call the North home.”
Earth Day 2024, we took our parents on a canoe trip to the Allegheny Highlands of Virginia at Lake Moomaw. My mom had just recovered from an acute cardiac condition known as takotsubo cardiomyopathy. 2 months later she was out paddling with us…we are more than grateful for this time together. I hope you guys enjoy it.
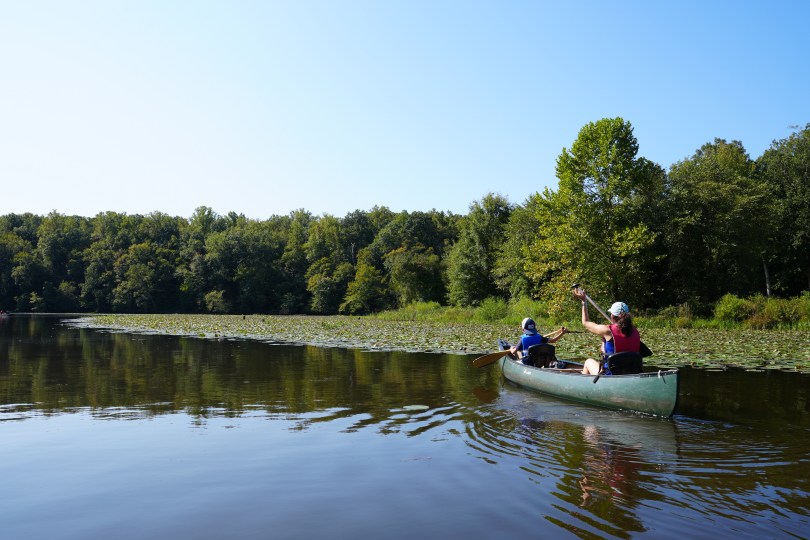
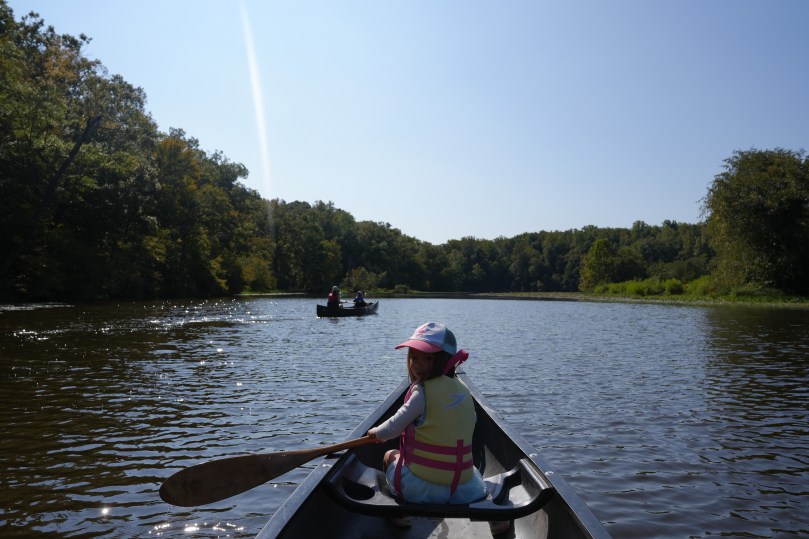
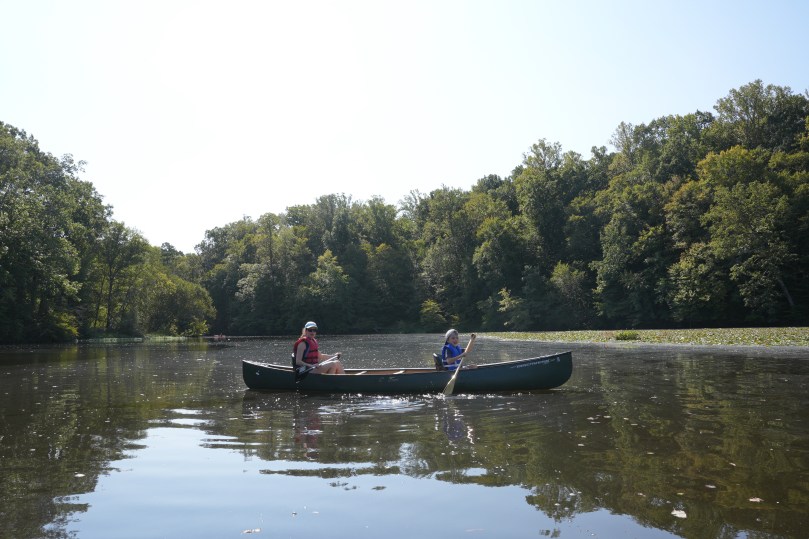
I hope everyone had an amazing summer. We closed the season off with a paddle around Swift Creek Lake in Pocahontas State Park. This particular location is one of our favorite spots to paddle with the kids. The water is shallow, there is plenty of wildlife and it is very quiet and peaceful. This is where they learned how to paddle and this is where my son used his homemade canoe paddle for the first time. Thanks for everything summer 2024 you’ve been a great one. Wishing everyone a safe, healthy and happy fall. Load up on your vitamin D before winter!
Eager to use their homemade canoe paddleHere we goLooking for water lily bloomsSwift Creek LakeChillin in the shade after the paddle
This lake is also where we tested my son’s canoe paddle for the first time many years ago.
In April we went to Westmoreland State Park, in the Norther Neck of Virginia to look for shark teeth. This is a short video of our trip! Have a safe and relaxing memorial day weekend everyone.
Earth Day Weekend 2024 – I’ve had my eyes set on this weekend for months now. I wanted to take my two oldest kids (ages 4 and 6) and my parents backcountry canoe tripping in Virginia and this was the perfect time of year to do so. The mosquitoes and biting flies would not be out yet and the day temperatures would be comfortable.
While I dusted off my old canoe camping gear and sorting through my wannigan (camp kitchen box), I couldn’t bring myself to believe that it had been 7 years since my last canoe camping trip! (Philpott Lake). It appears I entered a time warp when my oldest son was born. I initially started this blog to document canoe trips – these trips were the fuel for all of it – and I was so glad to get back to it. I was lighting up with excitement as I came across old gear that I was bringing back out to show my son. We loaded our royalex canoes, a Nova Craft Prospector and an Old Town Camper.
The crew before departureresting halfway on a small islandpaddling out to greenwood point
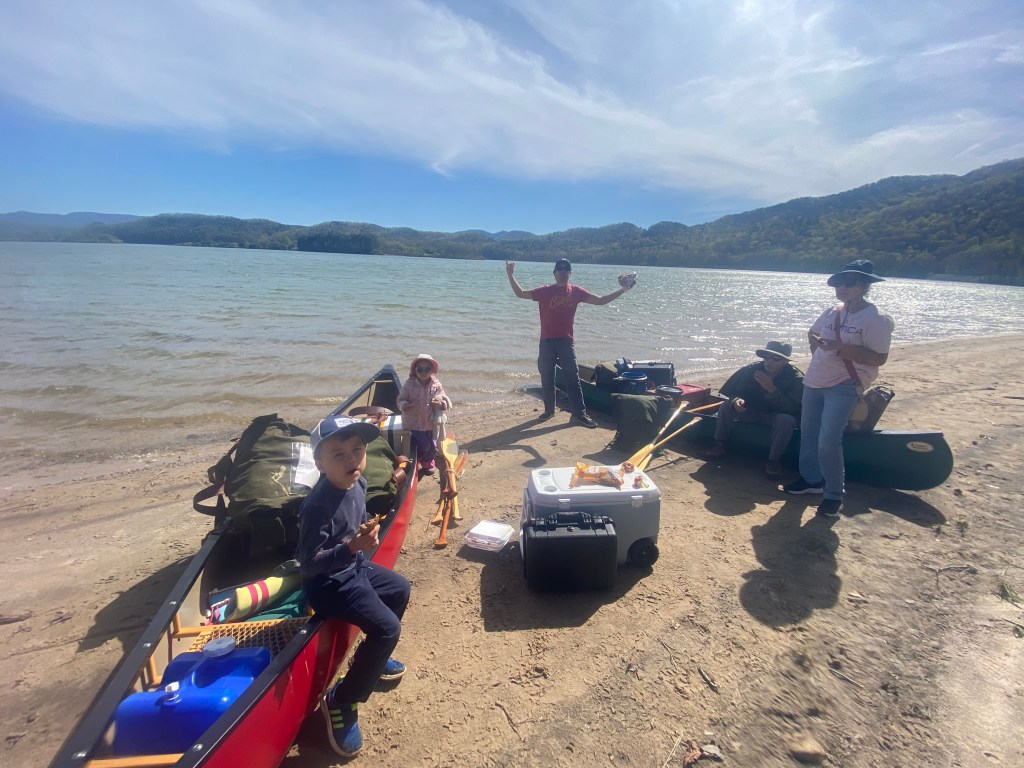
We packed everything on a Friday, so we were ready to roll by Saturday morning. Trip members: mom, dad, son, daughter and my oldest brother. We were an eager and hearty crew. Our destination? Lake Moomaw in Bath County, Virginia. This would be my 4th time canoe tripping here and I couldn’t think of a better place to introduce someone to the splendor of canoe tripping than this magnificent lake.
BELOW ARE LINKS TO MY THREE PREVIOUS CANOE TRIPS TO LAKE MOOMAW, BATH COUNTY VIRGINIA.
4/2014 First time to Lake Moomaw
6/2015 – Second trip to Lake Moomaw
11/2015: Third trip to Lake Moomaw
Day 1: Sunny, 63F high, low 44F
Loading up the canoes on Lake Moomaw. In Bath county, Virginia.
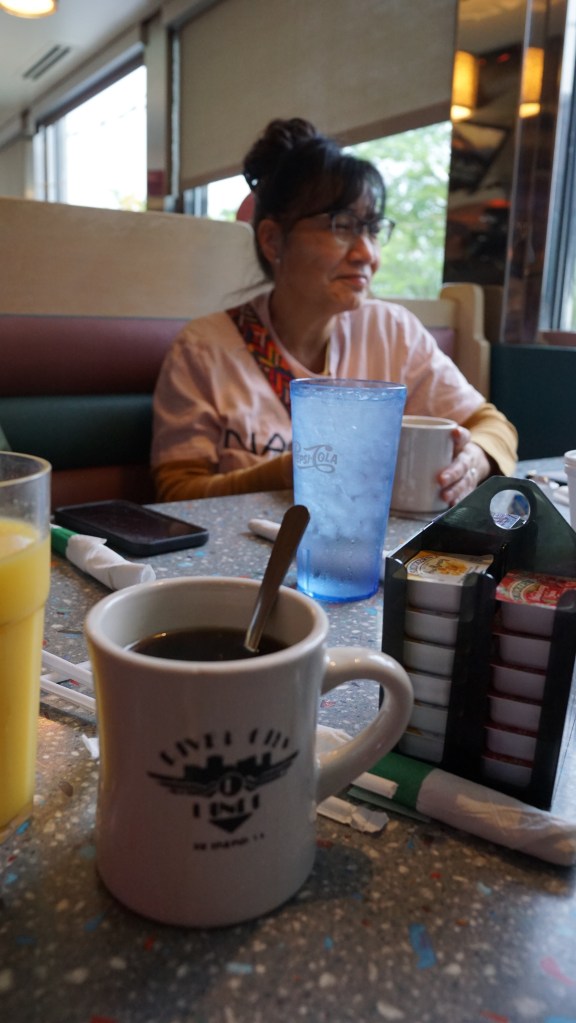
We started our Saturday morning by meeting up at a diner for breakfast before hitting the road. Our canoe tripping tradition. It was a beautiful day and the drive through bath county was spectacular. My brother and I were a little weary from packing and prepping the past couple days, but the sight of the empty lake rekindled our souls. We loaded everything up into the canoes, and set out against some mild wind towards Greenwood point. We got to our campsite at approximately 4:00pm so we did have some time to set up our campsite before dark. Camp chores: setting up tents, hanging clothes lines, gathering firewood, surveying the area, digging a camp potty and prepping dinner. We ate, chilled and breathed easy, we were finally there.
Day 2: Cloudy, High 52F, low 32-38F
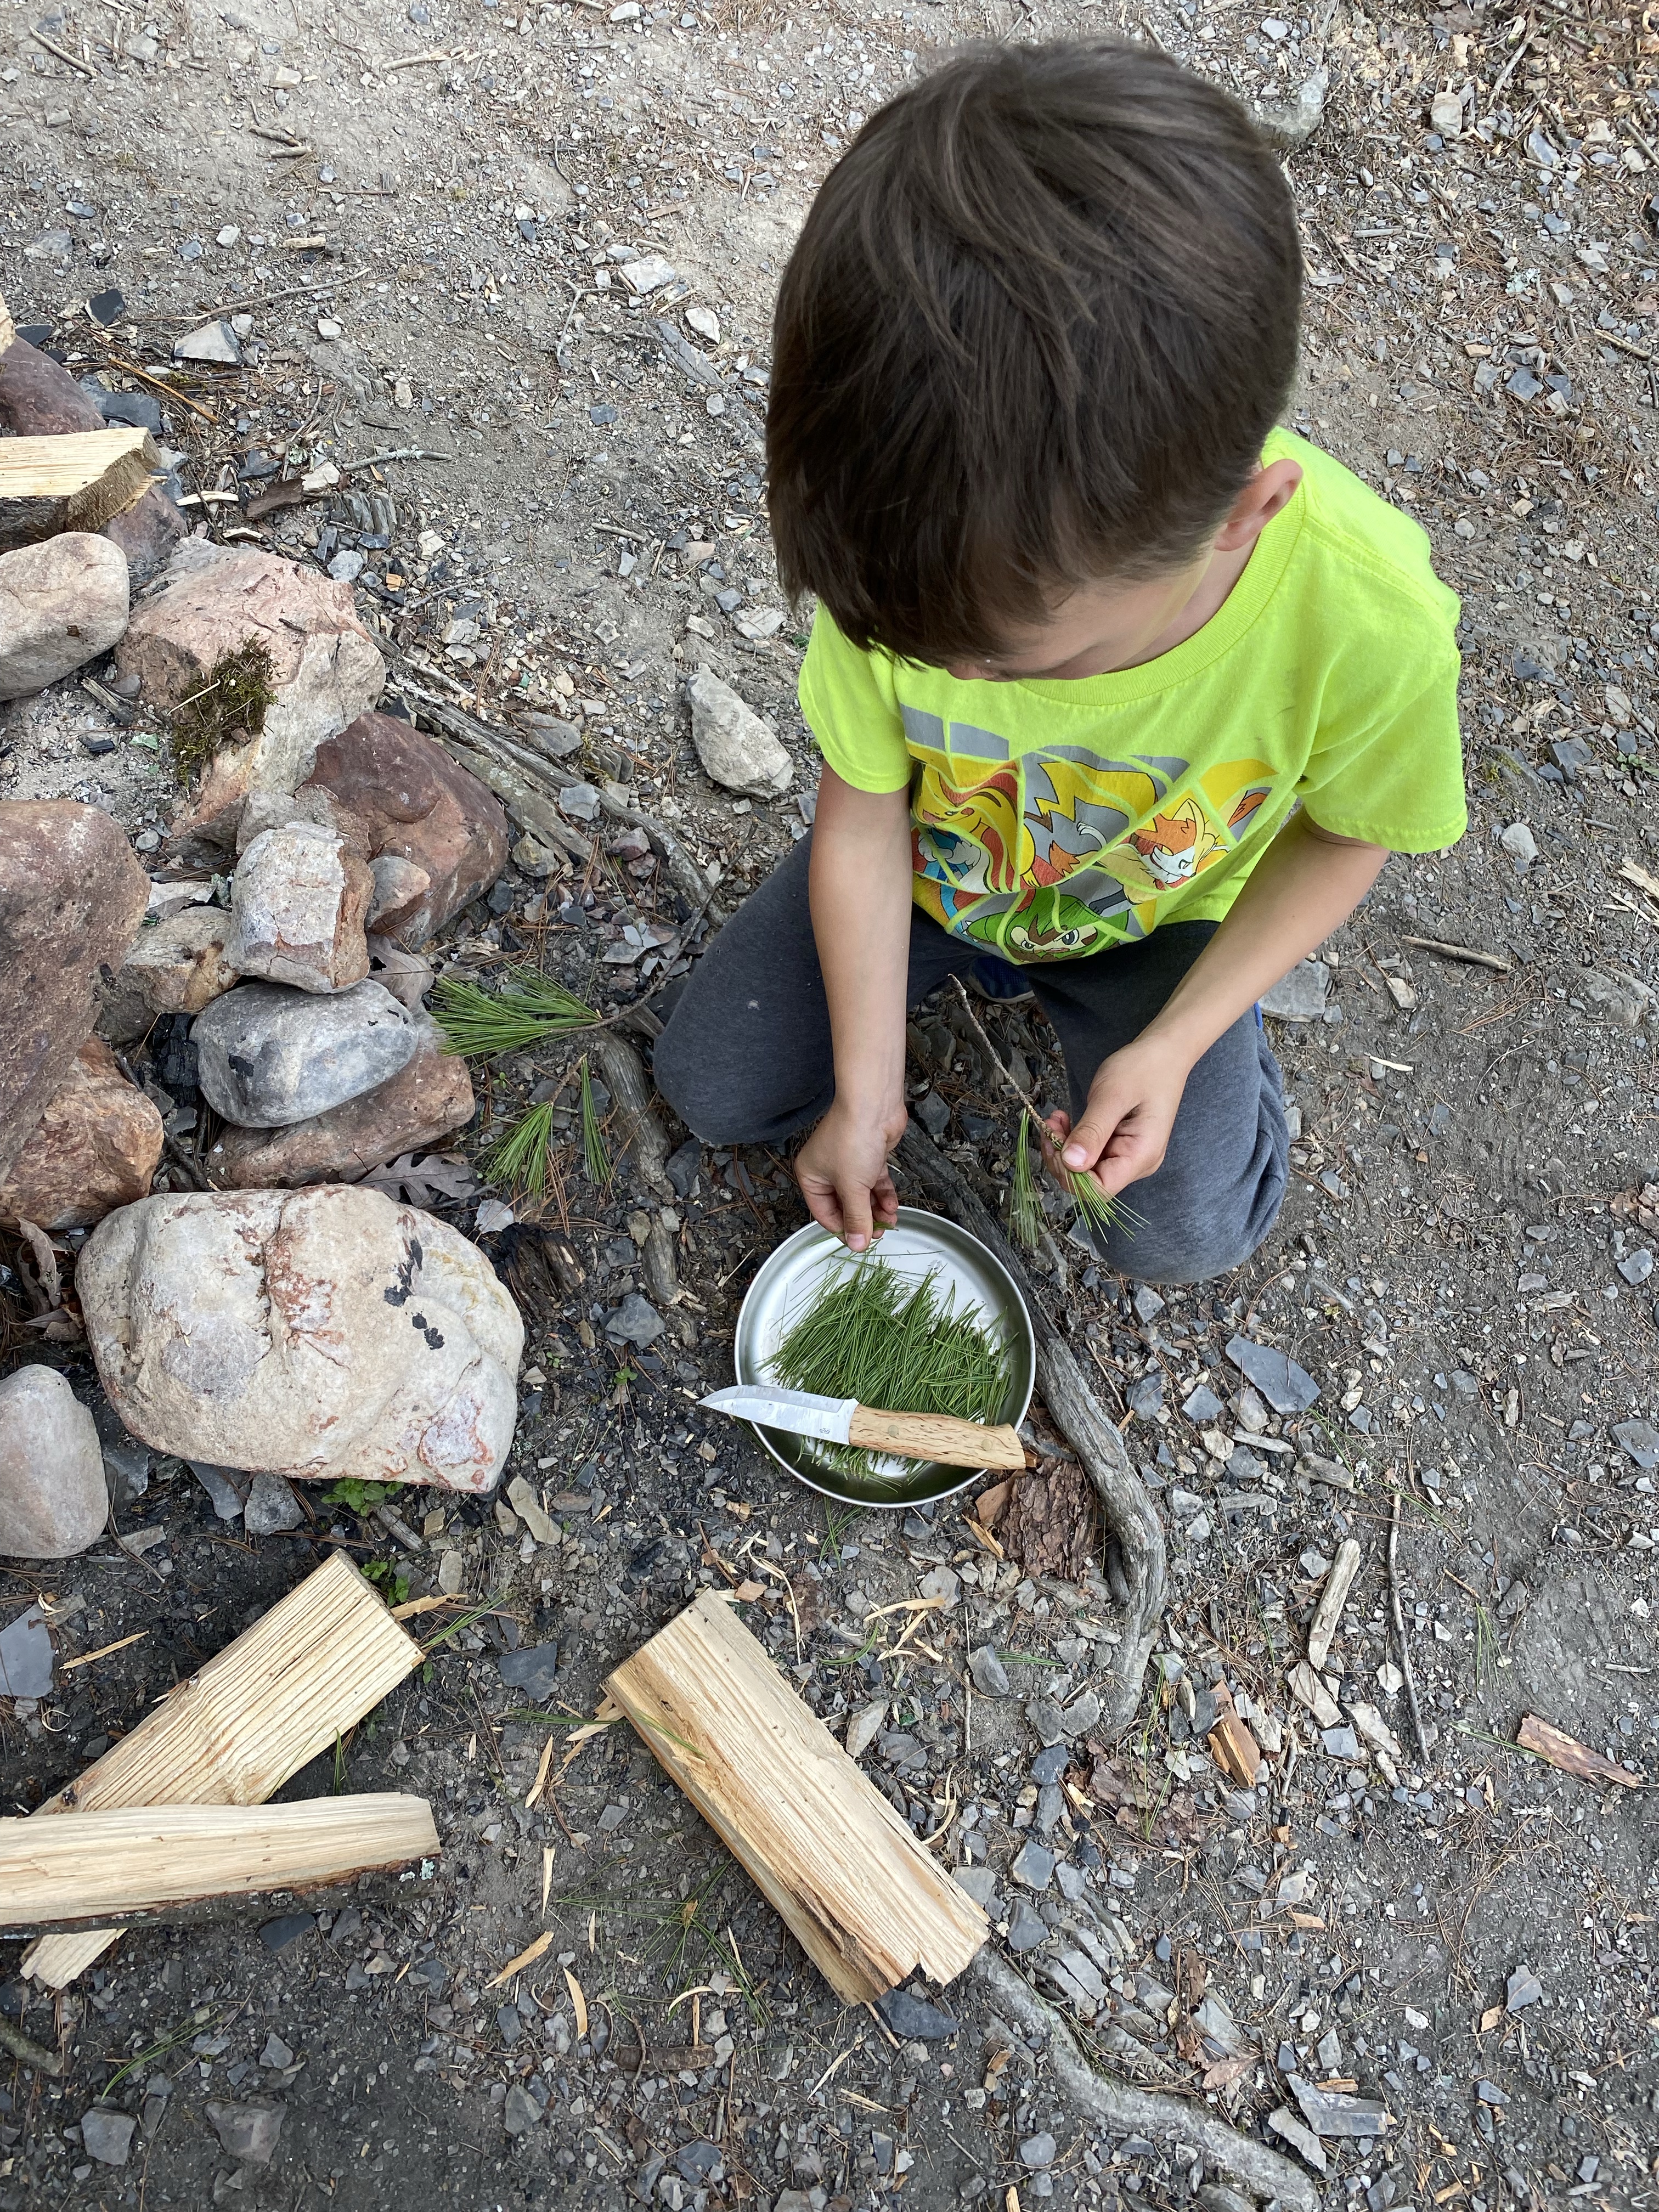
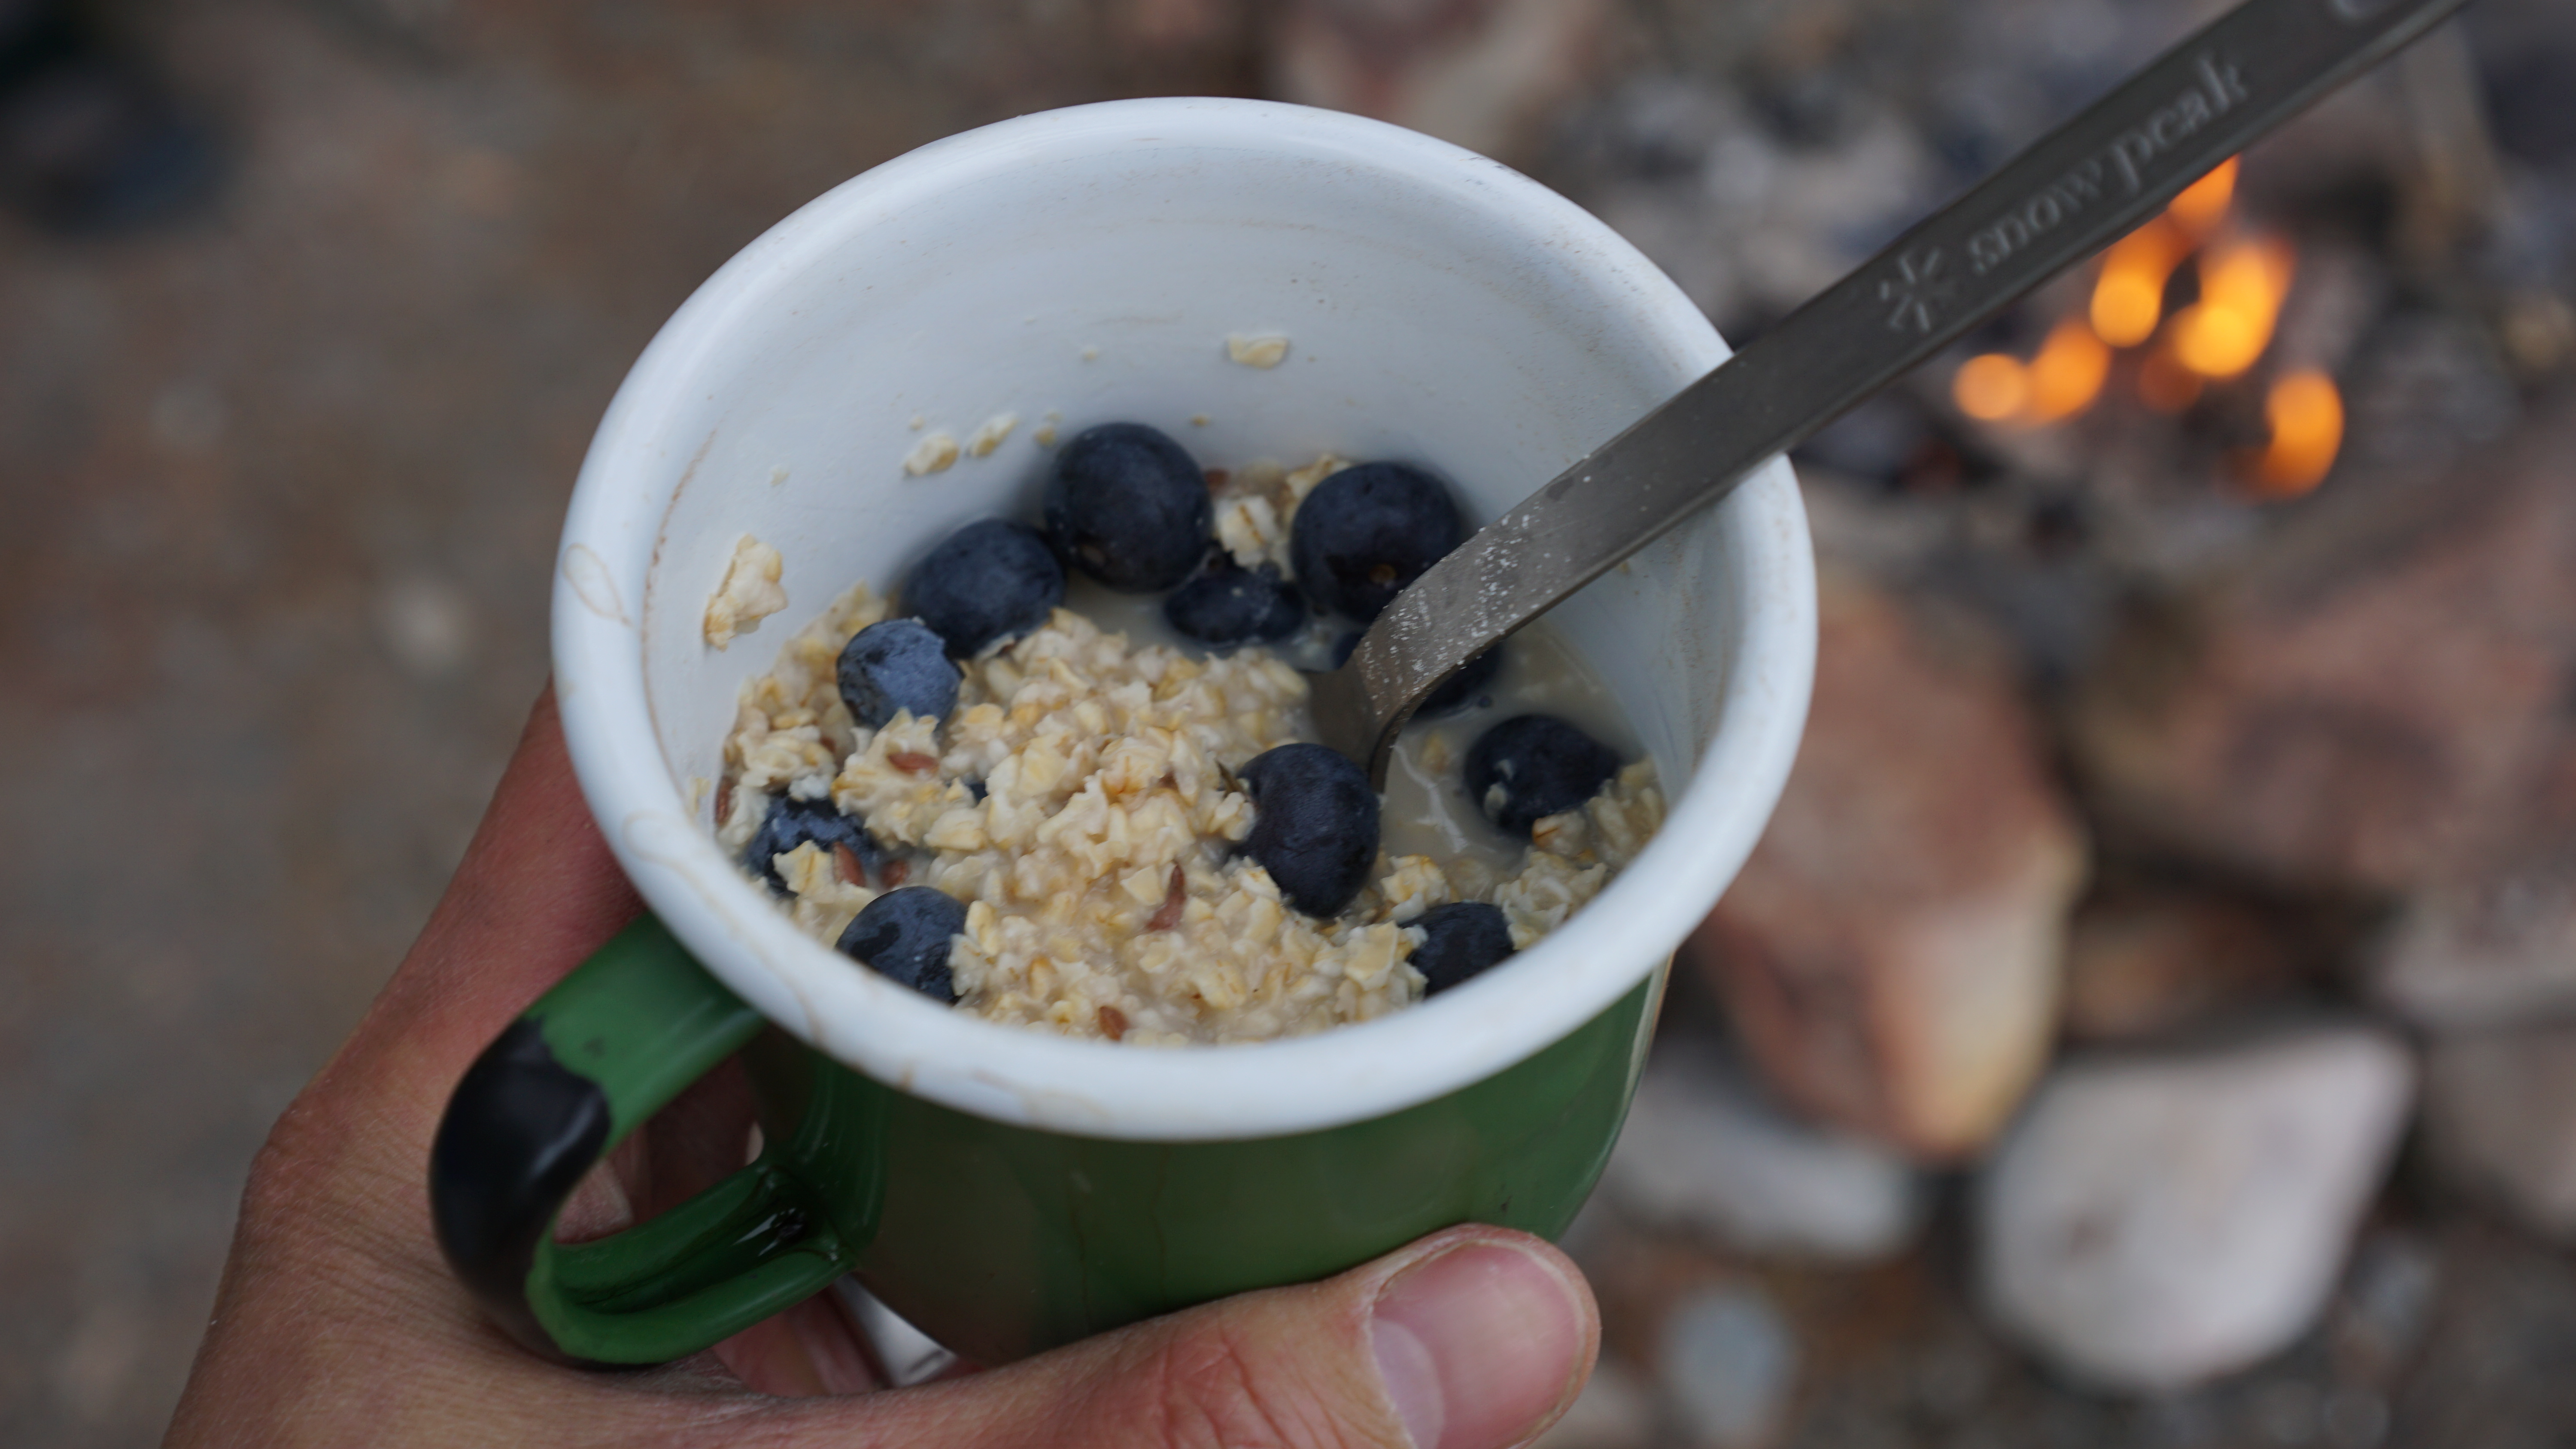
We took our second day pretty easy, we fished the waters, ran the kids through some paddling lessons, and hiked and explored the forest. The campsite is beautiful, as it is surrounded by white pine, leaving a very clean looking campsite. The forest was beautiful with moss carpeting the forest floor and rays of sunshine cutting through the trunks of the trees. We spent time exploring Greenwood Pt and we also did some watercolor painting and made some pine needle tea. The night brought on some wicked cold.
Day 3: Earth Day High 60F
Our last day there was beautiful. It was Earth Day. Thank you mother earth for providing us with such a beautiful lake and land to explore and enjoy. I was so glad that this trip actually happened. With everyone’s hectic schedules and availabilities, somehow the stars aligned for us all to go. It was beautiful and reminded me why I started this blog in the first place. Happy Earth Day Everyone!