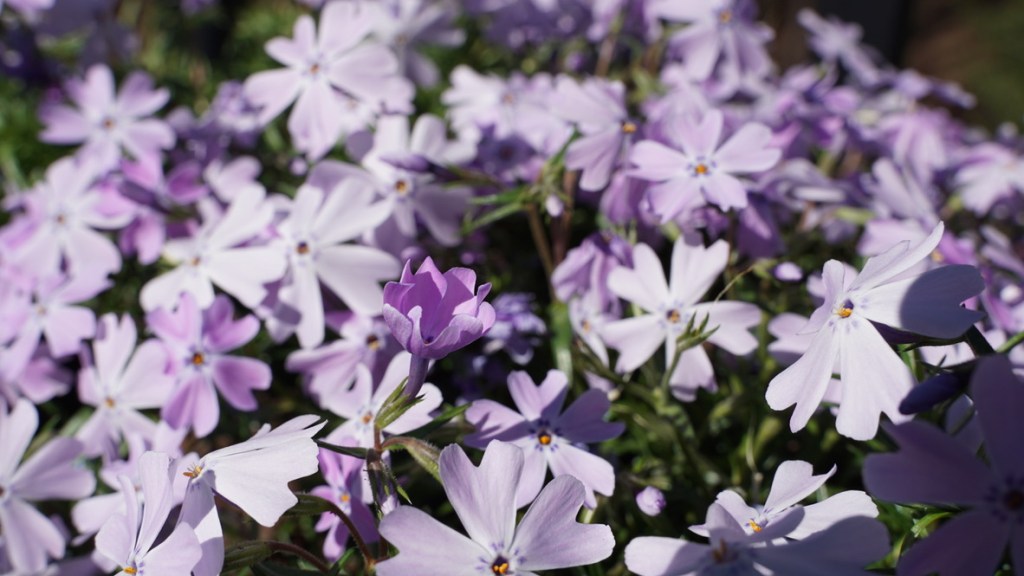
Spring is always such an inspiring time of the year for me. The bright sunshine and longer days never fails to evoke in me a feeling of rejuvenation and excitement for what is time to come in the next months. So last Spring we started a garden on the deck.
One of my daughter’s favorite books of all time has got to be “The Gardener” By Sarah Stewart, Illustrated by David Small. The story takes place during the Great Depression and centers around a young girl with a passion for gardening. Her parents’ strained financial situation forces her to go live with her uncle in New York City until they achieve some stability. In the busy and sterile, concrete jungle of New York city, she finds a way to bring gardening to her uncle’s apartment building. He shares her love of gardening to her uncle and the customers to his bakery. The story is presented as a series of letters written home from our protagonist, over the course of a year. It is a beautiful and heartwarming story and the illustrations are stunning.
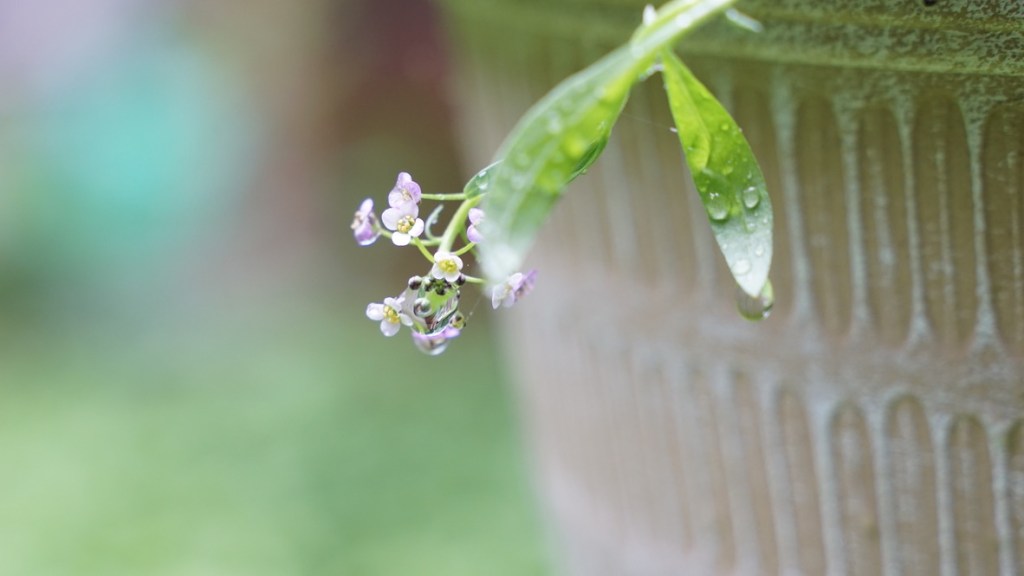
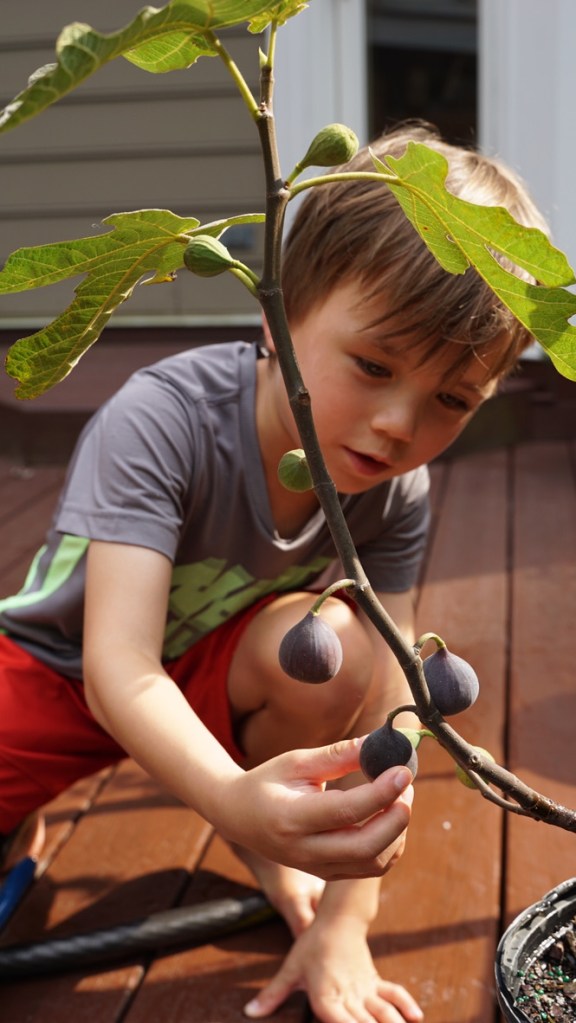
Feeling inspired, my kids wanted to start a garden on the deck of our house. So in March, we began researching, planting seeds, flowers, trees and started our own little garden. Everyday brought new discoveries for the children. There was always something that was sprouting, new colors to see, new scents to take in and something tasty to try. All of this continued into the fall!
sweet potatoblueberriesVietnamese Mai Flower
Overall, it was a memorable and fun experience for them. Happy Spring everyone. Go outside and plant something.
Bannock is a popular food item for us to make on canoe and camping trips. It is a simple, warm and tasty bread that can be easily baked over an open fire / oven. From the recipes of the First Nations people to the Scottish, there are innumerable ways to prepare bannock. Some involve leavening agents and some don’t. Some people bake it and others fry it. Over the years, I’ve learned to keep it simple, light and fluffy.
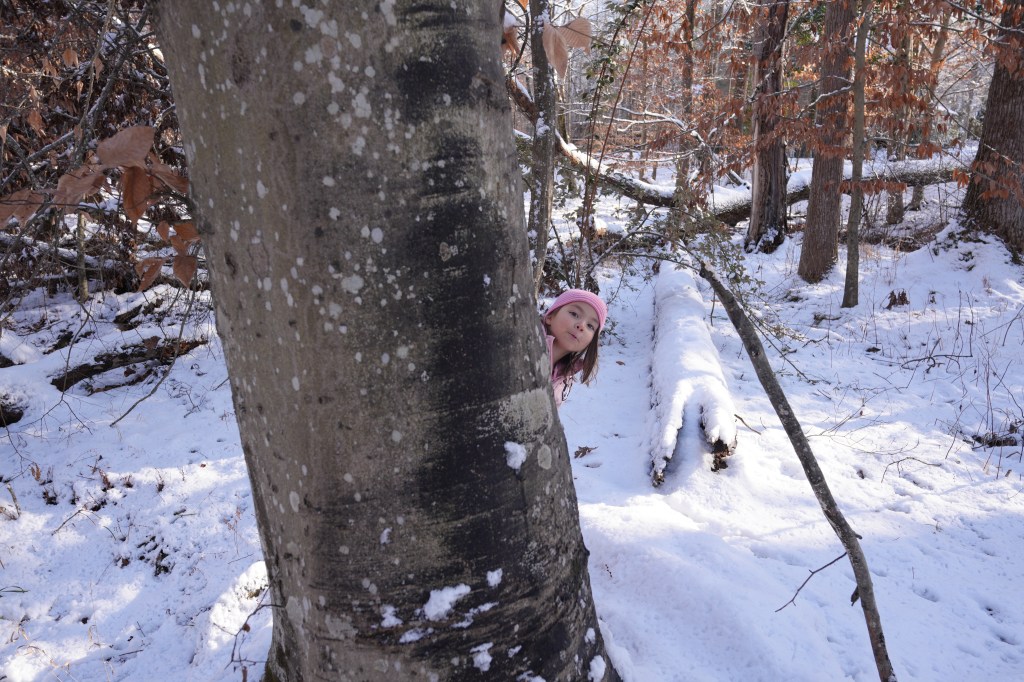
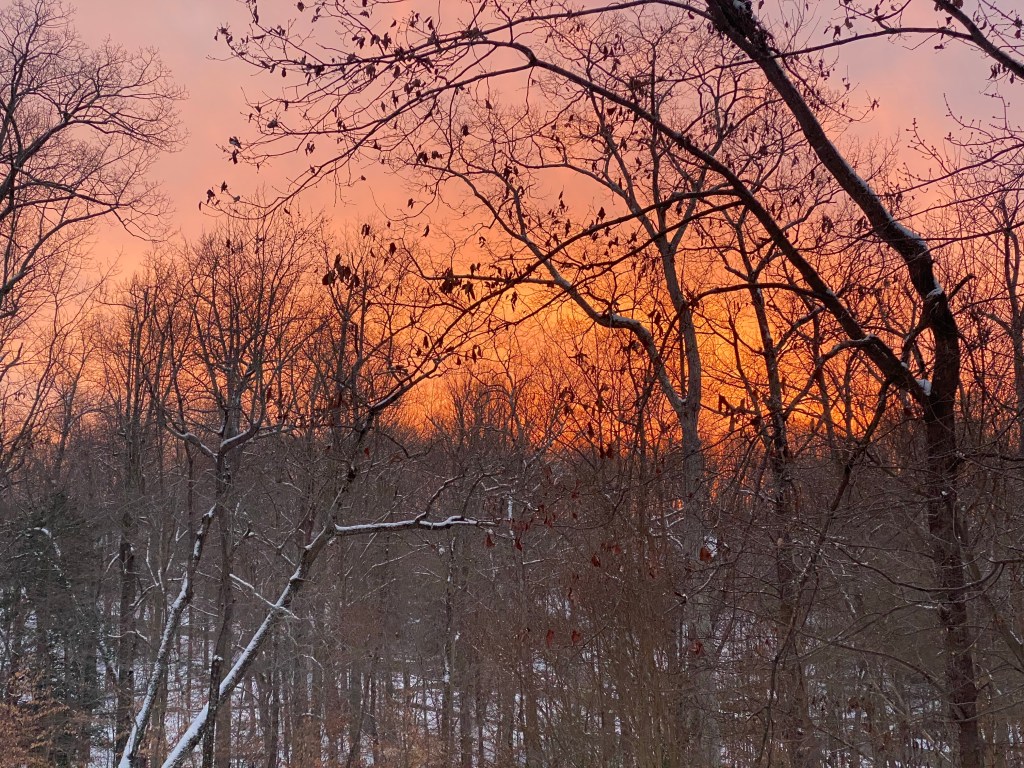
Over the winter season of 2025, Richmond, Virginia received snowfall on January 5-6 (approx 3 inches) and then subsequently January 10-11 (another 3 inches), we decided to was the perfect chance to make some winter holiday bannock (with cranberries). The kids did not mind the extended holiday break. Let’s get started.
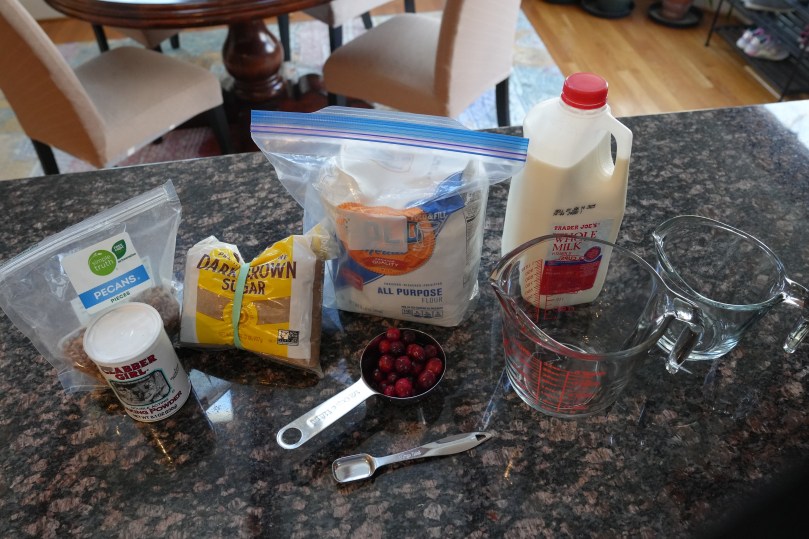
INGREDIENTS
2 cups of all purpose flour
2 teaspoons of baking powder
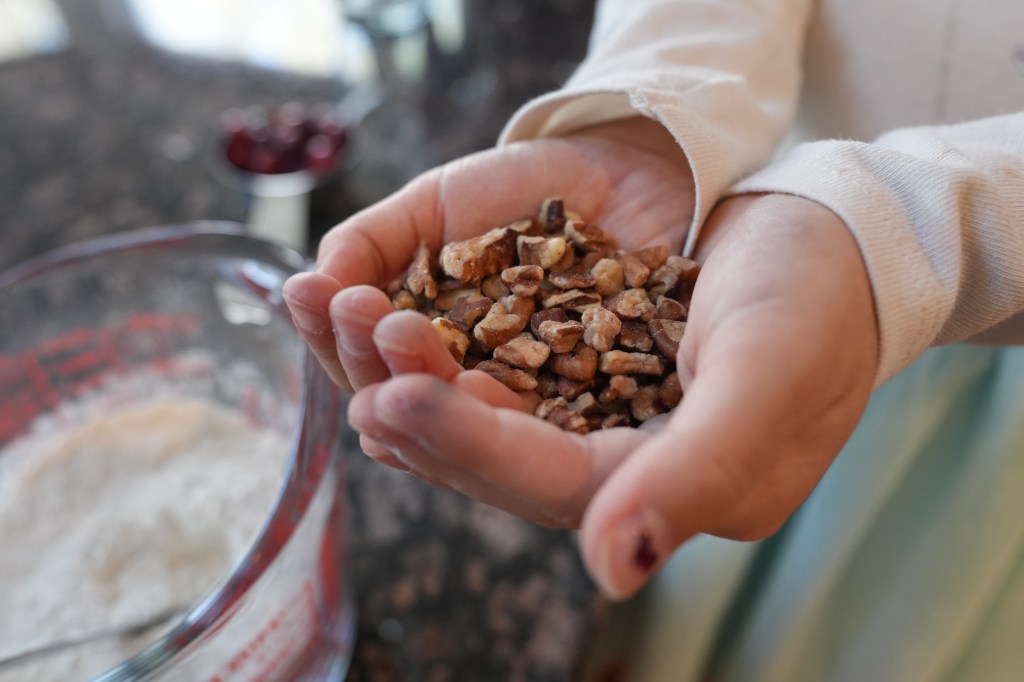
1/4 cup of pecans
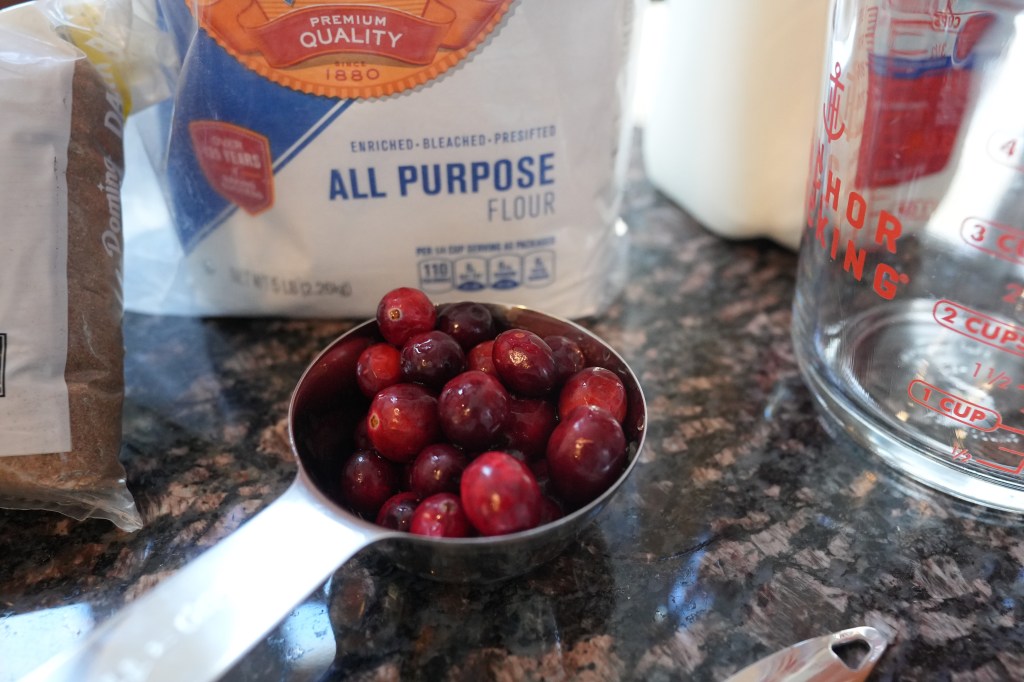
1/2 cup of fresh cranberries
2 teaspoons of brown sugar
oil
1 cup of milk (can also use dry milk powder and water as a replacement)
INSTRUCTIONS
Dry mix the flour, baking powder, pecans and brown sugar
pour in the cup of milk and add the cranberries
gently mix all of it together to disperse the milk evenly. (You don’t want to over mix it because this will punch out all of the gas)
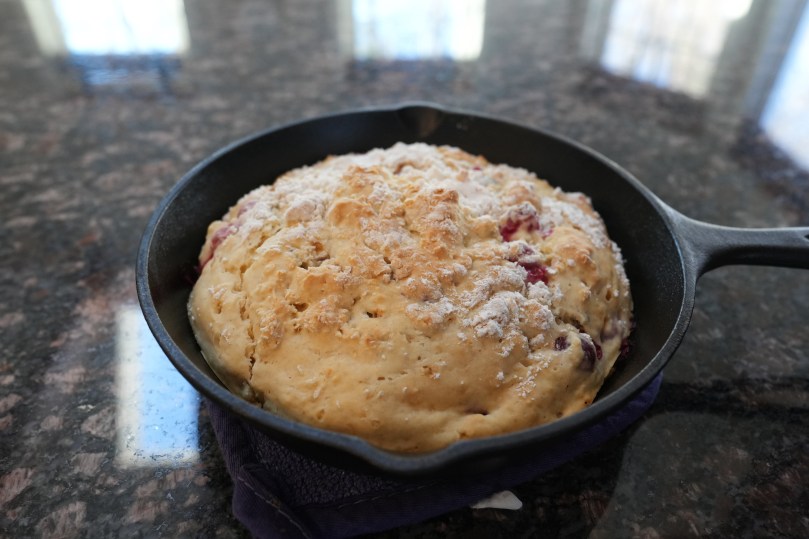
If you’re cooking with an oven, oil the cast iron skillet and get the oven temp to 350F. Place the contents into the skillet and bake until ready (usually approx 25min to 30min)
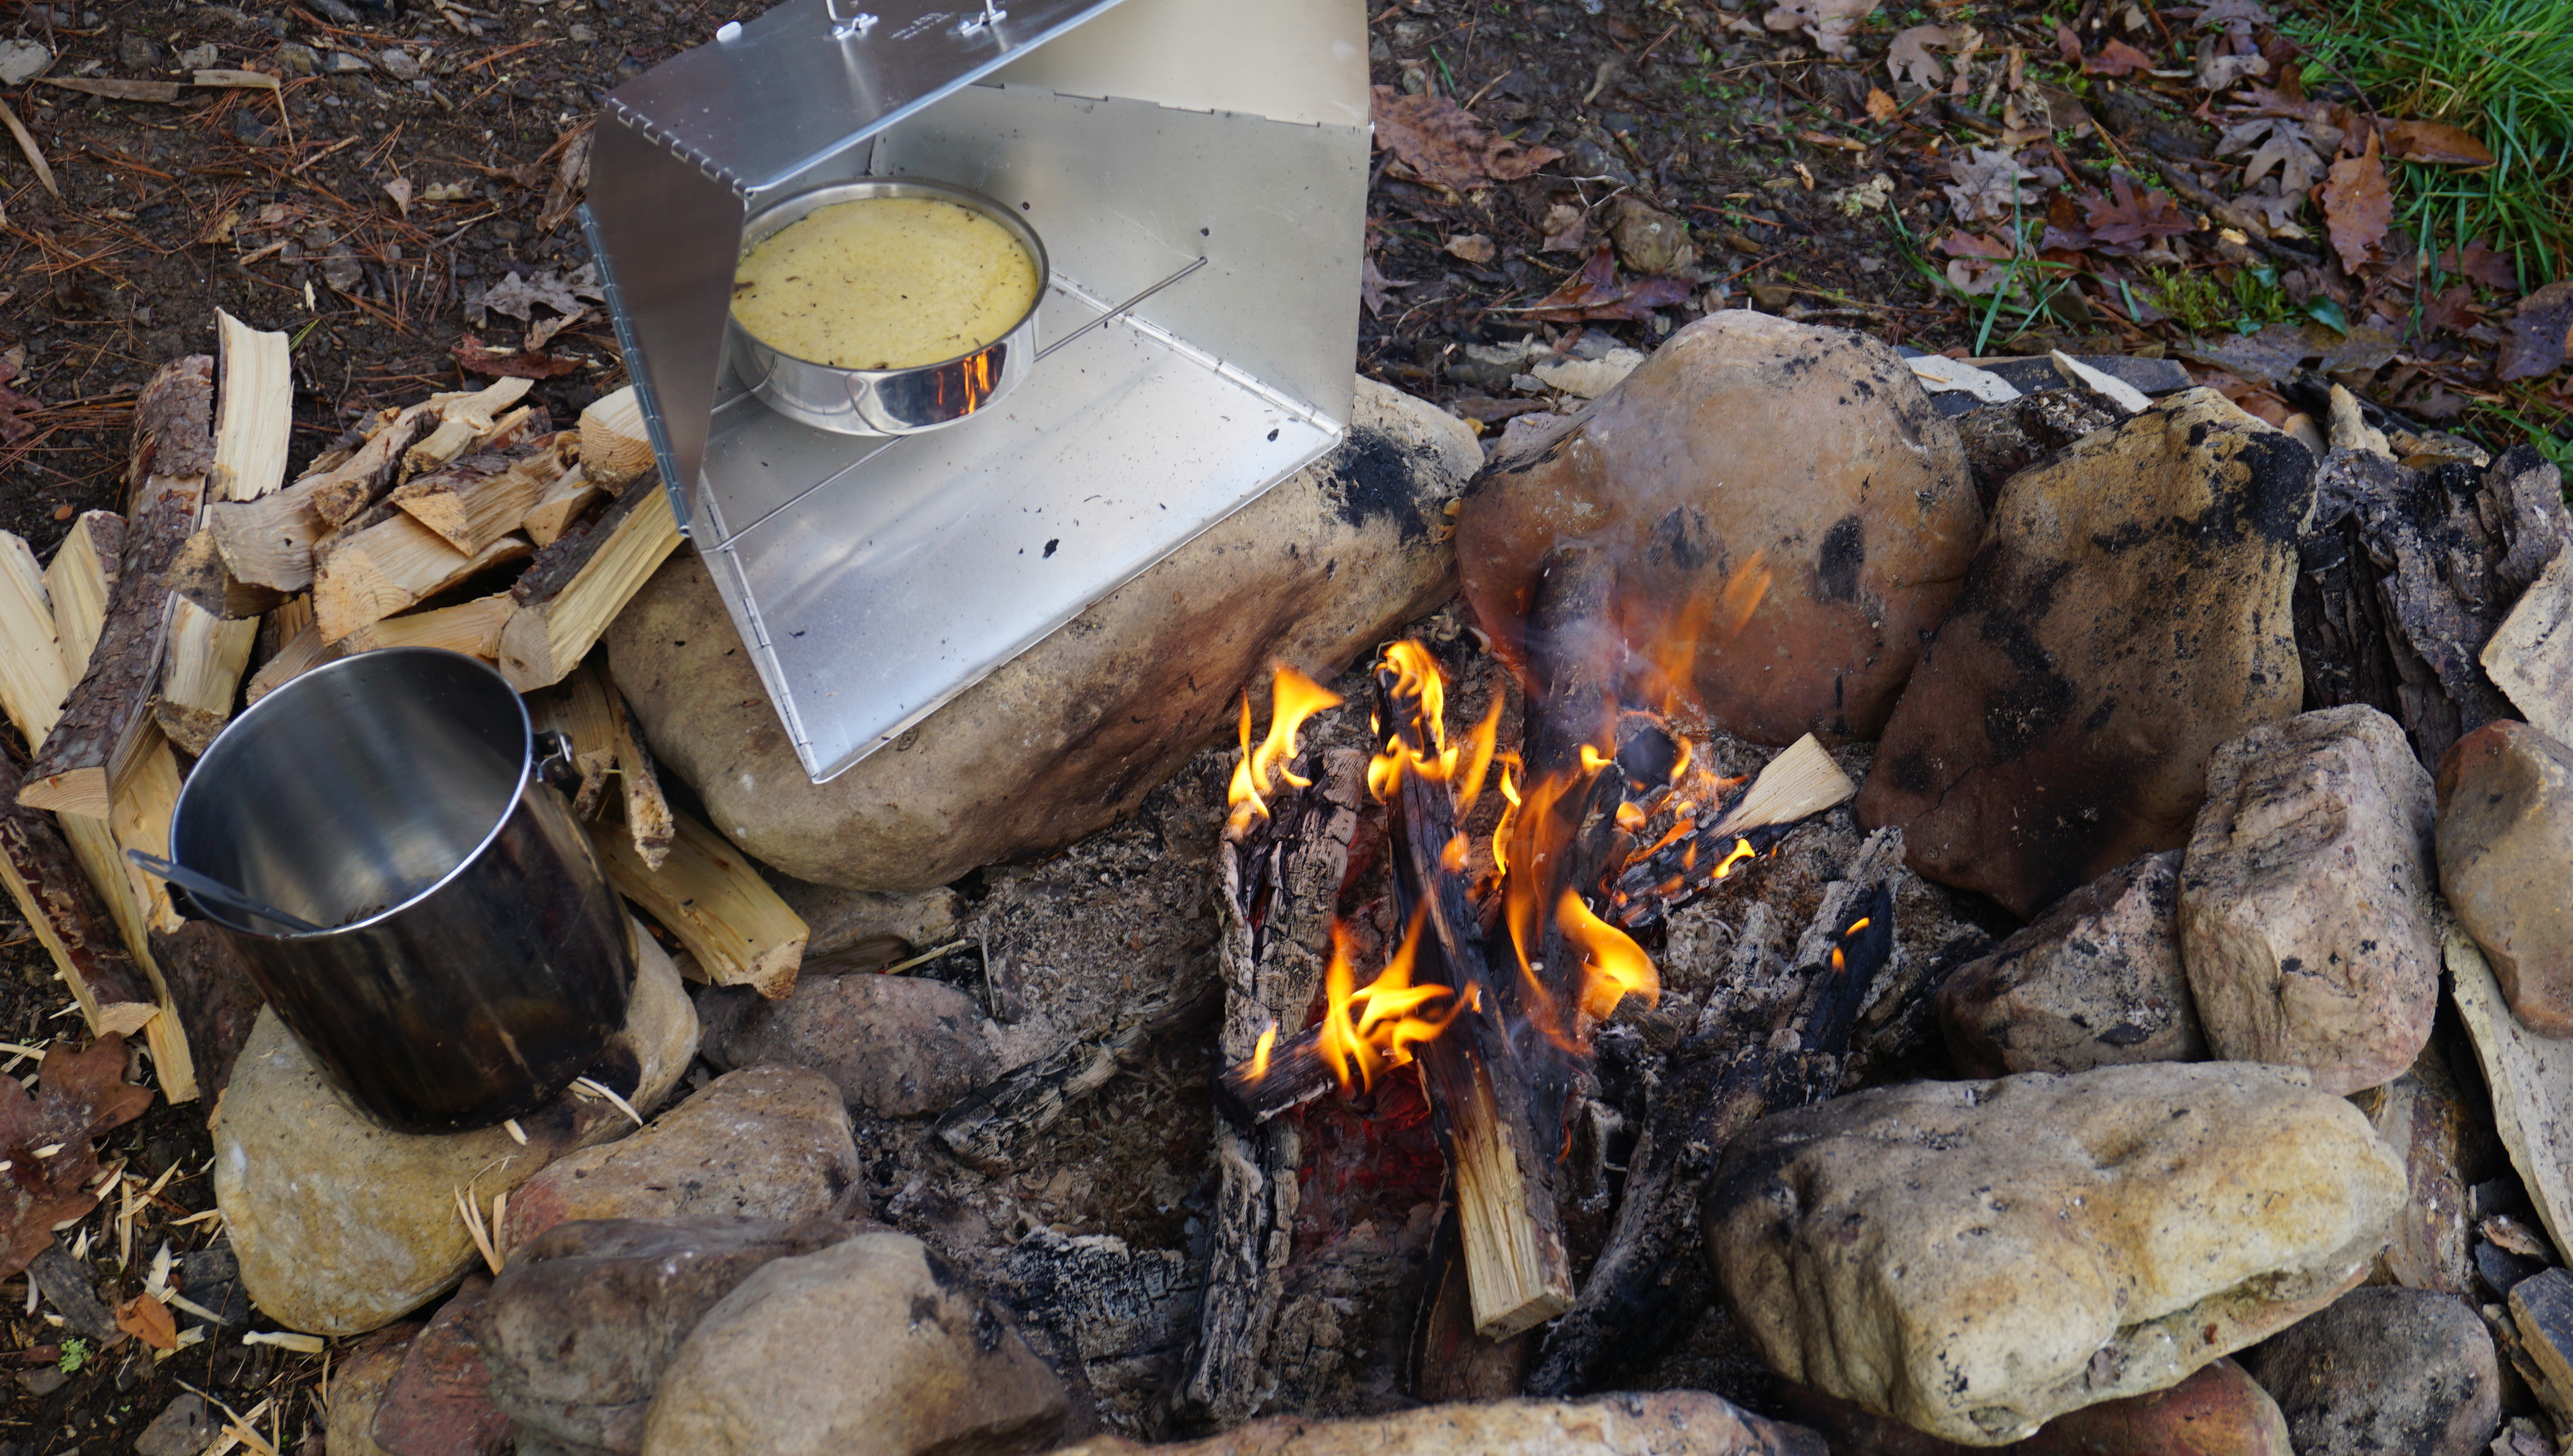
If you’re cooking over an open fire, keep your skillet facing the fire, you can usually use a stick to prop it up. Based on the weather conditions, it will be done when it’s ready, the surface will become slightly brown and hardened.
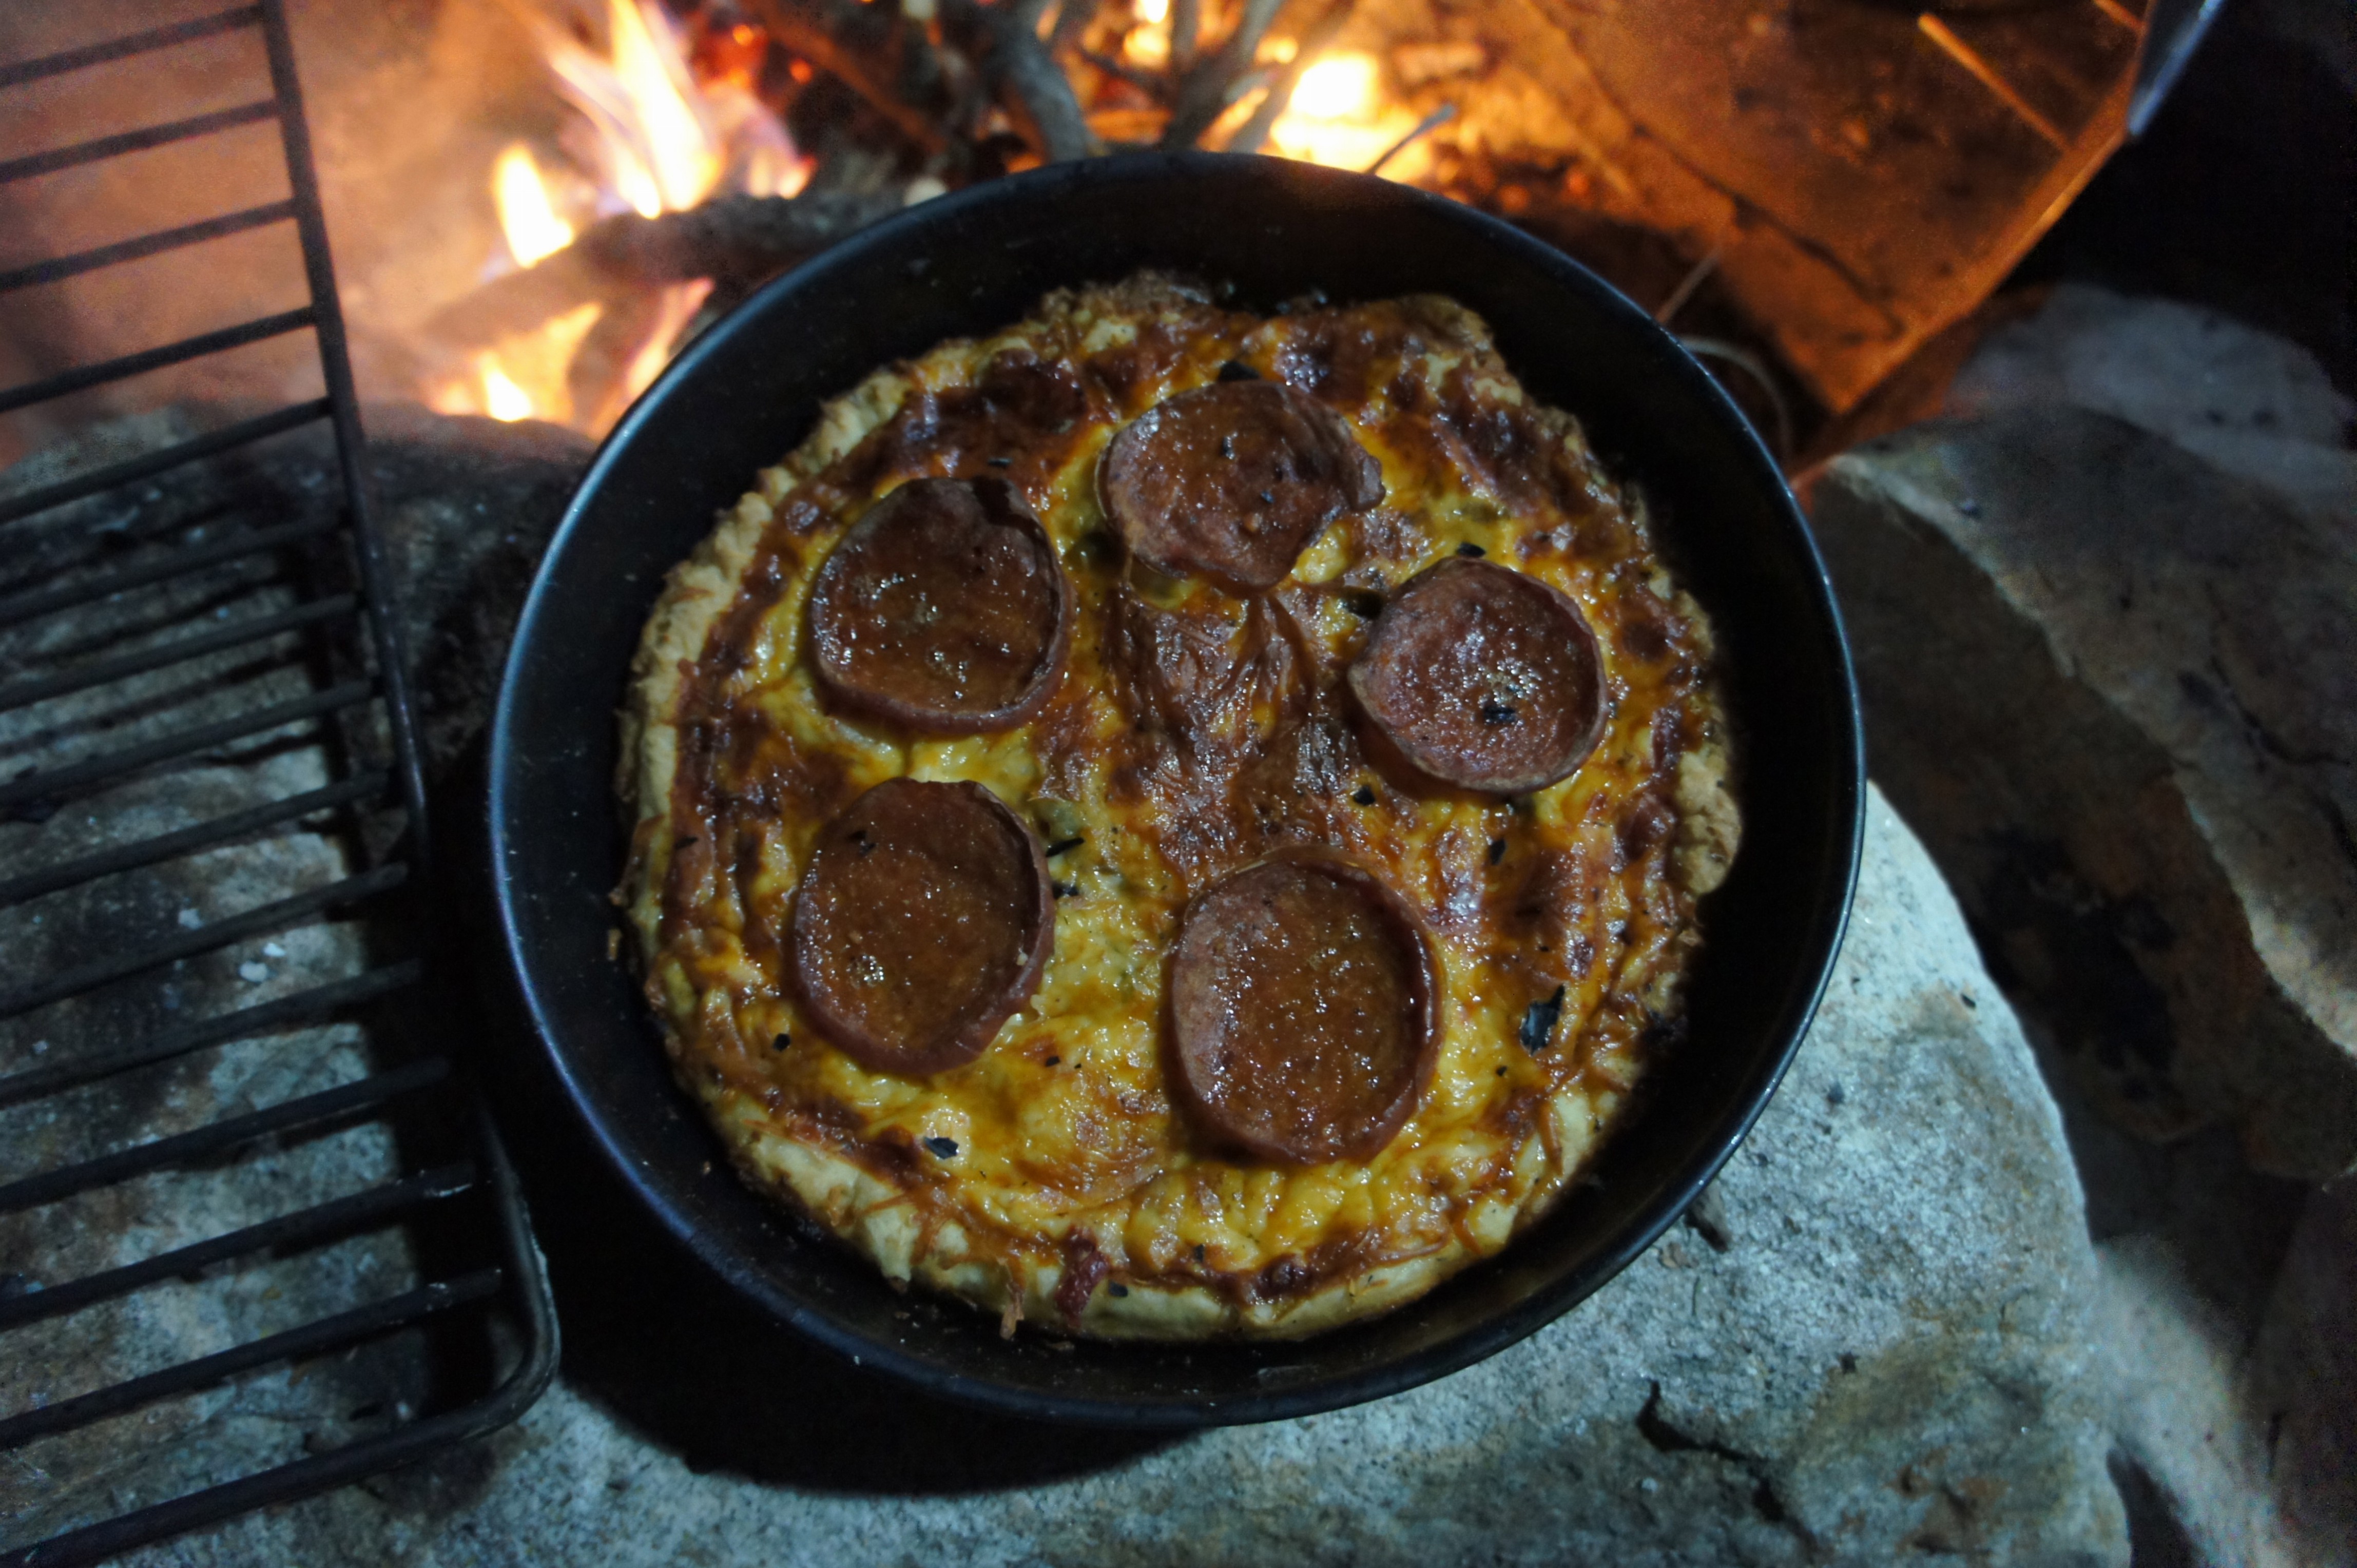
FINISHED
ENJOY
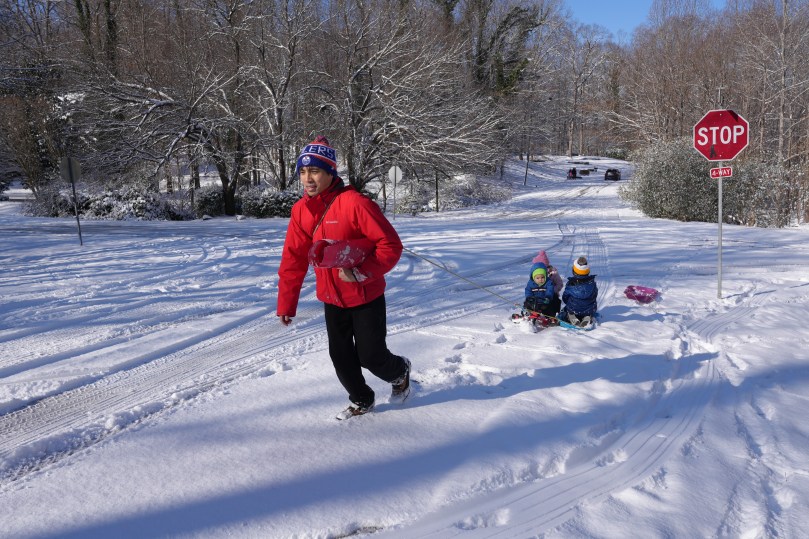
Cranberry bannockbannock and sledding
Enjoy! Hope everyone stays safe and healthy this winter!
Tis the season to get organized. After countless searches around the house for our keys, ID badges and wallets, it was time to put an end to the madness. We needed a key rack.
I did a quick search online for ones to purchase and I was just never thrilled about the look of any of them. A while ago, I purchased a board of english brown oak that I was originally going to use for some shelves but ultimately felt that it didn’t quite fit the dimensions of what I wanted for the job……. it would make a perfect key rack though.
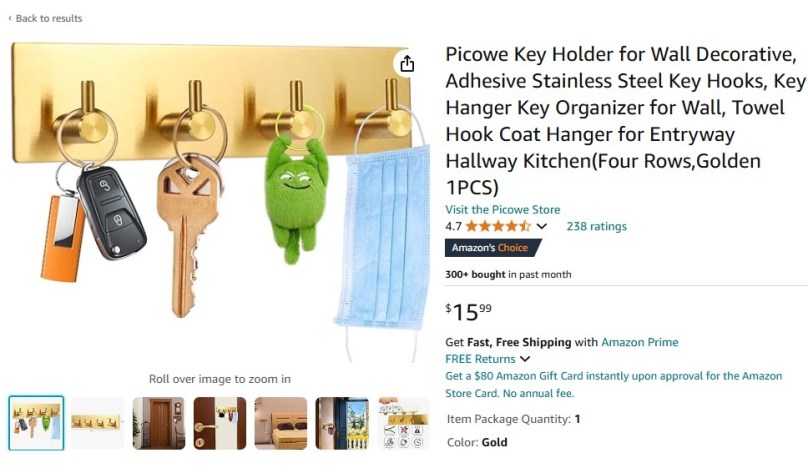
The hardware for the wooden key rack.
Originally I was planning on buying some brass hooks to insert into the wooden key rack, but ended up findings this gold plated one on amazon and felt like it would go well with a wooden base.
English Brown Oak is interesting. It’s actually not a different species of oak at all. It is a species of white oak, that succumbed to a certain type of mushroom species. While dying, the mushroom produces an acid, which turns the wood into a milk chocolate to dark brown color.
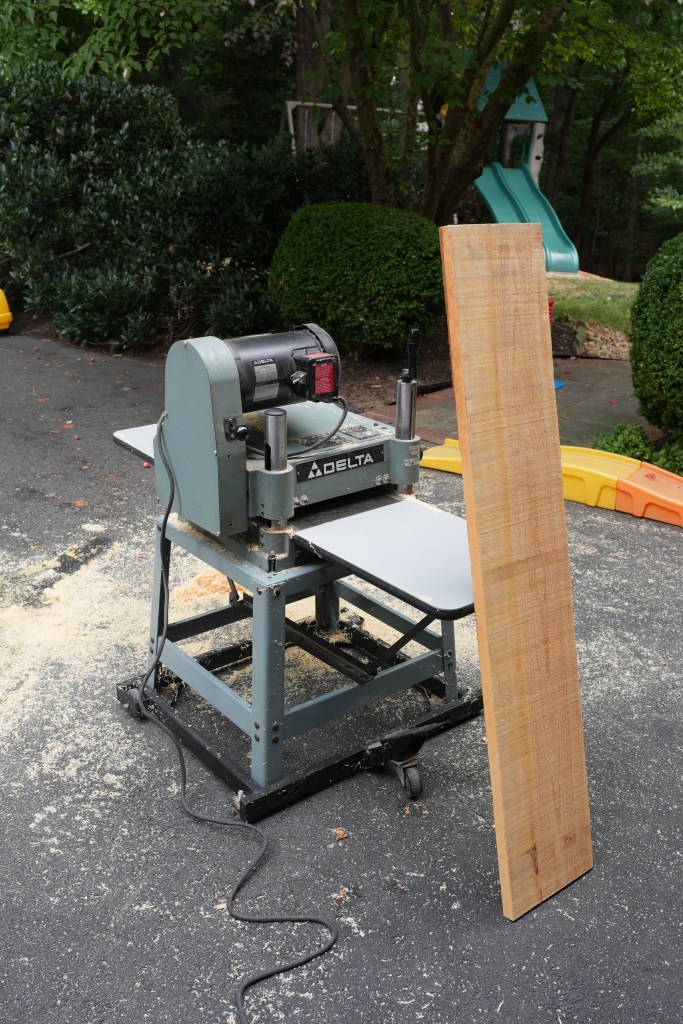
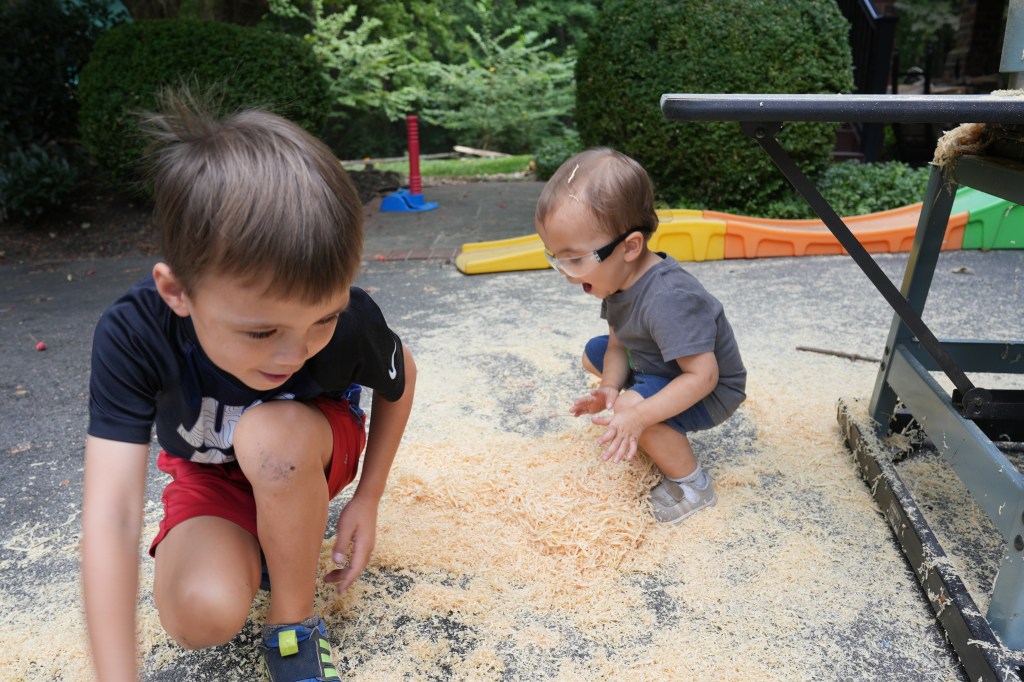
The Delta planer working on some cypresscypress shavings
After giving the board a quick run through the planer, I cut the pieces down to size. I knew that I would want a small compartment on this board to keep mail and knick knacks. I was fortunate enough to purchase this old school Delta planer for only $300 on Facebook marketplace. It is built like a tank, and weighs a ton, but has been reliable so far. This little beast is 1hp and as a result requires a 220V outlet. After carefully researching online, I found the appropriate extension cords to run it from the garage to the driveway so all of the shavings could be brushed into the forest.
Using a router, created a slot for the mail compartment. I also used the router and chisel to create the insert for my metal hardware.
I also used the router to chamfer the edges. This was absolute necessary to prevent the wood from chipping and cracking in the future. This wood was already quite dry and brittle, so chamfering would prevent it from splitting or cracking if it gets dinged on the edge.
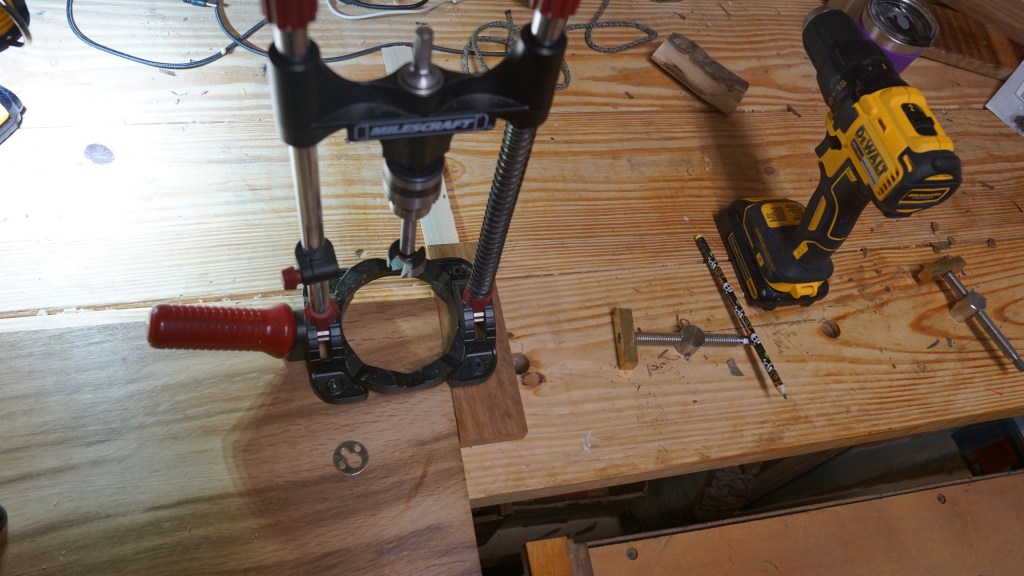
On the back of the key rack, I decided to use key hole shelf brackets. These would be more than sufficient to support the weight of the rack and everything it would hold. I used a portable drill press and a Forstner bit to drill out the holes for the keyhole inserts. They slotted nicely. I predrilled the holes to make sure the wood would not split.
The Milescraft drill mate is an incredibly useful little tool. I haven’t been able to justify the space for a drill press in my workshop, and the miles craft drill mate makes me glad that I never got one. It is portable, easy to use and allows me to drill perpendicular anywhere. Definitely check it out if you’re considering purchasing a drill press.
After gluing everything up, I gave the key rack a nice coat of danish oil and bees wax. Oak is quite porous so this drastically changed the color of the whole project to a nice deep rich chocolate color.
The glue up. The gold plated hardware was fixed in place with epoxy. (Make sure you cover the hardware prior to using any adhesive to make the clean up easier)The finished product.
Overall, I was really happy with how the project ended up. No more searching for keys and wallets!
Happy Winter Solstice and Happy Holidays everyone! Stay safe, Be Healthy, and enjoy your time.
Last year, we felled an old chestnut oak tree in our front yard that had succumbed to illness. We were certainly sad to see this magnificent old tree fall. We took that opportunity, to teach the kids about the cycle of trees and we ended up growing our oak own trees from acorns to continue the cycle.
We grew some oak saplings from acorns to learn about the tree cycle.
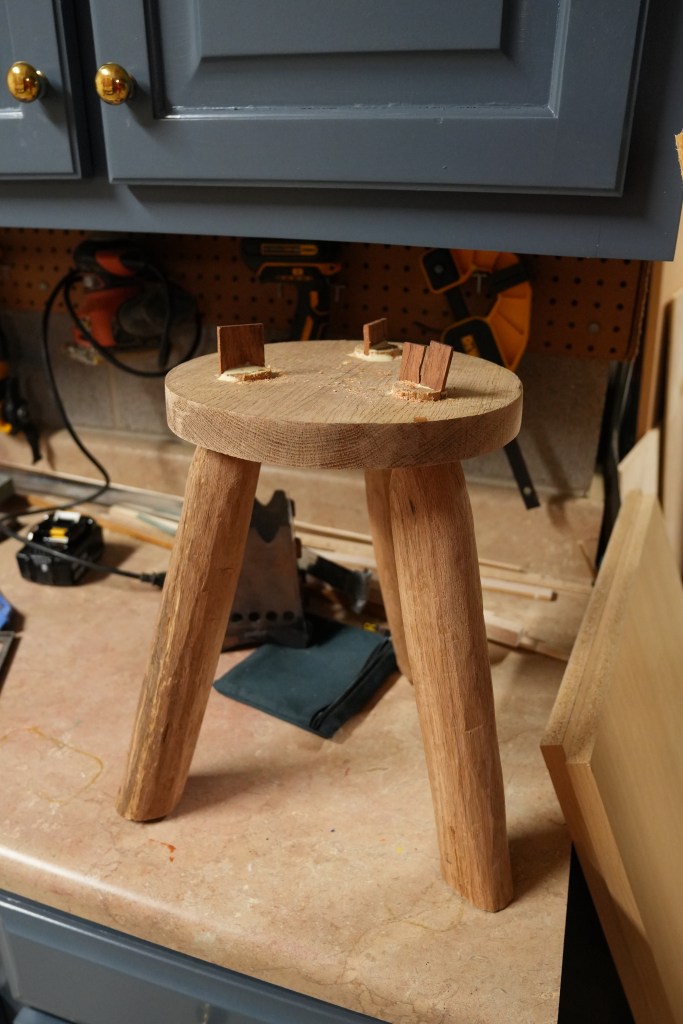
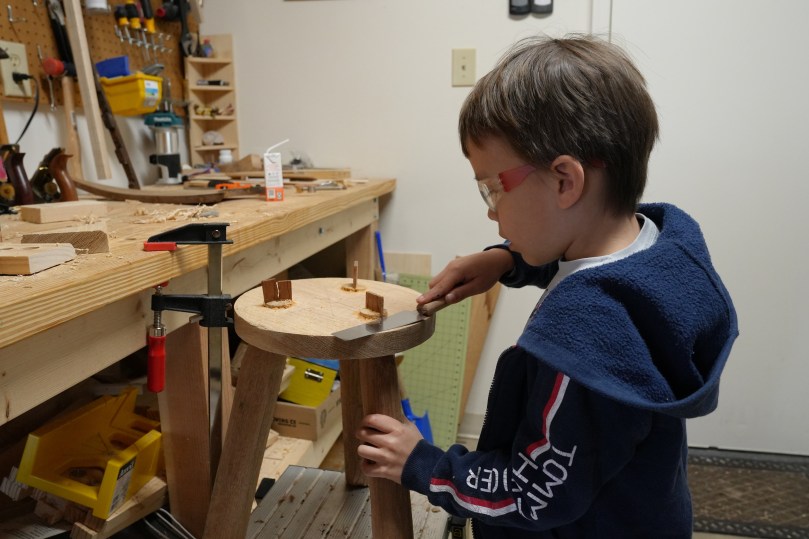
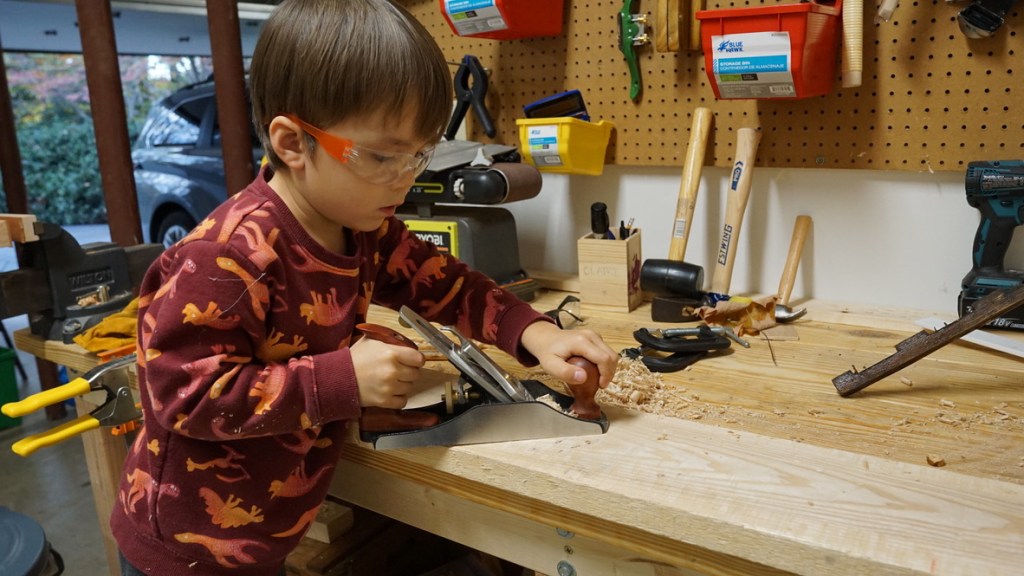
We split the oak into many cords of firewood and left it to dry. About a year later, we decided to find a way to let to celebrate this old tree – we were going to turn it into a milking stool. Why you ask? Because we have several cows that need milking. No, just kidding. As the kids become more involved in the workshop, we needed another stool for them to sit on. Also, it is a great project for using hand tools. Power tools would make it certainly easier, but where is the fun in that. Also I guess they are too young for that.
Draw knife action on white oakDraw knives will turn a block of firewood into a smooth cylinder leg.a Shinto rasp is also helpful to smooth rough corners. It works very well.
It appears that milking stools have been around for at least 2000 years. The 3 legged design allowed milkmaids to get low to the ground and lean forward without toppling over. Also, the 3 legged design was more stable on uneven surfaces than a four legged design. In 19th century England, cows could be milked in the fields or in cowsheds. These were traditionally constructed out of elm with legs of ash. Our milking stool will be much heavier, we are using chestnut white oak for the legs, and then white oak for the seat. It will be a very Virginian stool (we love white oak).
The legs are set at 20 degrees. Make sure to mark 120 degrees apart to give you equal spacings between the legs.
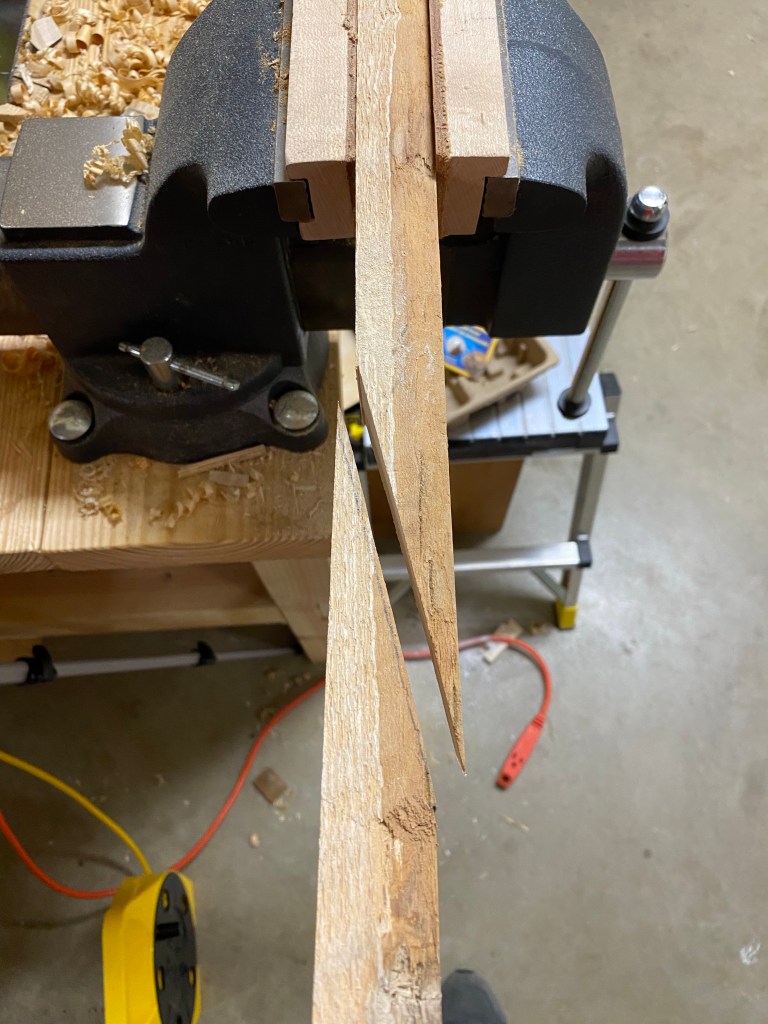
After selecting 3 pieces of chestnut white oak, we got to work to make them as cylindrical as possible. This was done using 2 different draw knifes. We have a “rough” draw knife, that we use to strip bark, and then a finer, sharper one for the more precise work.
We used teak wood for the wedges. Here it is drying.
I purchased a board of white oak from the local woodcraft to cut out of a circle for the seat. Using a Number 4 hand plane, this was then smoothed to remove all rough spots and to flatten it as much as possible. 3 points equidistant from each other were then marked out on the seat using a compass. I used a bevel gauge as a reference to gauge 20 degrees from the normal. This is the angle at which I will be drilling out the mortises for the legs. I used a forstner bit at 1 3/4″. Once these holes are drilled. The tenons were then finely shaved to fit through the mortise. The tenons were then cut into, to allow room for a wedge to be driven.
For the wedges, I wanted a different type of wood that would stand out visually. So I used an old piece of teak. These were then sanded down to the shape of a wedge. Once the tenons were securely placed through the mortises, the teak wedge was then glued and driven through the cut in each tenon. This will keep the joint tight.
Once it has dried, you can cut off the excess wood with a saw. A block plane can help level the seat once again and then sanded. The legs were then leveled with the ground and cut. All edges of the legs were chamfered in order to reduce the likelihood of the legs splitting and chipping.
Once it is dry, you can cut off the excess wedge and excess tenon for a flush cut.
For the finish, we kept it very simple with a couple of coats of boiled linseed oil, this certainly helped to bring out the grain of the oak. For the last coat, I applied a layer of beeswax.
Overall, it was a very fun project to do with the kids. There was a lot of cutting, shaving, hammering and sanding. What more could you ask for? Now, time to find a cow.
After a couple of coats of linseed oil and one coat of bees wax, she’s ready for use!
Learn about significance of the milking stool in women’s history.
This guy is named Eoin Reardon, he is fantastic woodworker from Ireland. He shares how he makes his milking stools.
Be safe when working with tools! Make sure you’re wearing the proper eye protection! Have fun and be healthy!
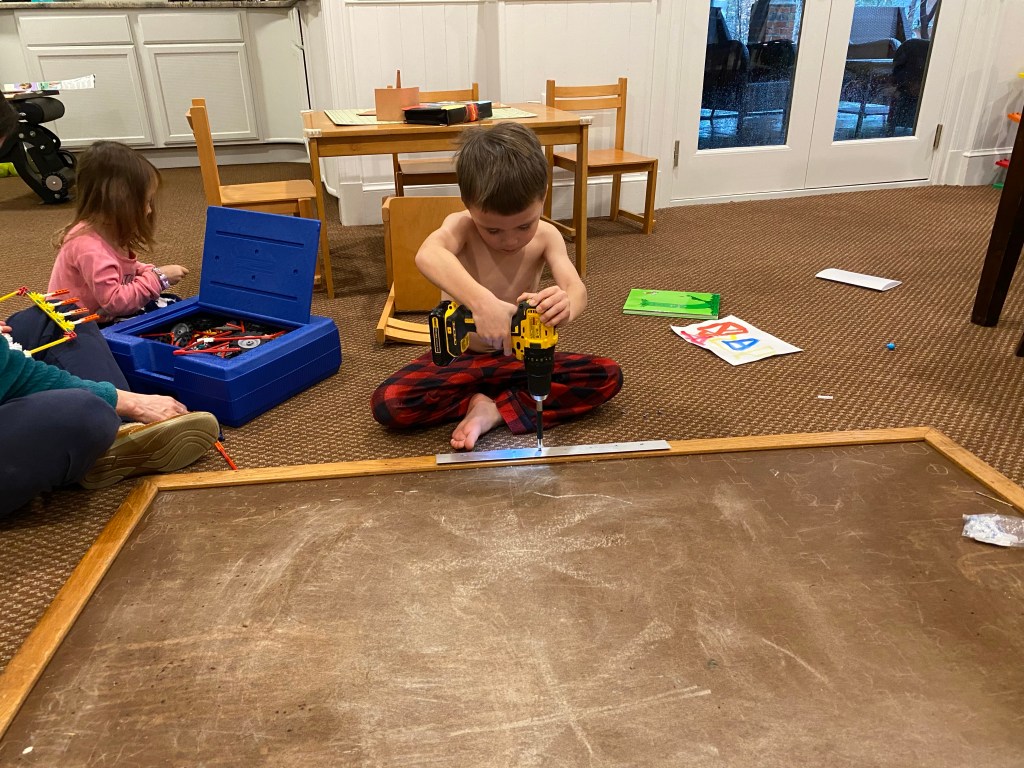
There are 2 types of people in the academic world: a white/dry erase board person or a chalkboard person. After high school, I continued my education for 13 more years. During these 4 years of medical school, 3 years of internal medicine and 3 years of ophthalmology, I can emphatically say, that I am a chalkboard person.
3 x 5’ old classroom chalkboard I found on Facebook marketplace for $35
Are there pros to a dry erase board? Absolutely. No chalk dust, no messy brushes, no need to go outside and dust the brushes off. Personally, I just never liked the idea of throwing away marker after marker into the trash bin once they were depleted. I didn’t care much for the smells either. For me, the chalkboard was more traditional, more fun, and I guess I grew up in the era of chalkboards.
When it comes to explaining things to my kids, I am definitely a visual teacher. When it comes to explaining concepts, nothing beats having it displayed in stark contrast, in black and white on a clean chalkboard. Whenever I need to explain a concept, with the chalkboard, I can show all 3 kids at once.
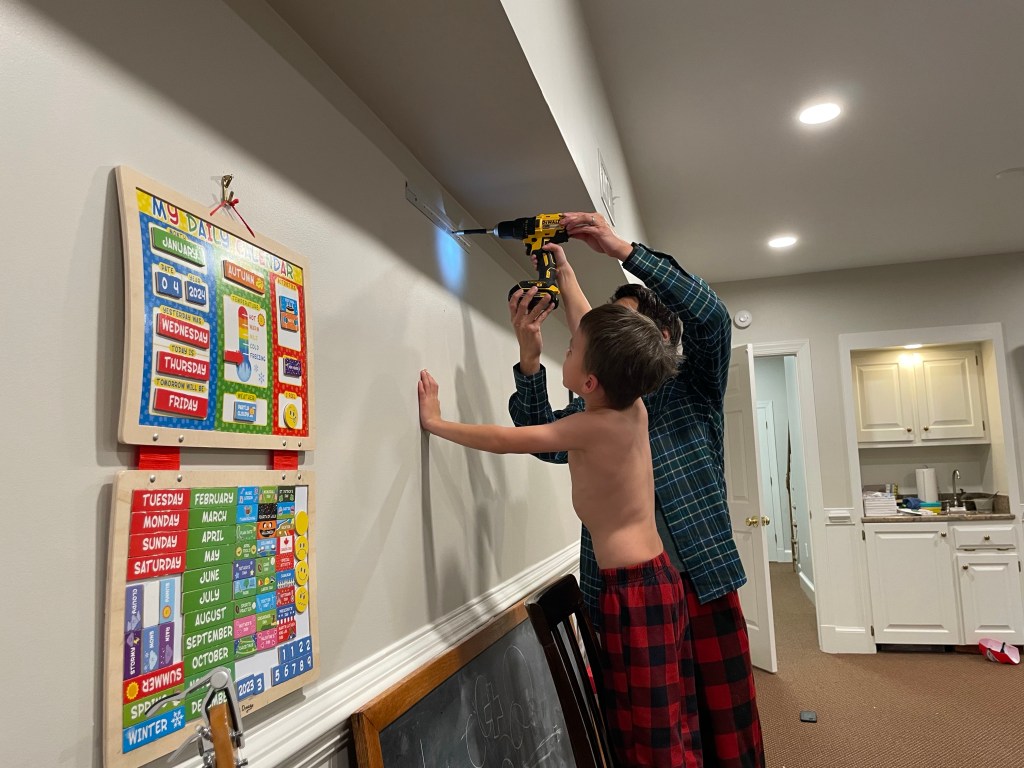
French cleat to hang it flat on the wall
I searched Facebook marketplace for quite some time to find a board with the proper dimensions. My journey took me eventually to Mechanicsville, Virginia in the woods, where a very nice lady, sold me, an old classroom chalkboard that measured 3 x 5 ft. It was old, but perfect for our needs. I paid $35 dollars for it.
French cleat worked great
Taking it home, we cleaned it, sanded it, and applied several coats of Danish oil to bring new life to it. Using a metal French cleat system, it was mounted to our wall and ready for action.
Long live chalkboards
This chalk is also awesome: Hagoromo chalk from Japan.
Happy new year everyone! Wishing everyone good health and good luck
Time to get to business. We needed to replicate the heart of this canoe…..the stem. This is the curved edge of the boat, made from solid wood that extends from the keel below to the gunwale of the canoe. Structurally it is a critical piece, that provides strength, and unites the port and starboard planks. It is also tapered to provide the aerodynamic shape of the canoe, allowing the boat to cut through the water. We are starting at the stern, where most of the work lies ahead of us.
The original stem, pictured here is nearly 100 years old. The tip is rotted and the remainder is in rough shape. We decided to replace the whole thing.
In many instances, the entire stem does not need to be replaced. The rotted section (usually the top) can be cut off and a new piece can be scarfed in. In our case, the whole thing seemed pretty worn out, so I decided to construct a new one. We used white ash (Fraxinus americana) to create this. I went to our local Woodcraft store to select the board that I needed. It was critical to find a board that had very straight grain, either quarter sawn or rift sawn. Having the grain run straight will reduce the chance of fracturing during the wood bending process. This piece was ripped on the bandsaw and then soaked in a creek for 5 days.
rift sawn white ashsoaking the stem
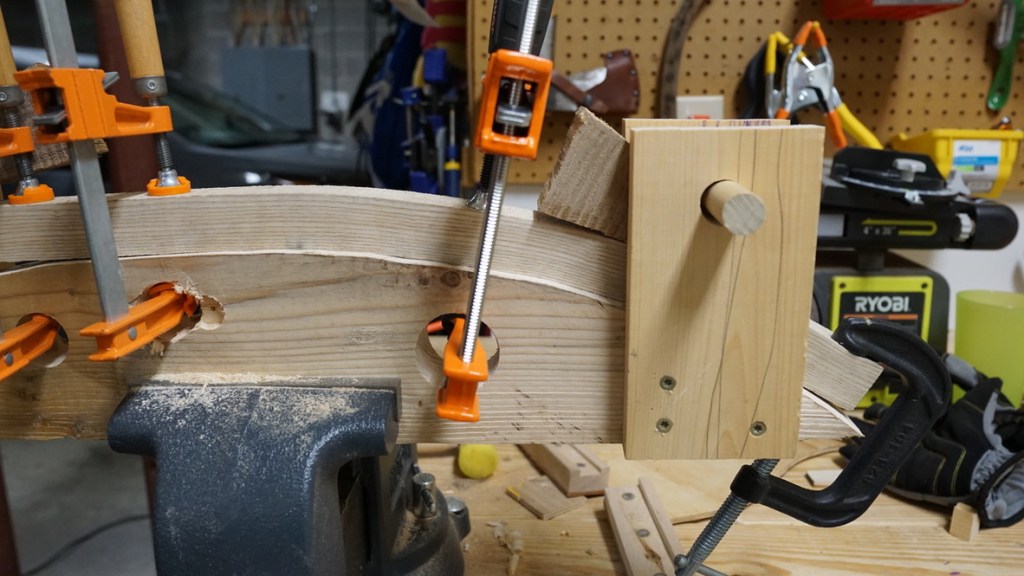
In order to bend the piece of wood, you will have to create a jig (or a form) to bend the wood over. The jig does not have to be pretty, but it has to be functional and accurate. I constructed ours using lumber from a pallet. I glued these pieces together and let it dry. I would use the original stem to create the outline for this jig. It is important to note that the radius of curvature for the jig will actually be tighter than the original stem. This is because we have to account for spring-back, once the piece of wood is removed from the jig.
After the 5 days of soaking in a creek, I fired up our wood steaming box and steamed the piece of ash for 1 hour. Once the wood is removed from the steamer, you have 60 seconds to bend it onto the form before it loses it’s elasticity as it cools. This part can be a pretty harrowing experience if you’ve never steam bent – I’ve never steamed bent anything. I was very fortunate to have the first attempt succeed. For any critical part of canoe building, I often practice the motions before I actually do it. All the clamps were at the ready, my path was clear, I made sure I had enough ceiling clearance etc. I ran through the steps with a mock piece of scrap wood. I also used a piece of steel strapping to help reduce the chance of fracture.
rough planing to get it into the planer and jointer
After a week in the jig, I removed the stem from the form and began to notch out the slots for the ribs using a dove tail saw, a coping saw and chisel. This is where we spent alot of time, measuring angles of tapers to get it just right. I used a block plane to get it to the right thickness and then a spokeshave for the beveling.
notching grooves for the ribsreplica stem made of white ash
In the meantime, I steam bent some pieces of ash for the 2 inwales that would need replacing. I created another small jig for these as well. I cut them roughly to size and then used a block plane and spokeshave to get it to the proper dimensions. Ash is very satisfying to work with. These pieces will need to be scarfed into place and glued together using System Three T-88 epoxy. The length of the scarf joint is approximately 4 inches to allow for as much surface area contact as possible.
soaking white ash in the creek, we bury it with rocks to keep it submergeda test scarf jointdry fit looks good
One of the ribs in the stern end also needed complete replacing so we soaked some eastern white cedar boards in the creek for 5 days and then stem bent these for 20 minutes prior to bending them on the form. This step is fun because a jig does not need to be created. We have an intact hull to bend it over! As with any steam bending step, you have to account for springback once the wood is removed from the form. So in order to replace the rib that you want to fix, you actually will use the rib form adjacent to it (with a steeper angle) to bend over. These worked out well thank goodness.
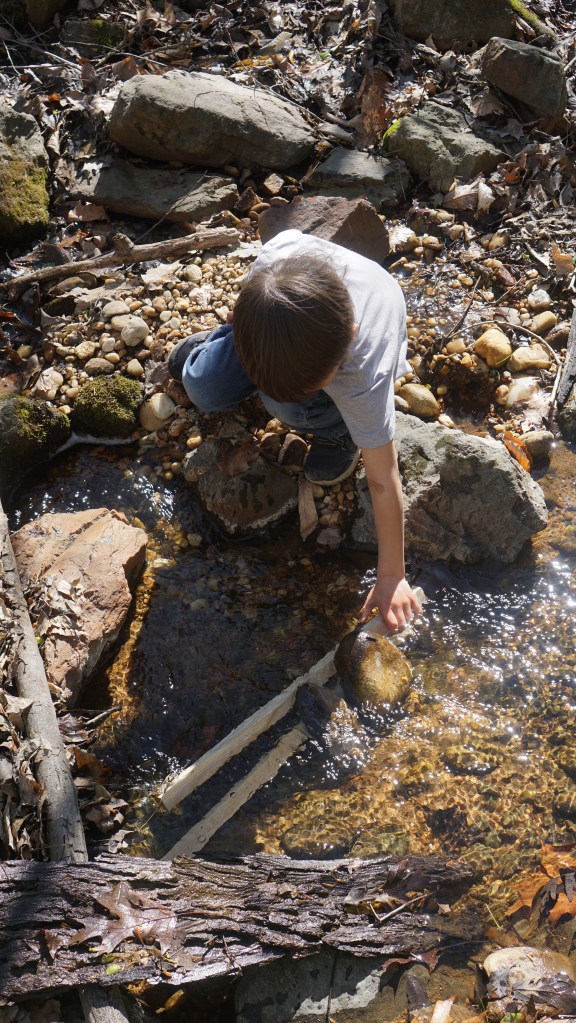
A local creek is perfect for soaking long boardsFlowering dogwood, Virginia’s state flower.Fun at the creekRaising oak trees for the next generation of boat buildersChestnut Oak, we are planting a dozen oaks for the next few generations.The cedar bent well, even at the more acute angles. Fingers crossed.This is a job for the whole family
So everything right now is just dry fitted and held together by clamps, the next step will be to fit the stem in place, glue in the inwales and get the ribs and planking changed at the stern. Progress! Spring has been absolutely beautiful as well and we are taking full advantage of that! Wishing everyone good health.
The first flowers from our Yoshino Cherry BlossomsThese cherry blossoms are growing big.
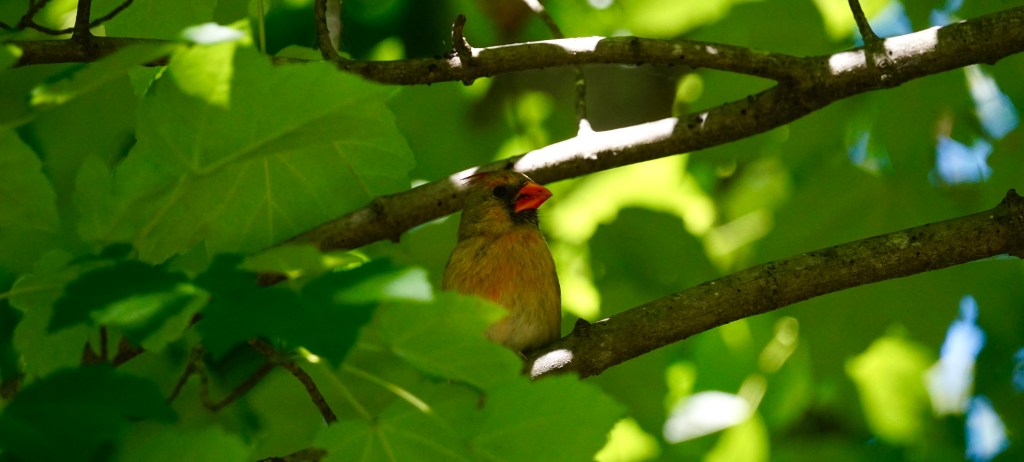
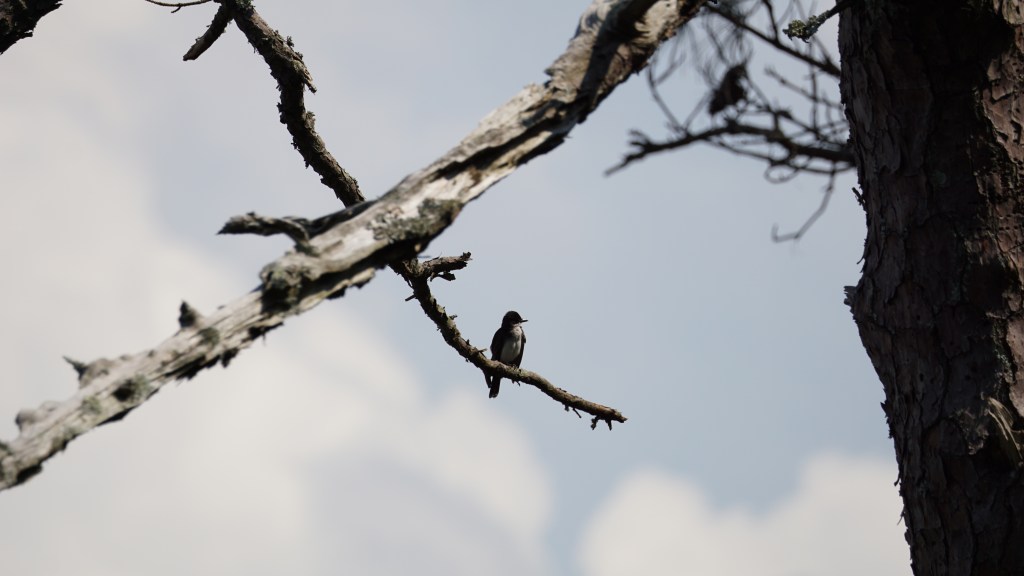
With the final weeks of summer upon us, I’m glad to say that we’ve finally broken ground on canoe rebuilding. I’ve been delving into the depths of wood canvas canoe construction books, YouTube videos, discussions forums and phone calls, to figure out the next steps. Of course, we spent a lot of times outdoors as well. It’s been a pretty mild summer in Virginia thank goodness.
BlackberriesEastern Kingbird on the PIankatank RiverEastern KingbirdPiankatank River
We spent a good amount of time, first doing some careful demolition. Removing one piece at a time to get to the guts of the canoe. The outwales were rotted for the most part, these came off pretty easily. What was left of the stem bands and the keel were removed next. I was just amazed that overall, the wood seemed to hold up well, despite being stored in the Virginia elements uncovered for several years.
We had to cut out some of the old bolts to remove thwarts and seats.
The keel proved to be rather tricky to remove because the heads of the screws were corroded. Once upon a time, they were flat heads. Using a utility knife to carefully score out the old slot and then a few gentle raps on the head with a hammer loosened it enough to get purchases with a screw driver. Another approach would have been to use a Dremel tool to basically create a new slot in the screw head.
Screws that held the keel in place were a pain to get out
After numerous trips to lumberyards, Facebook marketplace searches, I made the decision to purchase my lumber already milled from a canoe builder. When it comes to Old Town Wood Canvas canoes, why not go straight to the source. Island Falls Canoe in Atkinson, Maine is run by legendary canoe builder Jerry Stelmok. He wrote the book: The Wood and Canvas Canoe: A Complete Guide to its History, Construction, Restoration and Maintenance (1987). I had a few pleasant discussions with him on the phone and after a few weeks, our supplies arrived! It was like Christmas, boxes of white cedar planking, ribs, new thwarts, tacks, bolts, canvas and much more. We also had to acquire some new tools as well as a clinching iron, purchased from Northwood Canoe Co.
It’s like Christmasclinching ironCanvas and goodies
One of the issues I ran into, that I haven’t really come across in any of the discussion forums or videos, is the fact that probably 80% of the canoe plank tacks were so severely corroded that they were literally falling off the canoe. When the canoe was first constructed, eastern white cedar was used to plank the canoe. These are thin 5/32″ thick boards that were steamed and tacked onto the ribs to create the shape of the hull. After 90 years, most of these were literally popping right off! As a result, the planking unstable. To preserve the shape of the hull, I started removing these corroded tacks and placed a few tacks to stabilize the hull, until they can be addressed properly. I did NOT fully clinch these tacks.
Clinching basically means that these specialty tacks (designed with a taper) are hammered into the plank and into the rib. A large piece of iron (the clinching iron) is held against the rib on the other end where the tack would exit. As the tack is exiting the rib, the tack hits the clinching iron and it curls upon itself back into the rib. The problem with working with nearly 100 year old white cedar, is the risk of splitting the planking. So to prevent this, I wetted the planks with water and then steamed it using a fabric steamer. Some people use irons. This softens the wood, making it less brittle, and less prone to splitting. The thwarts and seats were relatively easy to take out, once again, corrosion left very little to work with for the nut sand bolts. I ended up cutting several of the bolts to get the seats out.
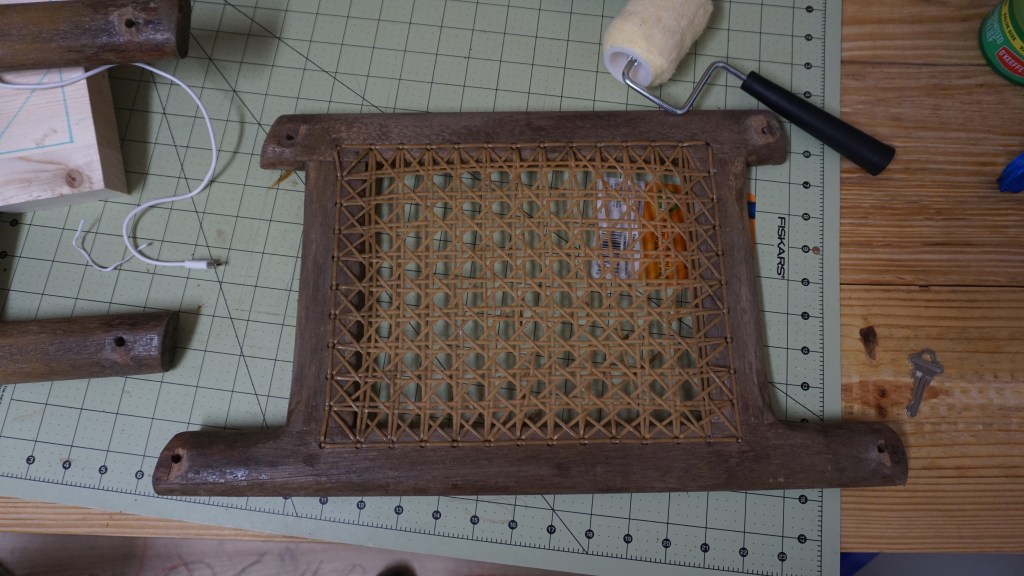
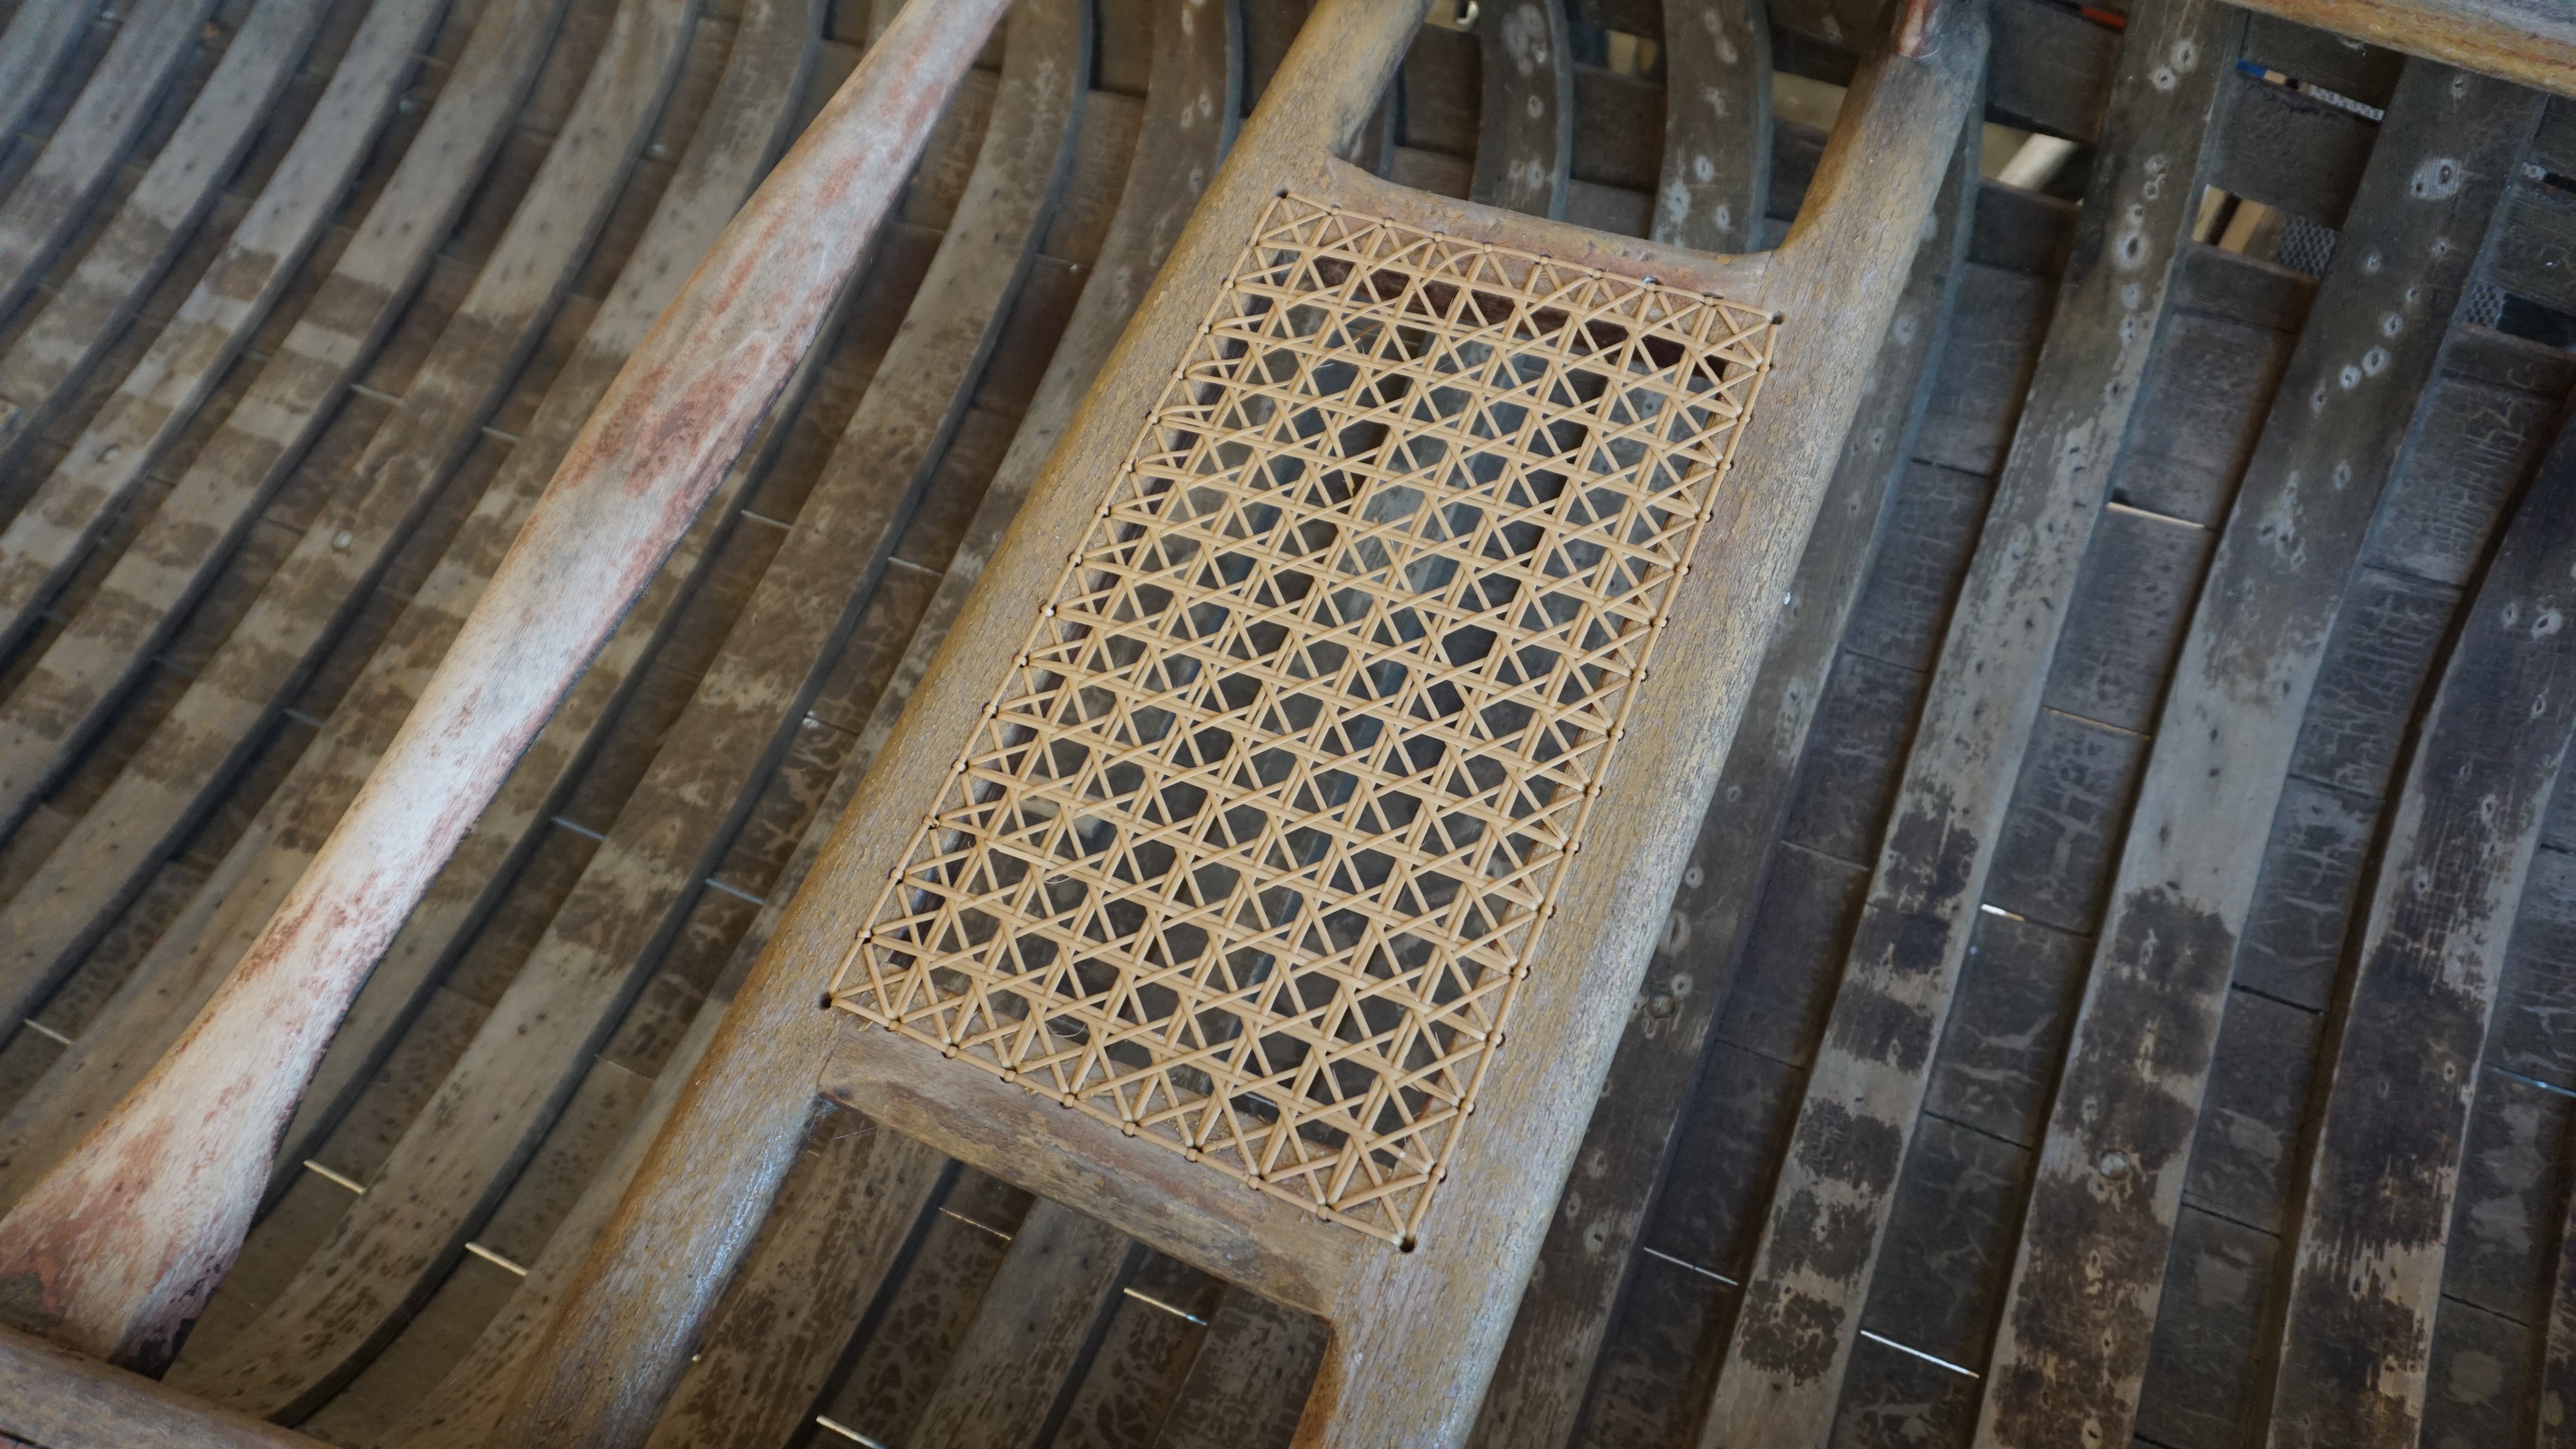
Restoring 90+ year old canoe seats, on an Old Town OTCA.
My son got to work cutting out the old cane, and we stripped the old finish and got to sanding. The seats seemed to still be in decent shape and we worked on bringing them back to their old glamor. We were actually working on the seats while we waited for the lumber to arrive from Maine.
After a few trips to the local lumber mills, I decided to purchase my lumber, right from Maine. Island Falls Canoe, in Atkinson.
Once the hull was decently stabilized, we were now looking at taking out the stern, stem of the canoe . This is especially difficult to do, because the canoe was essentially built around the stem. This area of the canoe is especially prone to rot. In many scenarios, only one section of the stem would need to be replaced (perhaps 1/3 or 1/4 of the stem). There are different ways to scarf the new stem into the old, however, gauging from the amount of rot, I knew I needed a whole new stem. This is the part I’m working on currently.
Was it necessary to fill all of the old tack holes in the ribs? Probably not, but it gave the shop mites something fun to do.
It is becoming more apparent to me that there is no cookie cutter way to restore/rebuild a wood canvas canoe. I found this interesting posted on the “Wooden Canoe Heritage Association” YouTube channel. It details the restoration of an “Old Town Ruston” wood canvas canoe. Through watching these videos, I gather different types and tricks to help with my restoration.
Interesting video posted on the WCHA channel about the restoration of an Old Town Rushton.
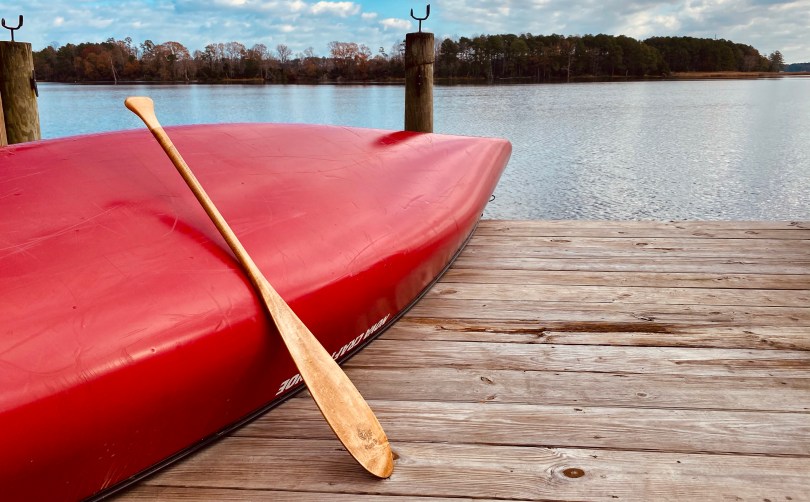
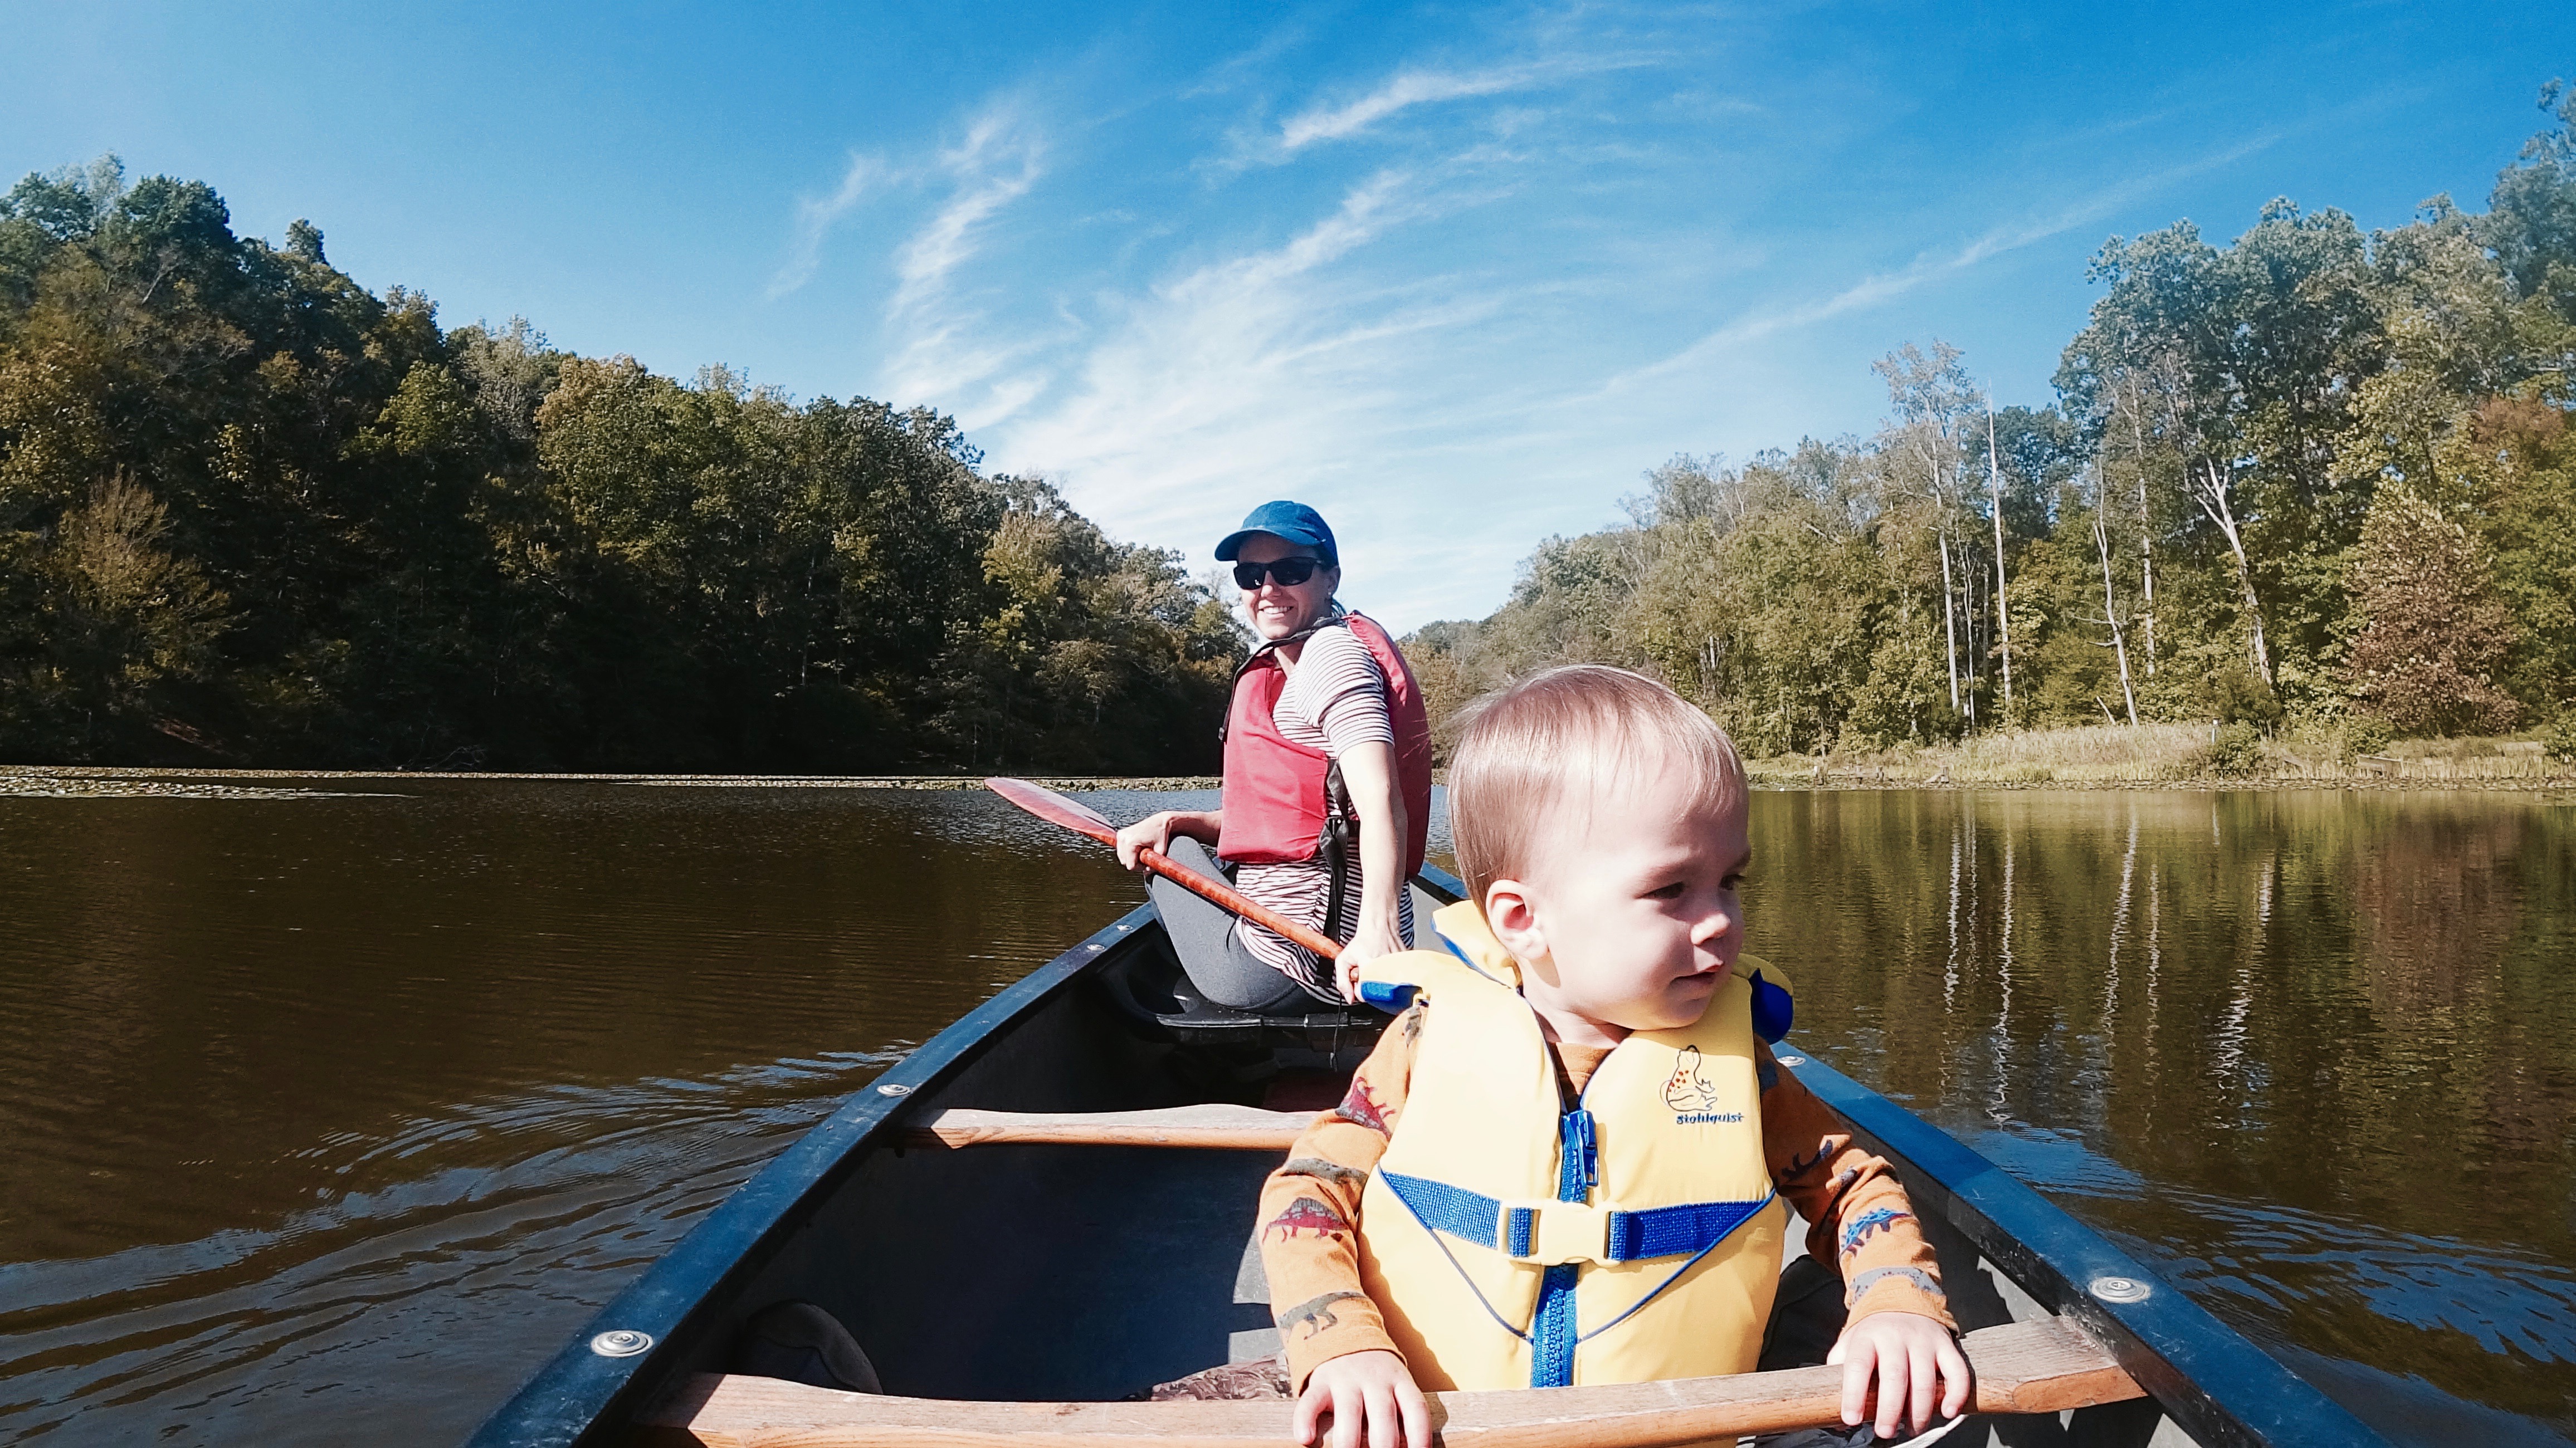
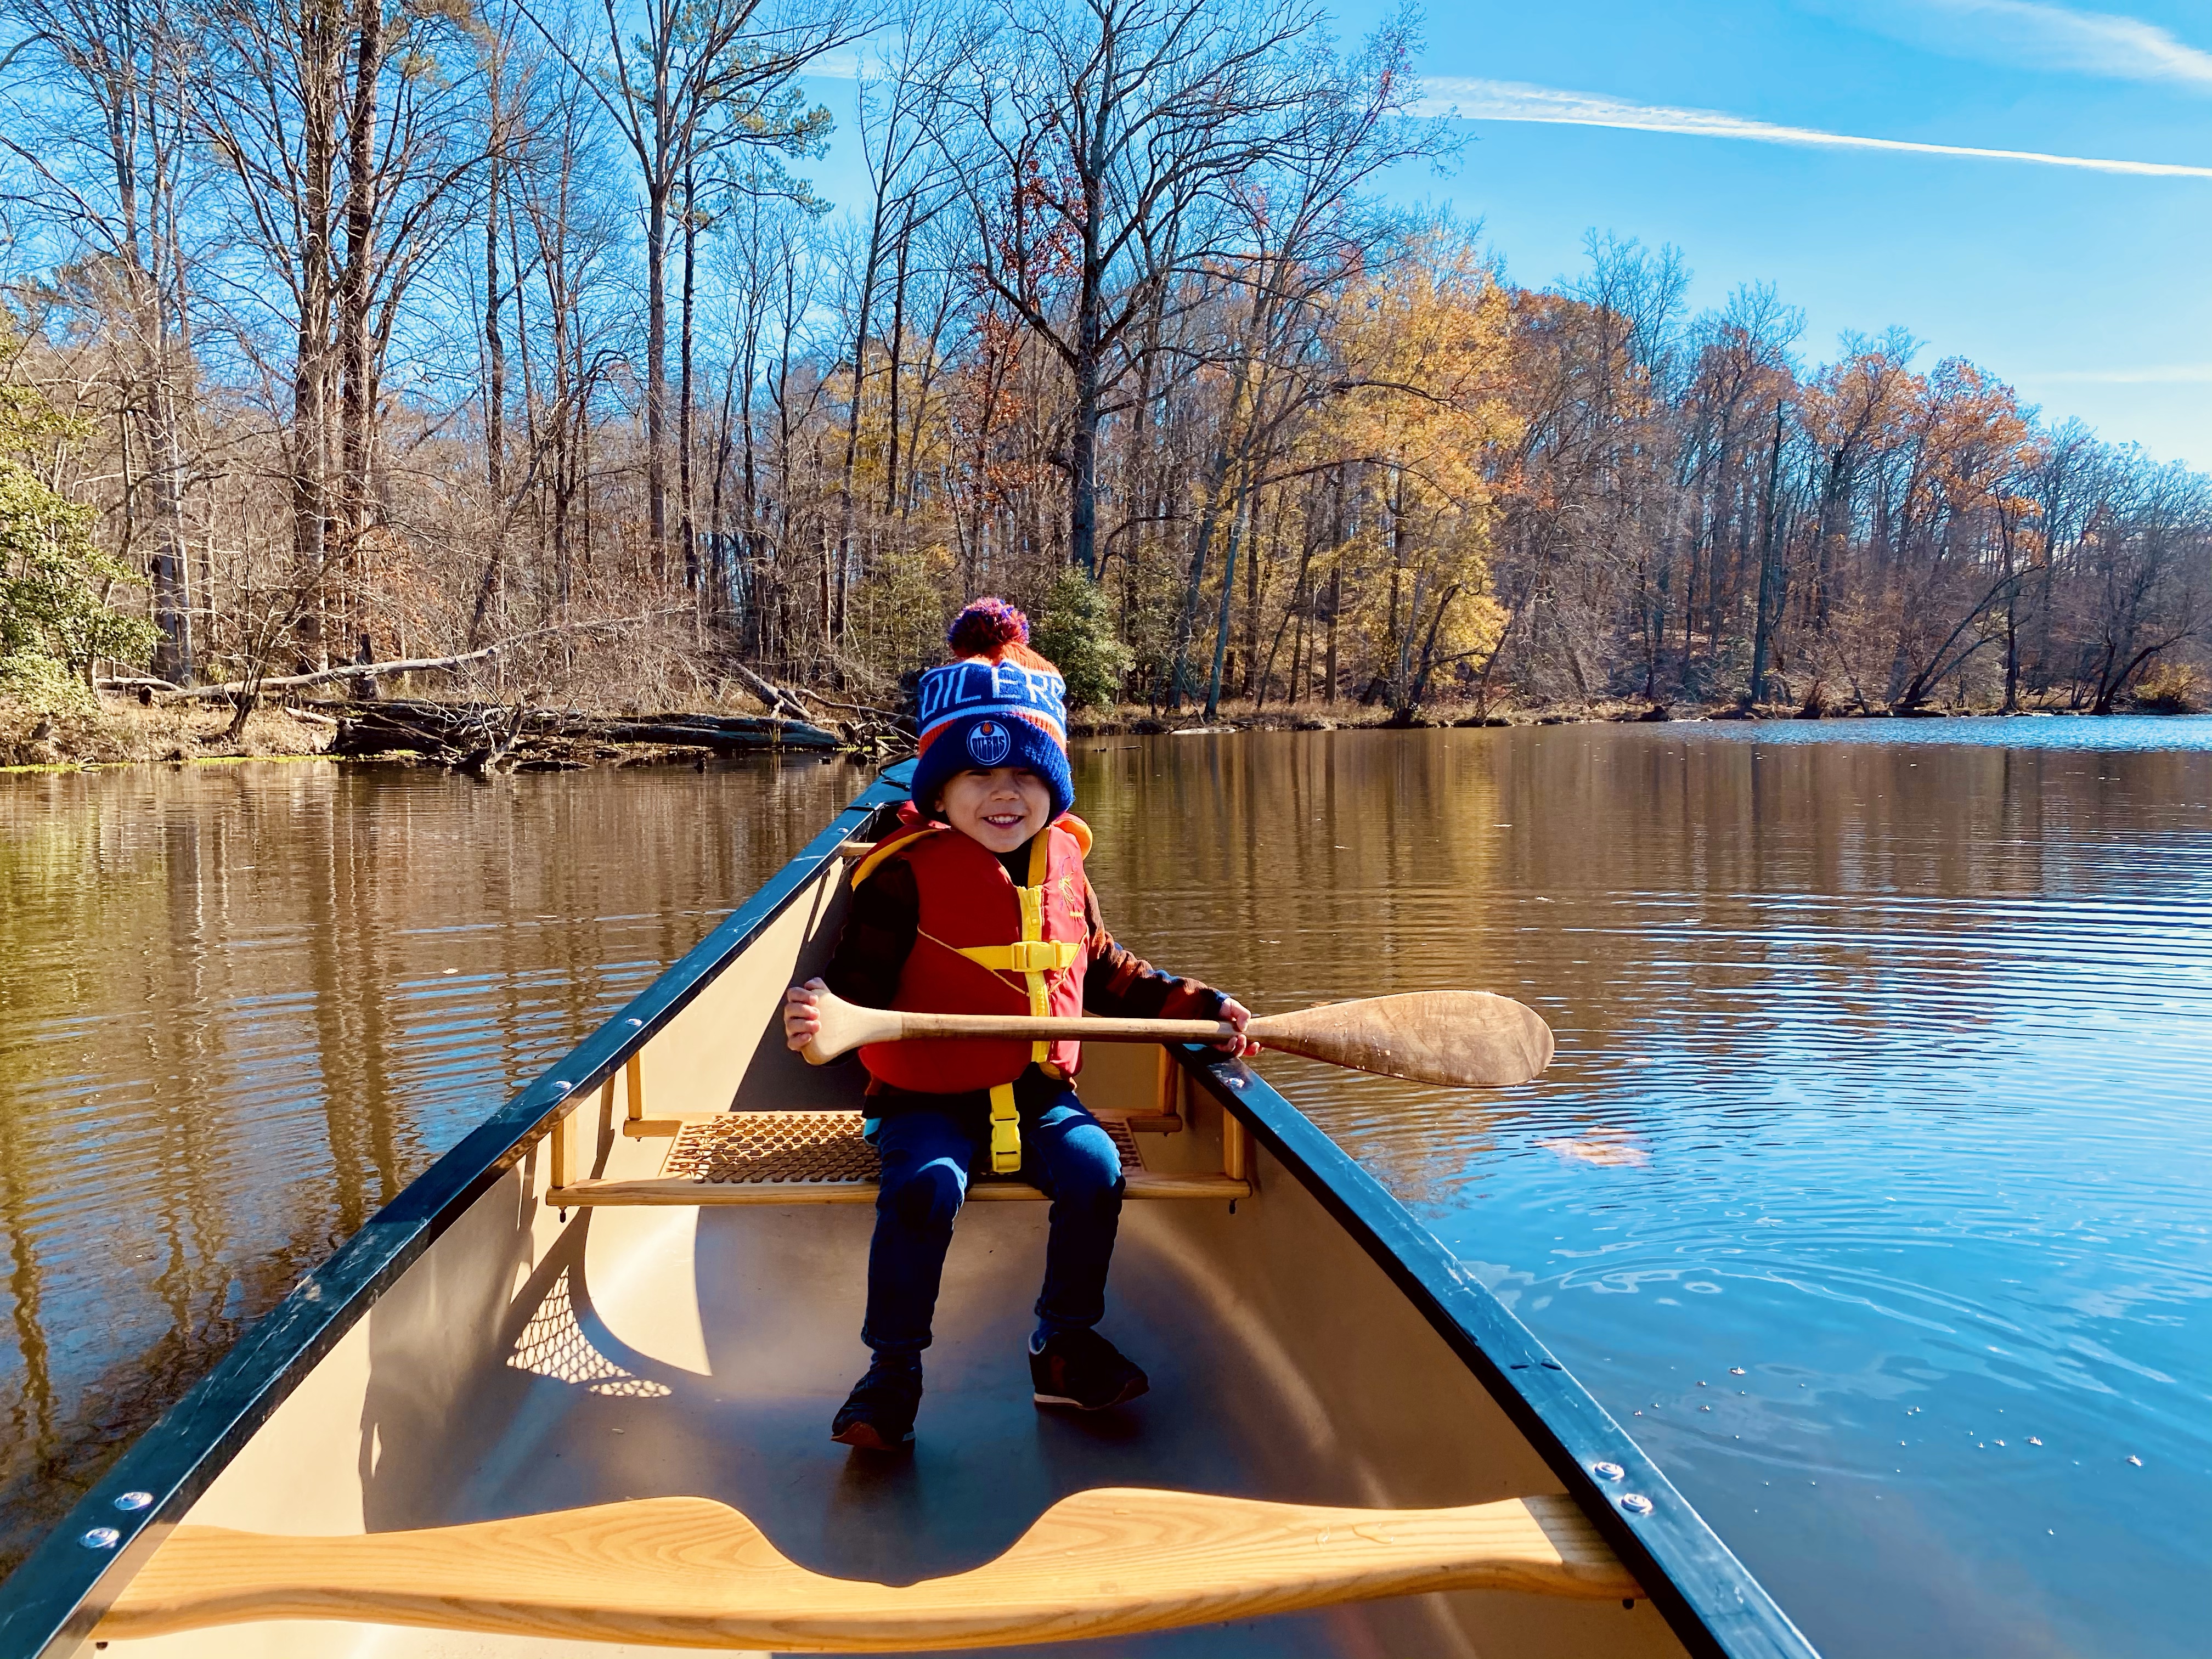
The weather has been getting milder and we spent many grand days outdoors. My daughter was able to go on her first canoe trip and I do believe she is hooked. She is asking for her own paddle like her brother’s. We will probably have to carve one of those as well one day. Alas, fall is approaching and we are ready for more! Stay safe and healthy everyone!
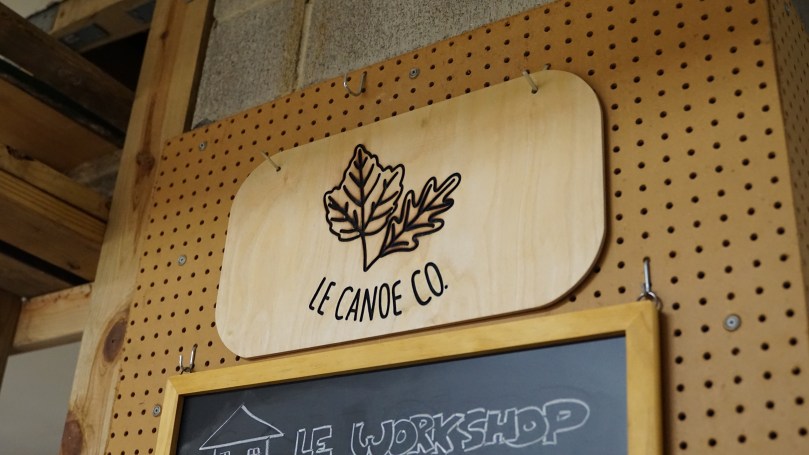
Taking my daughter out for her first canoe trip this past summer.Canoeing in Pocahontas State Park, Virginia.Side projects keep the kids interested. Like this canoe sign made from a CNC machine.Fall is approaching with cooler temperatures. We are looking forward to spending more time in the shop.
In typical Virginia fashion, we have experienced all 4 seasons in the past few days. There were days when I was out in a t-shirt, and then shoveled some snow the next day. Nevertheless, the first signs of spring have finally made their appearance. I’ve noticed some cherry blossoms beginning to bud and the occasional days of full sunshine beating on the face is certainly welcoming after another long pandemic winter. The warmer temperatures in the shop, is also helping to motivate me to get some things done.
After building our steam box, we really haven’t had a chance to do much. I have mostly been reading, and researching the art of canoe restoration. It definitely seems like a daunting task however, one that we willingly take on. I honestly believe that it might be easier to build a canoe from scratch, this one looks pretty beat up. Most of the ribs are cracked in more than one place, the gunwales are spent and the stems on both ends have suffered some degree of rot. The decks actually appear to be in decent shape and the seats as well. All of the diamond Old Town Canoe bolts will be changed out for new ones, and probably all of the planking will have to be replaced. I’ve actually really enjoyed reading about boats, and different properties of wood and the structure and framework of canoes. It doesn’t matter how slow you go as long as you don’t stop…
Most ribs are cracked.Diamond shaped bolts are Old Town Canoe hallmarksI doubt I’ll find planking this longwell….at least the seats look decent.
As a non-boat builder, my research pointed to the direction of the Wooden Canoe Heritage Association (WCHA) for further guidance. The WCHA is a nonprofit membership organization dedicated to preserving, studying, building, restoring, and using wooden and bark canoes, and to sharing information about canoeing heritage throughout the world. The discussion forums are particularly helpful, where boat builders can share experiences and troubleshoot through problems. It was here, where I was able to learn more about my canoe. It is certainly interesting to see what many builders are willing to restore. Some boats are more reasonable for the firepit, however, as myself, I find others that are restoring these vessels for the pure joy of it.
When it comes to Old Town Canoes, there is a way to find out more about your particular wood canvas model. There is a 4-6 digit serial number printed on the stem of the canoe, towards the stern and can be read from the starboard side. Often times, the serial numbers are faded and worn so I was fortunate that I was able to still make out mine. Through careful inspection with lighting from all possible angles, I was able to make out….#103607.
It’s there if you can make it out: “Serial number: 103607”. (Not pictured is the “17” that indicates a 17 ft long canoe)
Through the Wooden Canoe Heritage Association discussion forums, I was able to get help from a very kind member who was able to look into the specifications of this particular canoe and gain access to old build records. I find it absolutely amazing that this document still exists! After reading the form, I knew this was definitely her. 17 foot long OTCA model, Grade AA (top), with western cedar planking with gunwales and decks of mahoghany. This particular model also has a keel. The Design Color #10 is one of the paint schemes back then, which was mostly green, it is shown in the drawing below.
Old Town Canoe build record: Dates this canoe back to 1929-30! Special thanks to Benson Gray of The Wooden Canoe Heritage Association.
Western red cedar (thuja plicata) has a variety of uses in construction and carpentry. It has many properties that make it ideal for canoe planking. It is light, intrinsically rot resistant, naturally resistant to bugs, flexible, with a high tensile strength. My next task is to track down straight grain red cedar boards. With the new bandsaw, I hope to resaw these boards to get 5/32″ boards. In terms of the gunwales, I will unlikely be able to find 17′ long mahogany pieces, so I’ll likely have to scarf shorter pieces together. I’ll see what my journey through the mills bring me too. This is where the fun begins….stay safe and be healthy everyone.
This video, although certainly not politically correct, shows some of the steps of building a wood canvas canoe in an Old Town Canoe workshop. Amazingly as old as this video was, the canoe I’m working on was made at least 20 years earlier. The credit of this amazing vessel is to the First Nations People and the Native Americans who perfected it.
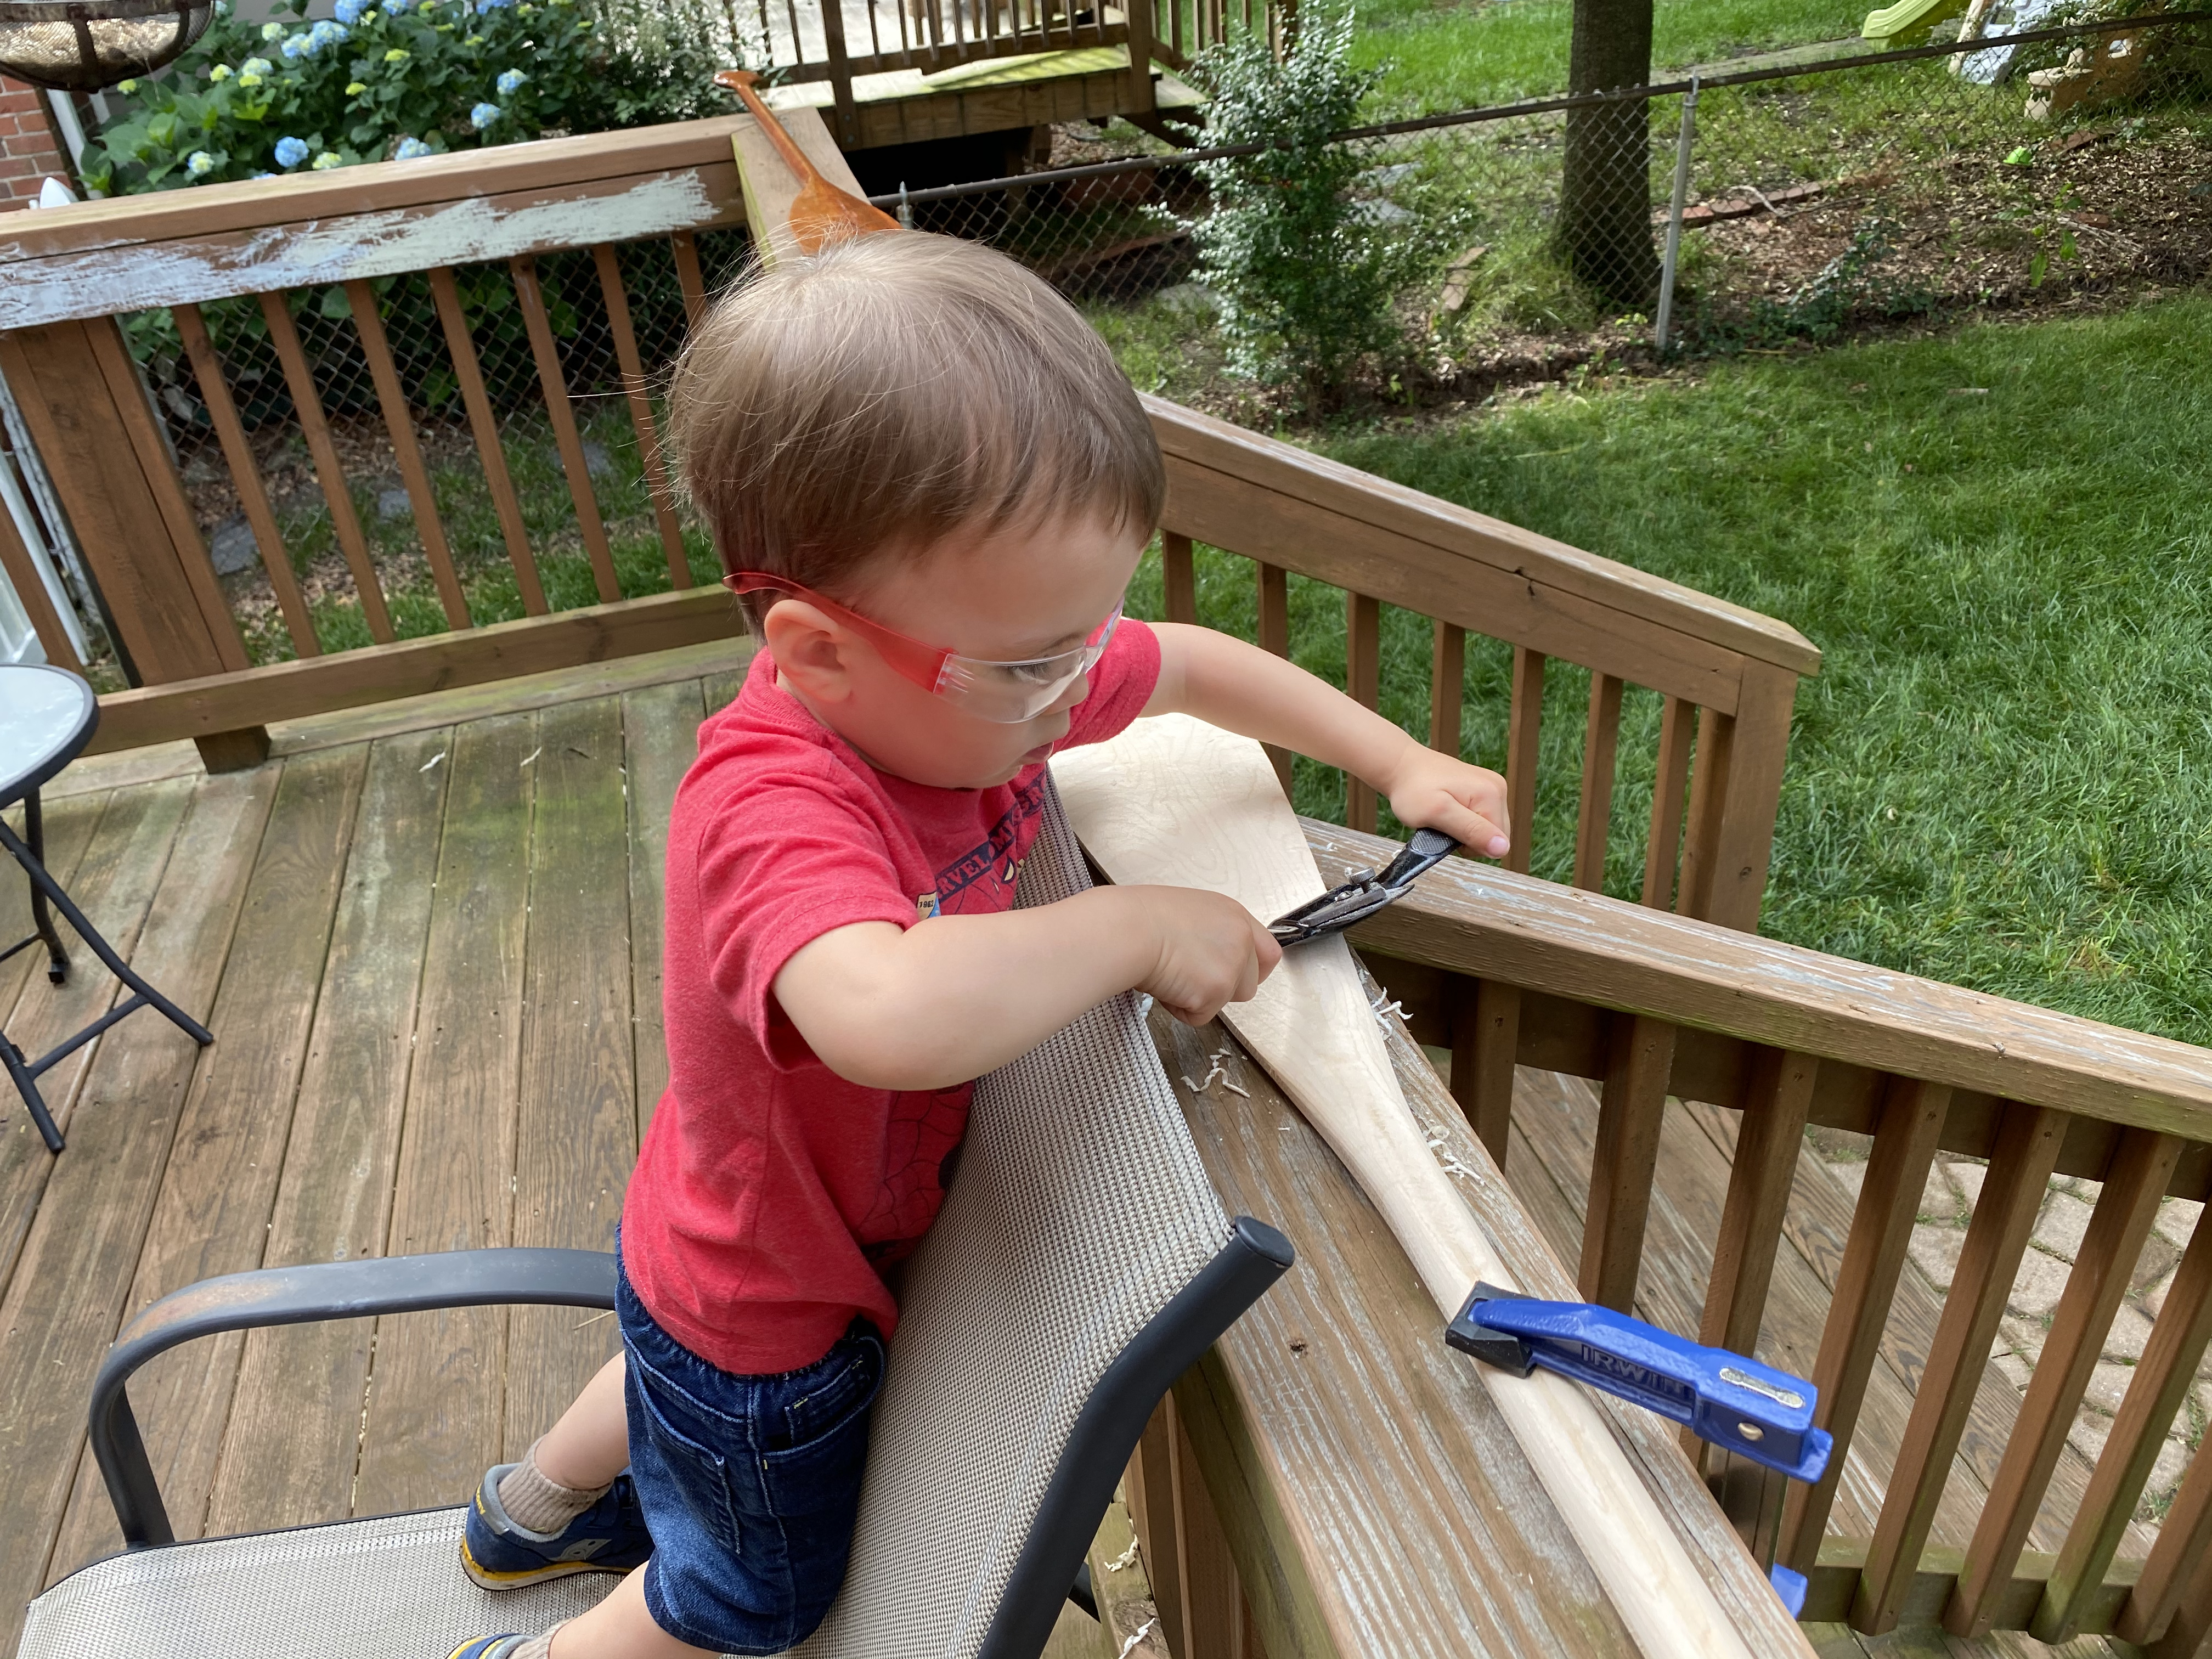
From the moment he stepped foot in a canoe, my son has never been satisfied with just sitting and taking in the views….. He wanted to paddle! He was not even 2 years old and at the time there was not a paddle small enough for him. This was my chance to make him one. As with all projects, we both learned a lot and had a blast making it.
His first canoe trip.
Selecting the wood:
Traditionally, canoe paddles are made from hardwoods. The definition of a hardwood is a species of tree that will yield a seed that has a coating on it, either in the form of a fruit or a shell. (Oak, maple etc). Softwoods, yield seeds that do not have any particular coating. Example: many conifers. The terminology is sometimes misleading because there are some softwoods that are actually harder than hardwoods, but in general, hardwoods are usually indeed harder. These trees take much longer to grow to the equivalent size and as a result are usually denser.
For a project such as this, you will likely not find the board of wood that you need from Lowes or Home Depot. Your best bet is to go to your local lumber mill or wood working store. In this case, we were fortunate enough to find our wood from Woodcraft. If you haven’t spent much time in a lumbar yard, some of the terminology might be confusing. You will hear the term “board foot”. This is the unit for which wood is sold. IT is misleading because it is actually a unit of VOLUME not length. A board foot describes a piece of wood that is 1inch thick, by 12 inches wide, by 12 inches long. Hence 144 cubic inches. For our project, we used a 3′ x 1” x 4” foot long piece of hard maple.
When you are selecting the wood, make sure that there aren’t any knots or wood defects in the areas that you will be using, ESPECIALLY in the shaft of the paddle. These knots can lead to weakness in the paddle and could eventually fracture down the road.
Equipment/Materials:
hand bench plane (I used a #4 Wood River plane)
spokeshave
jigsaw or bandsaw
sandpaper (120 and 220 grit)
woodburning pen (optional, if you want to add designs to the wood)
clamps
tack rag
spar varnish
woodstain (if you want to stain the wood)
linseed oil (optional)
orbital/hand sander
protective eyewear
Selecting the design:
When selecting the design of the paddle, keep in the mind where the paddle will be primarily used. Is it flat water? whitewater? tripping? leisure paddling? There are numerous types of canoe paddle designs to choose from. These mostly differ in the shape of the blade of the paddle. Different paddle shapes will move different amounts of water. I’ve always prefered the beaver shape paddle, it is not too wide and it is not too narrow.
The Woodworkers Journal: provided a template for one of their Northwoods canoe paddle. A beavertail shaped paddle. I didn’t use these exact dimensions because we are completing a scaled down version for my 2.5 year old son. But I was influenced by the overall shape. Notice how the design templates are for one half of the paddle, when you are finished tracing that half, flip it over and trace it again to create the complimentary side. This will allow for the most symmetrical template possible. If you’re going to making many paddles over the years, consider making this template out of wood for safe-keeping over the years.
Once the outline has been drawn on the paddle, use a bandsaw or a jigsaw to cut out the paddle. If you spend extra time making the cuts as precise as possible, this will save you time later with the hand carving, shaving and sanding. I used a Bosch jigsaw.
Here is the video of the northwoods canoe paddle making process.
2. Planing
The key point to make during the remainder of the carving process is to maintain symmetry through the axis as well as throughout thickness. Use a gauge to mark the very center of the board on it’s axis as well as its thickness. The line, will let you know how close you are to your desired thickness of the blade. You may decide to vary the wood thickness based on the type of wood as well.
When working on a project like this, I want to emphasize the importance of knowing your tools and how to maintain them and to keep them functioning at their very best. There is no better example than the bench hand plane. If your tool is properly sharpened, maintained and tuned, this part of the project can be the best part. If your plane is not set up correctly, this could lead to a very frustrating experience.
In addition to keeping your tools finely honed, it is crucial to take into account the wood’s grain direction. Ideally your board is free of knots, this will make for the easiest planing. If there are knots, just be cautious of the grain drain direction change in these areas which could leave to tear outs. One way to battle this is to take shallower cuts if necessary. There are numerous tutorials online about how to read grain direction on a board.
Here is a useful video on how to set up a hand plane.
The Handle
The handle is probably the most difficult part of the carving process. There are many different methods to tackle this portion. Some paddle companies will actually do this part all by a large drum sander. Others will use files to whittle away the handle. I prefer to use the spokeshave, although this can be a little, especially if you are making sharp turns. I sanded parts of the handle afterwards with a belt sander.
Watch this craftsman at Shaw and Tenney (an oar and paddle company based in Maine) shape most of the paddle using a large drum sander. Some people will say that this method is not truly “hand made”. Nevertheless, the precision is impressive.
Woodburning
This step is entirely optional; I really wanted to put a logo on our canoe paddle, with a maple leaf (representing our Canadian heritage) and an oak leaf to represent our currrent home, Virginia. Similar to the wannigan I constructed, the wood burning process is a very enjoyable part of the paddle making process. Now if you were a professional furniture or paddle maker, you could consider just getting an ironing brand. Who knows? Maybe one day we will start canoe paddle business. It certainly seems like there are quite a few out there. There is one paddle company in Minnesota named: “Sanborn Canoe Company” that appears to be doing well. They specialize in artisan paddles.
The finish:
There are different ways that you can finish your canoe paddle handle. While some people will varnish the entire paddle, others leave the handle unfinished. I opted for the latter. I left the handle unfinished and unvarnished. I later added 3 coats of boiled linseed oil on the handle. The decision to oil or varnish your handgrip is purely personal preference. I found that over long canoe trips, the feeling of a varnished hand grip can make your hand a little raw after thousands of strokes. Finishing with linseed oil, gives the handle a buttery smoothness, similar to an axe handle. Over the years of use, the grip will darken naturally.
Personal preference, but I left the handle, unstained and unvarnished. I used 3 coats of boiled linseed oil to give it a buttery smooth finish, that will feel much better in the hands. Over time, the wood will darken naturally from the oils on your hand as well as the elements.
In conclusion:
For the canoe enthusiast, I can’t think of a more rewarding experience than using a paddling that you’ve created. It is also a fantastic father son bonding experience. As with other projects, I always find that I learn so much from even the smallest of projects. In this case, the big take home point, is that maintenance of your tools and knowing how to calibrate and hone them is essential to getting a precision job done. The hand plane was a joy to use once sharpened and calibrated. This holds true for the spokeshaves as well. Obviously with any project, the use of a work bench with clamps to suspend your work also makes the task of carving your paddle infinitely easier. Have fun.
**This is the best canoe paddle carving I have found on the internet. It features Ted Moores (craftsman) and this video from the 1990s was produced in Ontario, Canada.**