Earth Day Weekend 2024 – I’ve had my eyes set on this weekend for months now. I wanted to take my two oldest kids (ages 4 and 6) and my parents backcountry canoe tripping in Virginia and this was the perfect time of year to do so. The mosquitoes and biting flies would not be out yet and the day temperatures would be comfortable.

While I dusted off my old canoe camping gear and sorting through my wannigan (camp kitchen box), I couldn’t bring myself to believe that it had been 7 years since my last canoe camping trip! (Philpott Lake). It appears I entered a time warp when my oldest son was born. I initially started this blog to document canoe trips – these trips were the fuel for all of it – and I was so glad to get back to it. I was lighting up with excitement as I came across old gear that I was bringing back out to show my son. We loaded our royalex canoes, a Nova Craft Prospector and an Old Town Camper.
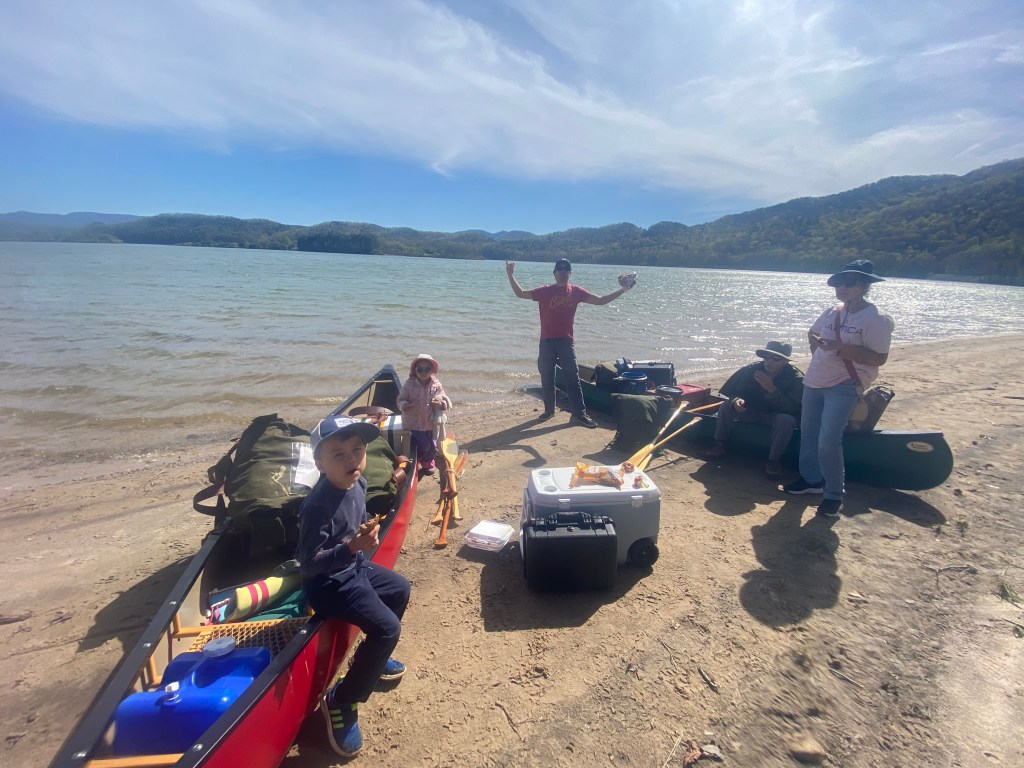


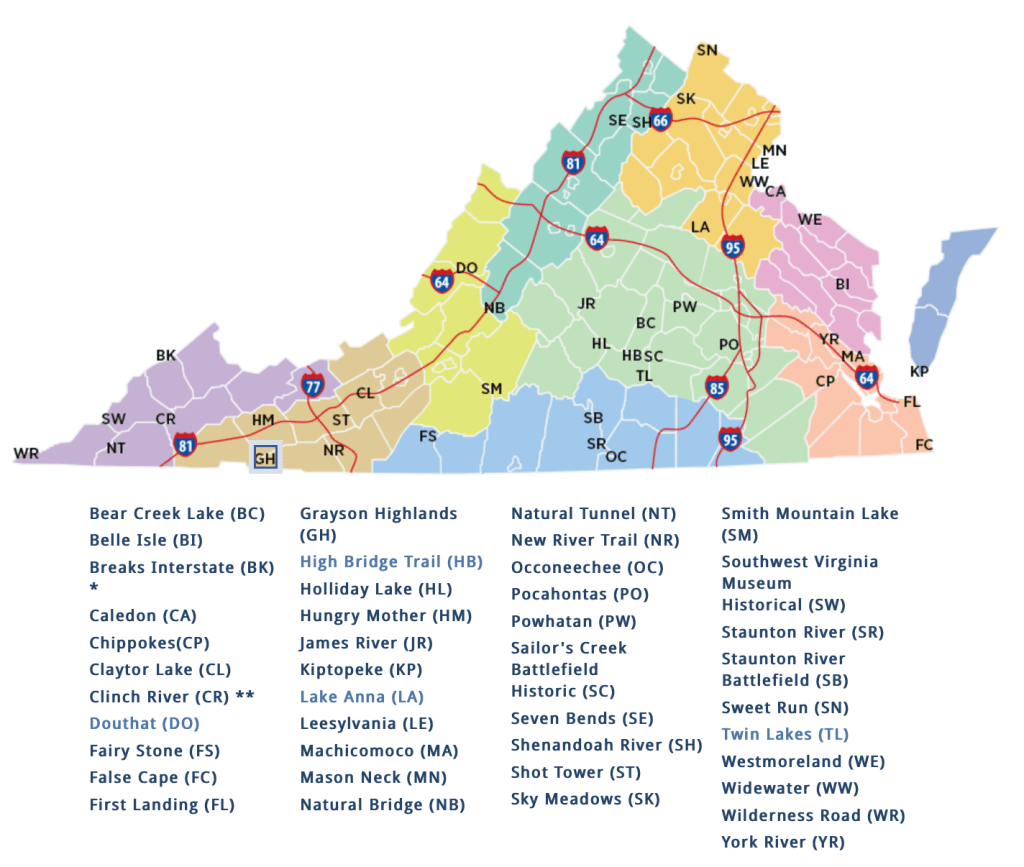
We packed everything on a Friday, so we were ready to roll by Saturday morning. Trip members: mom, dad, son, daughter and my oldest brother. We were an eager and hearty crew. Our destination? Lake Moomaw in Bath County, Virginia. This would be my 4th time canoe tripping here and I couldn’t think of a better place to introduce someone to the splendor of canoe tripping than this magnificent lake.
BELOW ARE LINKS TO MY THREE PREVIOUS CANOE TRIPS TO LAKE MOOMAW, BATH COUNTY VIRGINIA.


Day 1: Sunny, 63F high, low 44F

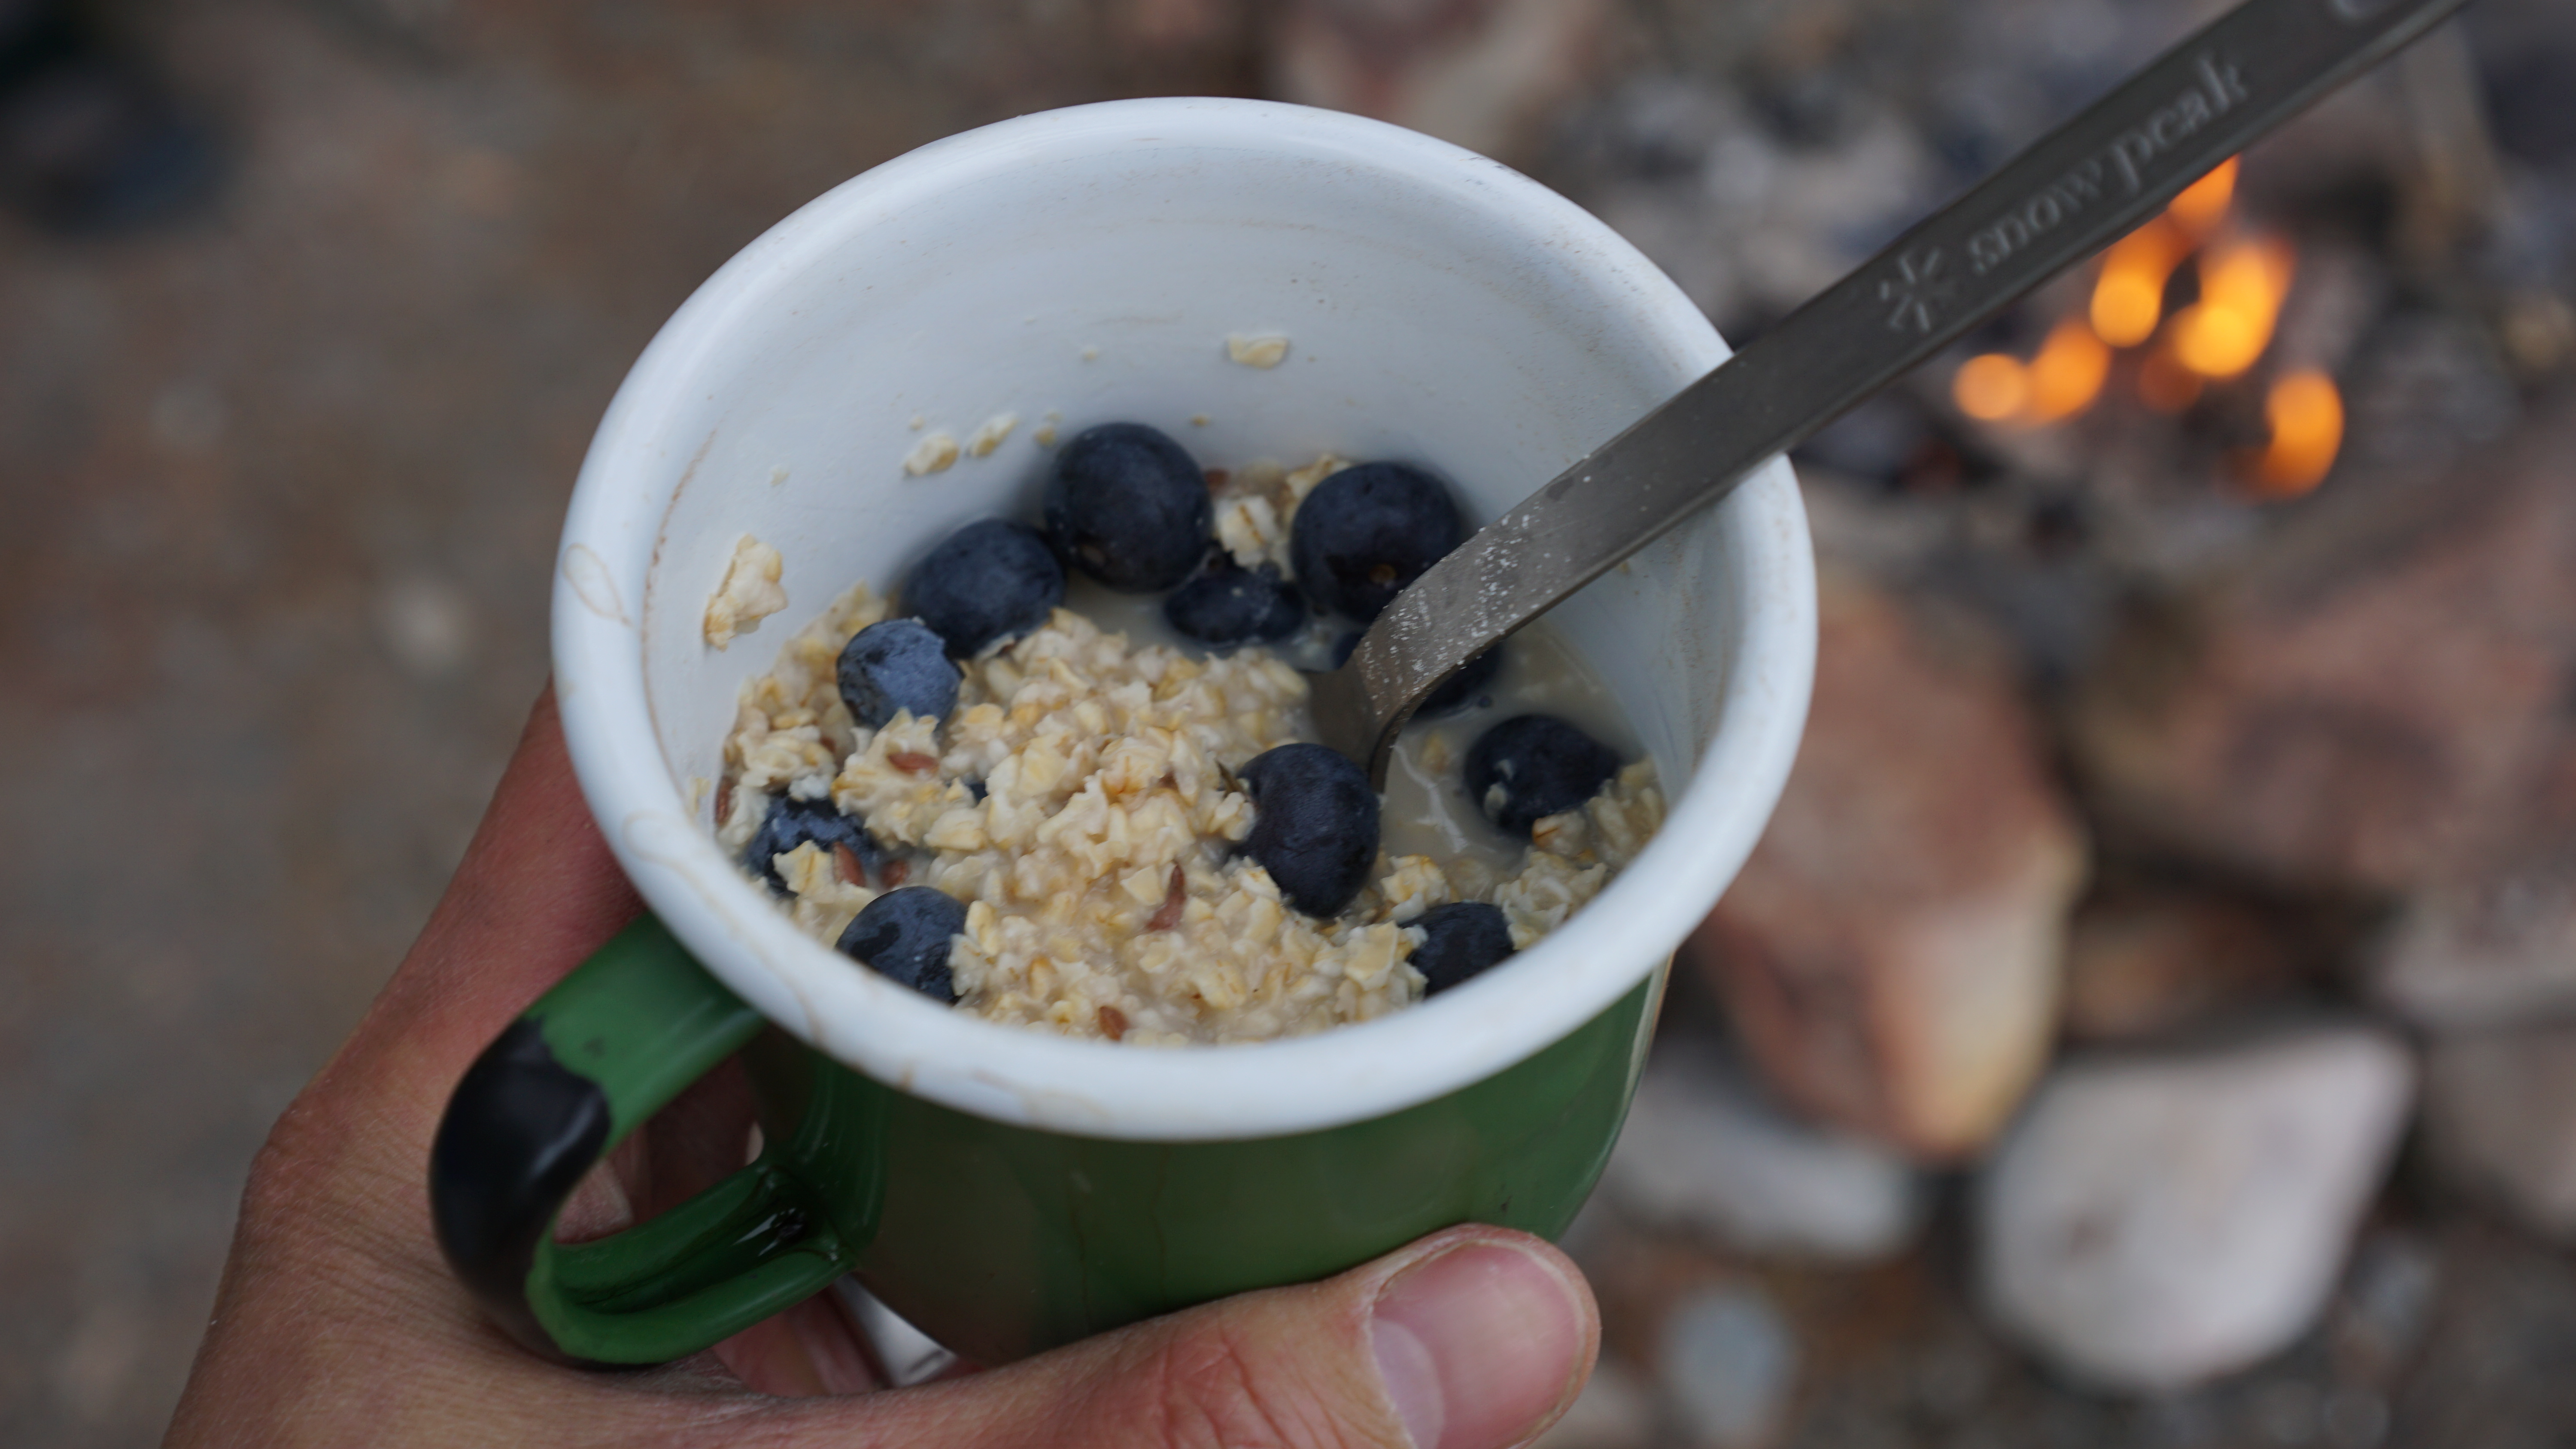
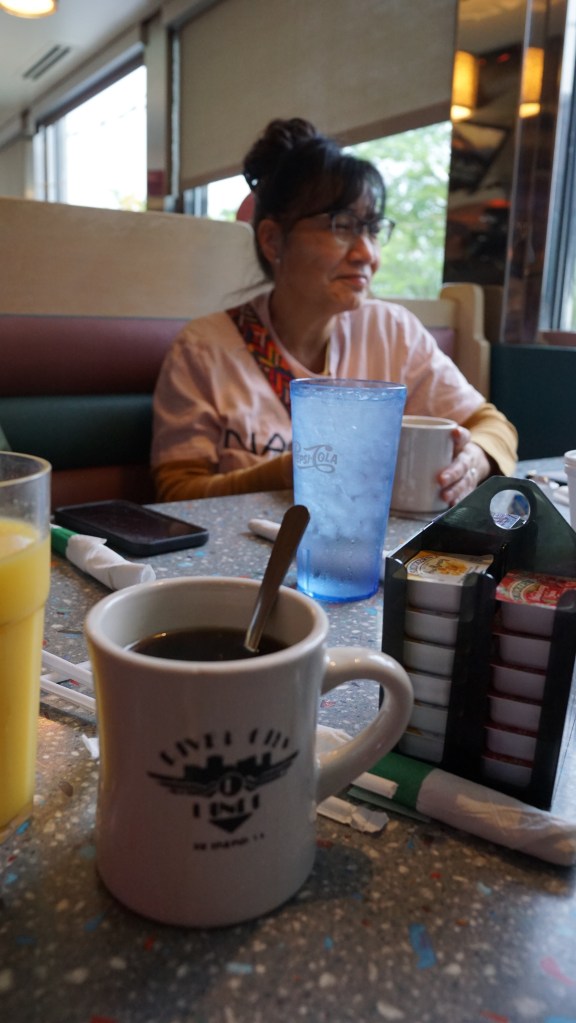
We started our Saturday morning by meeting up at a diner for breakfast before hitting the road. Our canoe tripping tradition. It was a beautiful day and the drive through bath county was spectacular. My brother and I were a little weary from packing and prepping the past couple days, but the sight of the empty lake rekindled our souls. We loaded everything up into the canoes, and set out against some mild wind towards Greenwood point. We got to our campsite at approximately 4:00pm so we did have some time to set up our campsite before dark. Camp chores: setting up tents, hanging clothes lines, gathering firewood, surveying the area, digging a camp potty and prepping dinner. We ate, chilled and breathed easy, we were finally there.


Day 2: Cloudy, High 52F, low 32-38F
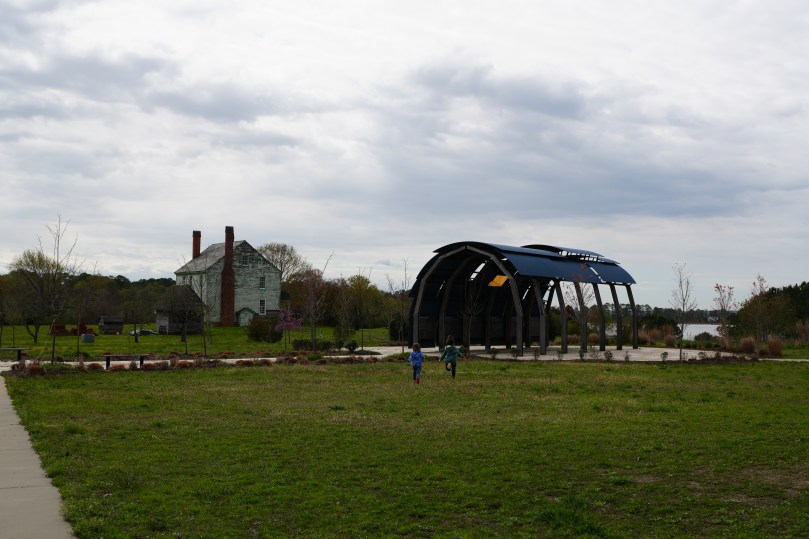
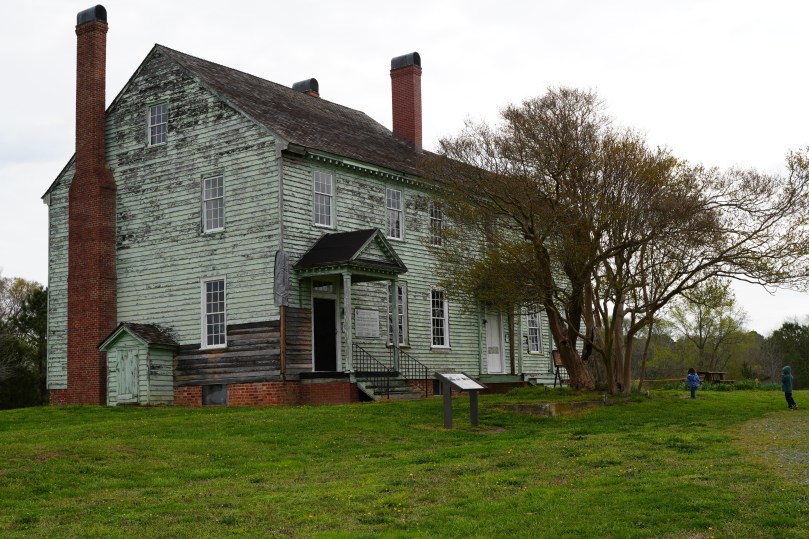
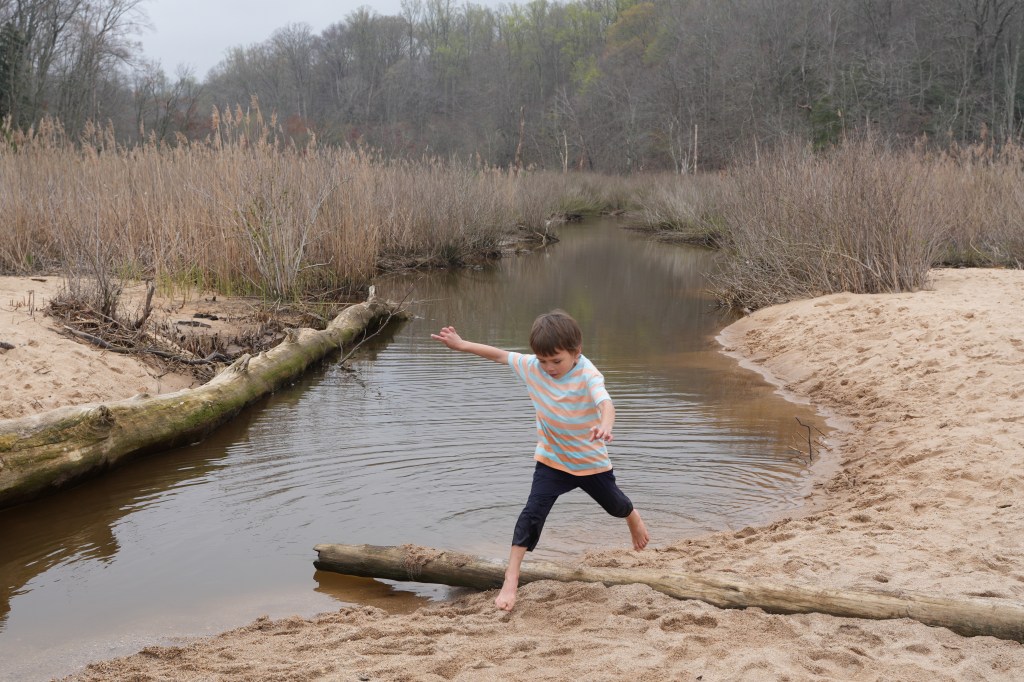
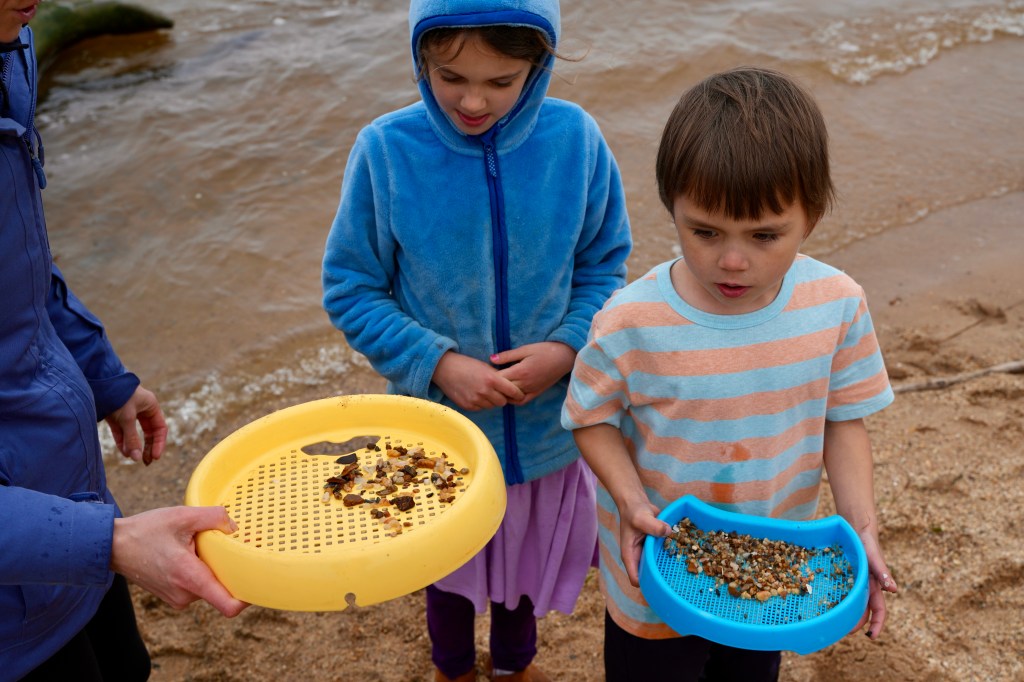
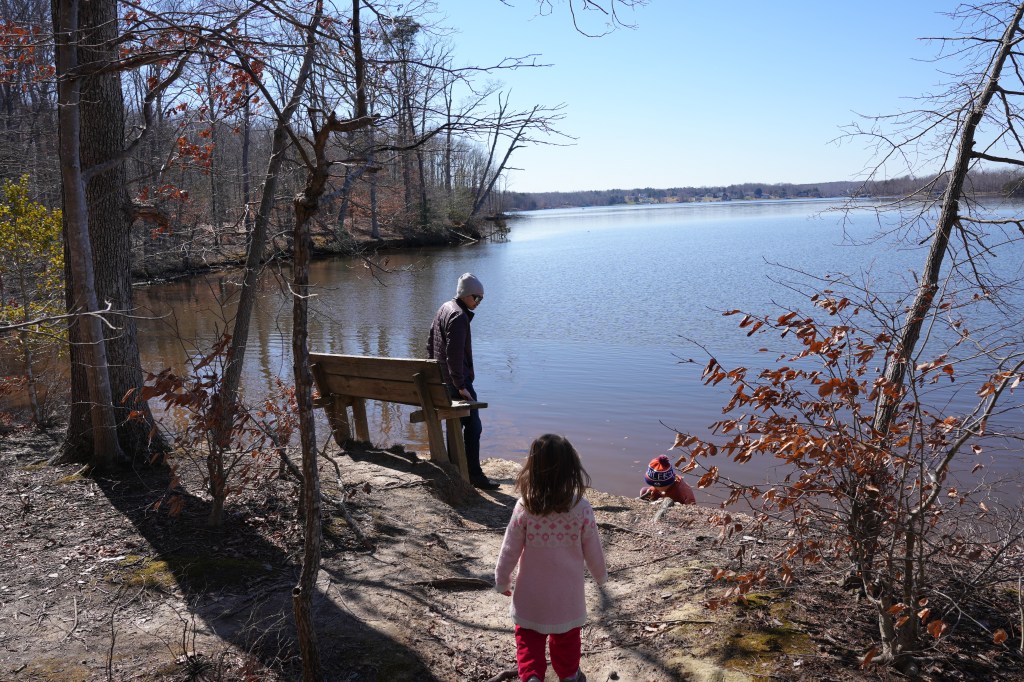
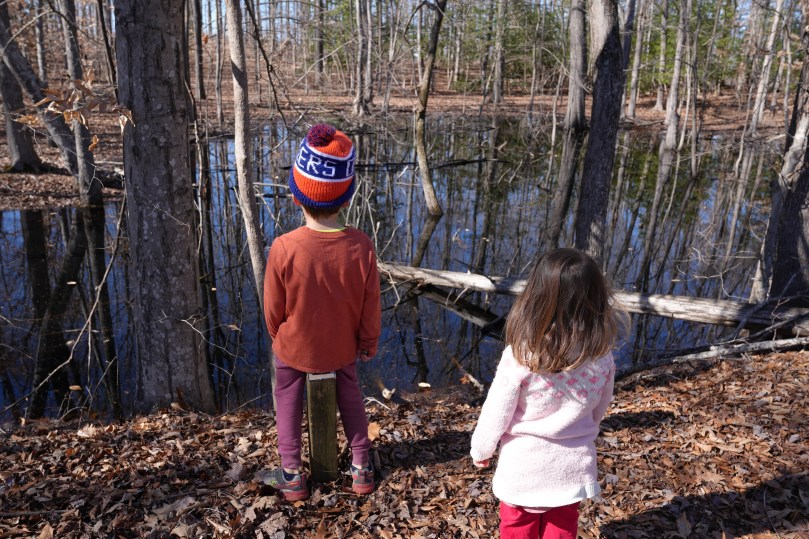
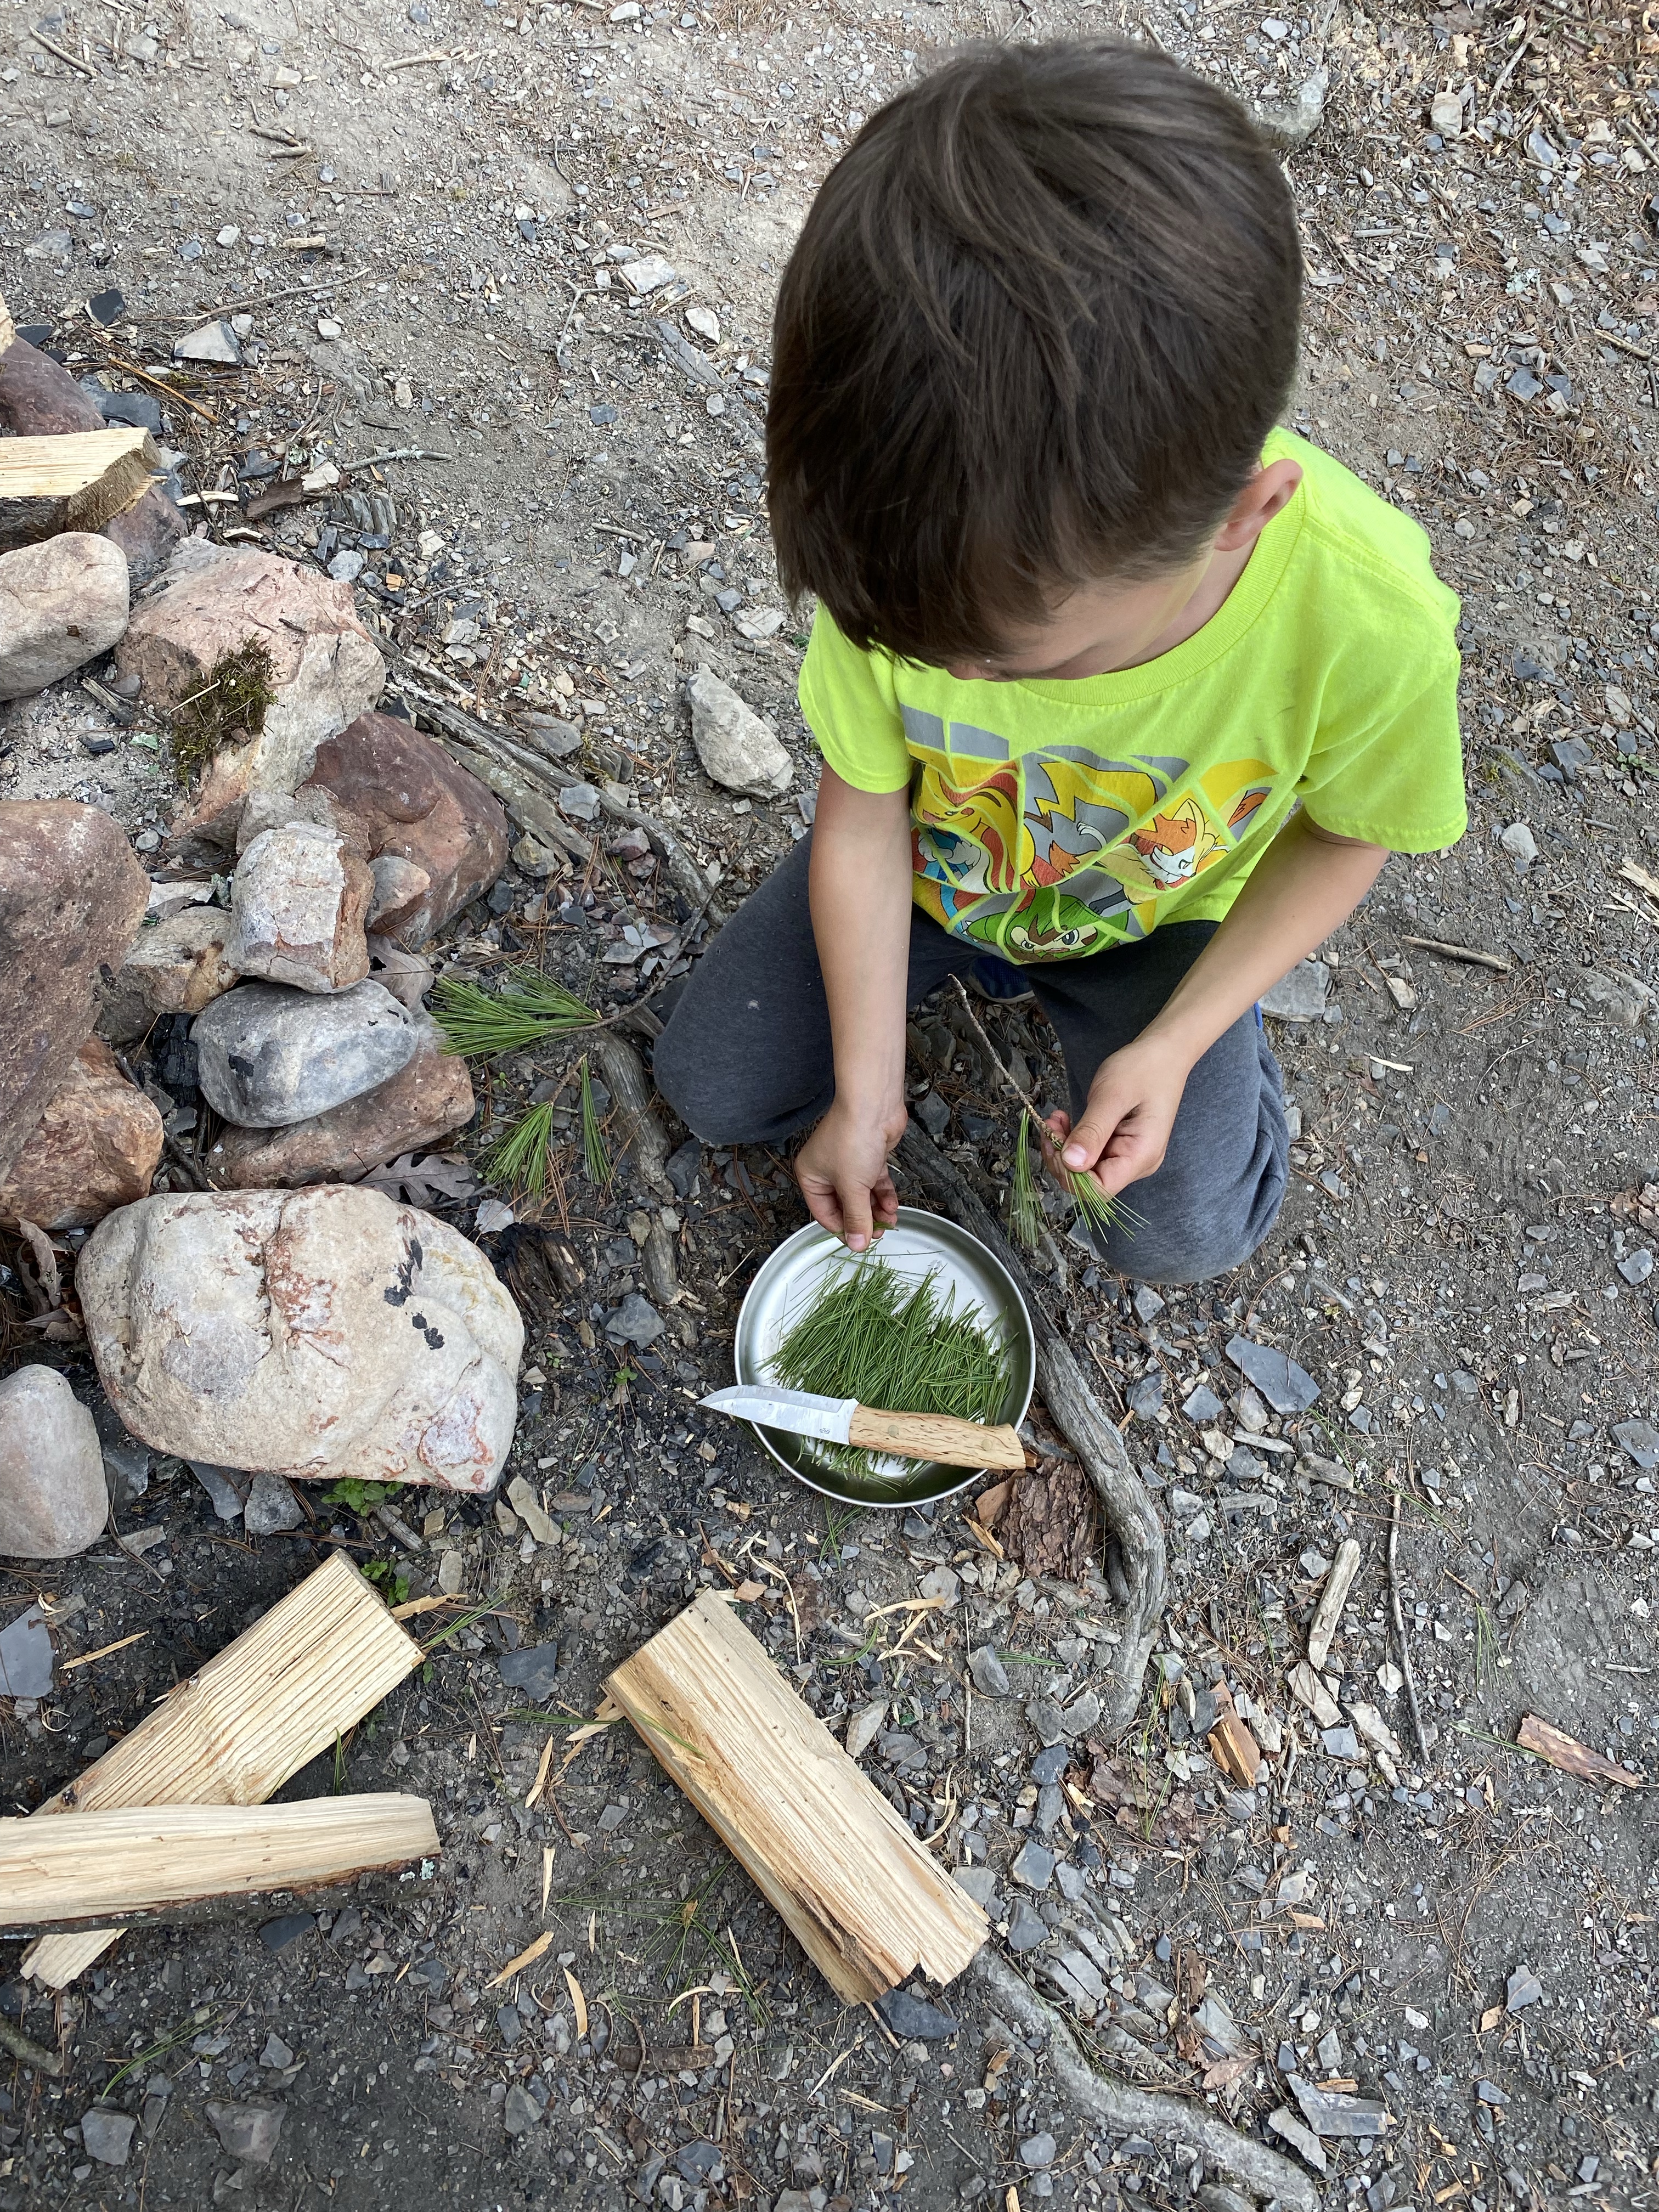
We took our second day pretty easy, we fished the waters, ran the kids through some paddling lessons, and hiked and explored the forest. The campsite is beautiful, as it is surrounded by white pine, leaving a very clean looking campsite. The forest was beautiful with moss carpeting the forest floor and rays of sunshine cutting through the trunks of the trees. We spent time exploring Greenwood Pt and we also did some watercolor painting and made some pine needle tea. The night brought on some wicked cold.


Day 3: Earth Day High 60F
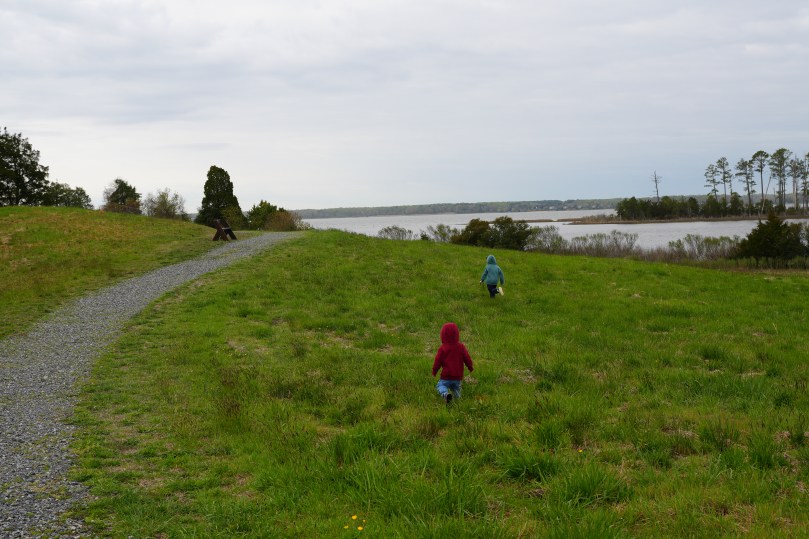
Our last day there was beautiful. It was Earth Day. Thank you mother earth for providing us with such a beautiful lake and land to explore and enjoy. I was so glad that this trip actually happened. With everyone’s hectic schedules and availabilities, somehow the stars aligned for us all to go. It was beautiful and reminded me why I started this blog in the first place. Happy Earth Day Everyone!