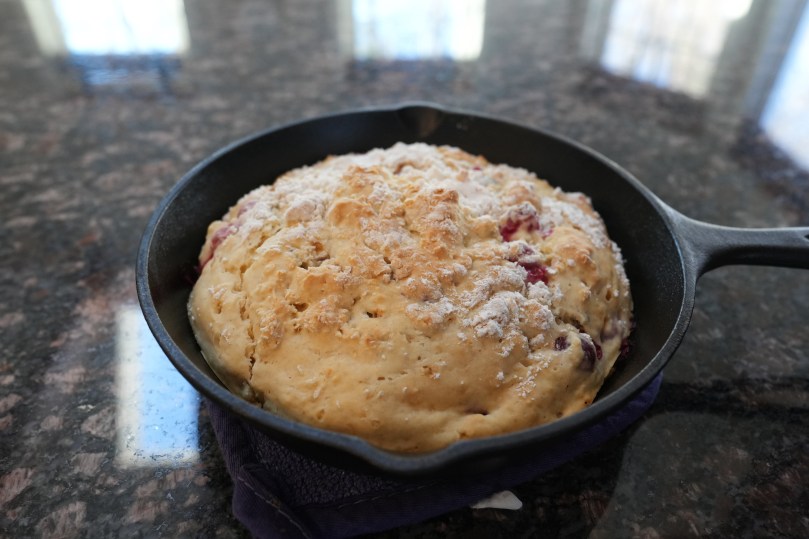
Bannock is a popular food item for us to make on canoe and camping trips. It is a simple, warm and tasty bread that can be easily baked over an open fire / oven. From the recipes of the First Nations people to the Scottish, there are innumerable ways to prepare bannock. Some involve leavening agents and some don’t. Some people bake it and others fry it. Over the years, I’ve learned to keep it simple, light and fluffy.
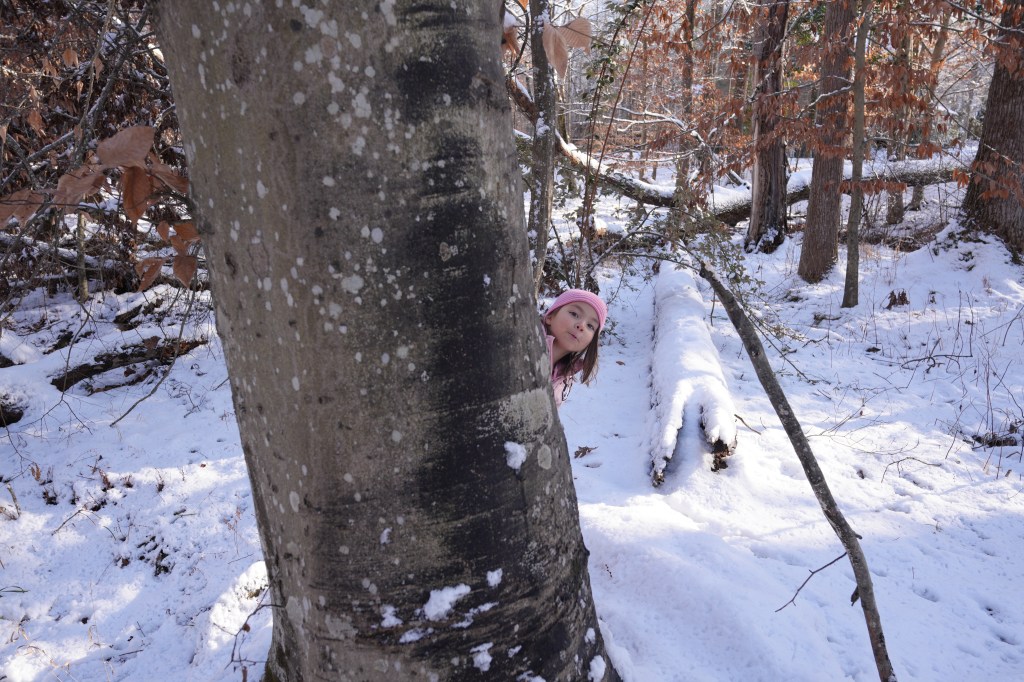
Over the winter season of 2025, Richmond, Virginia received snowfall on January 5-6 (approx 3 inches) and then subsequently January 10-11 (another 3 inches), we decided to was the perfect chance to make some winter holiday bannock (with cranberries). The kids did not mind the extended holiday break. Let’s get started.
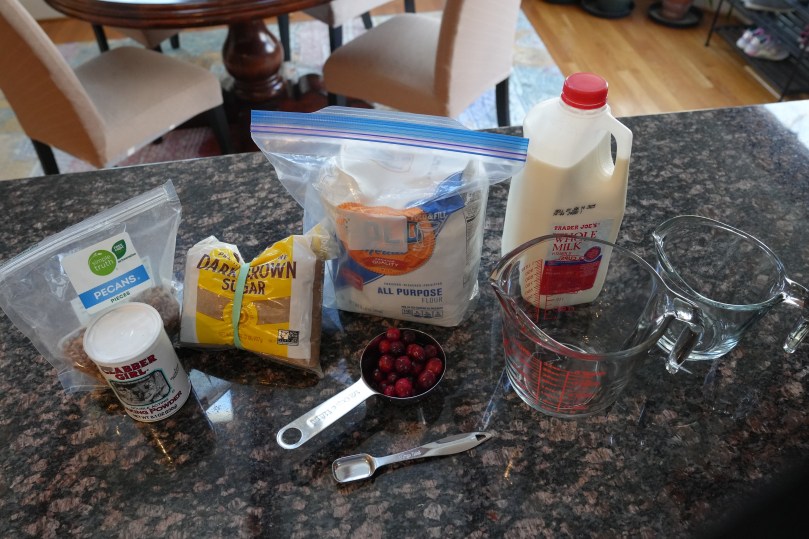
INGREDIENTS
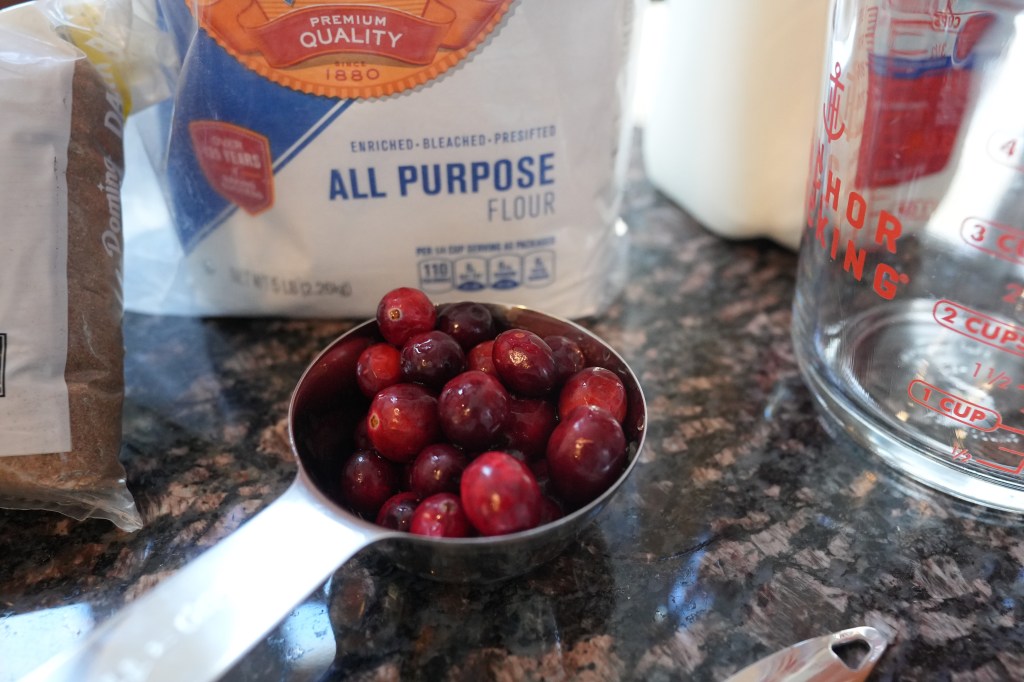
2 cups of all purpose flour
2 teaspoons of baking powder
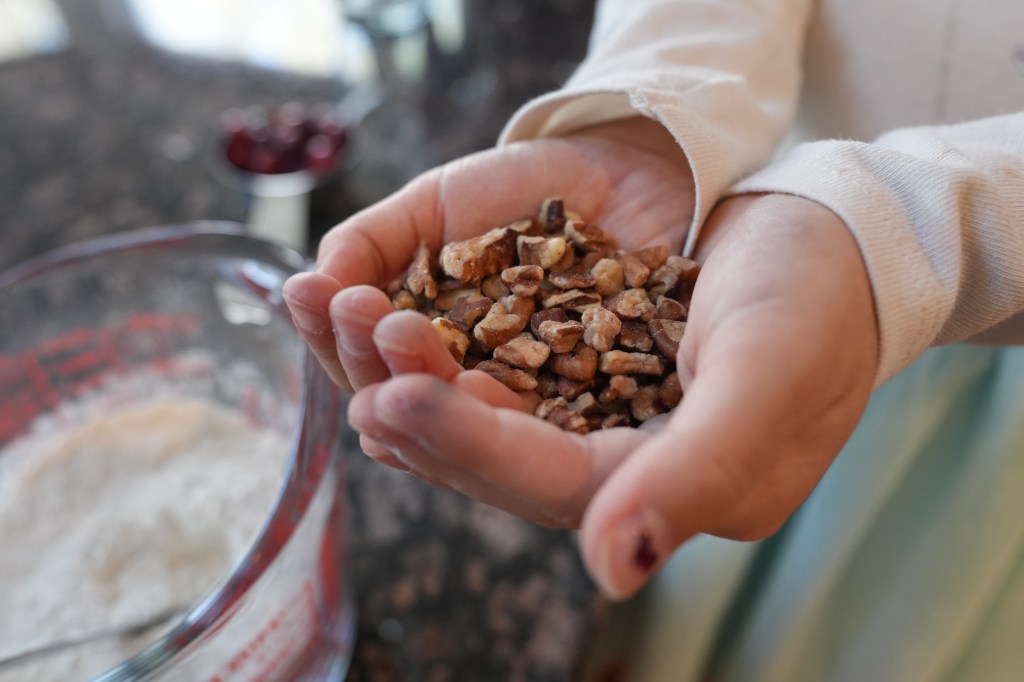
1/4 cup of pecans
1/2 cup of fresh cranberries
2 teaspoons of brown sugar
oil
1 cup of milk (can also use dry milk powder and water as a replacement)
INSTRUCTIONS
Dry mix the flour, baking powder, pecans and brown sugar
pour in the cup of milk and add the cranberries
gently mix all of it together to disperse the milk evenly. (You don’t want to over mix it because this will punch out all of the gas)
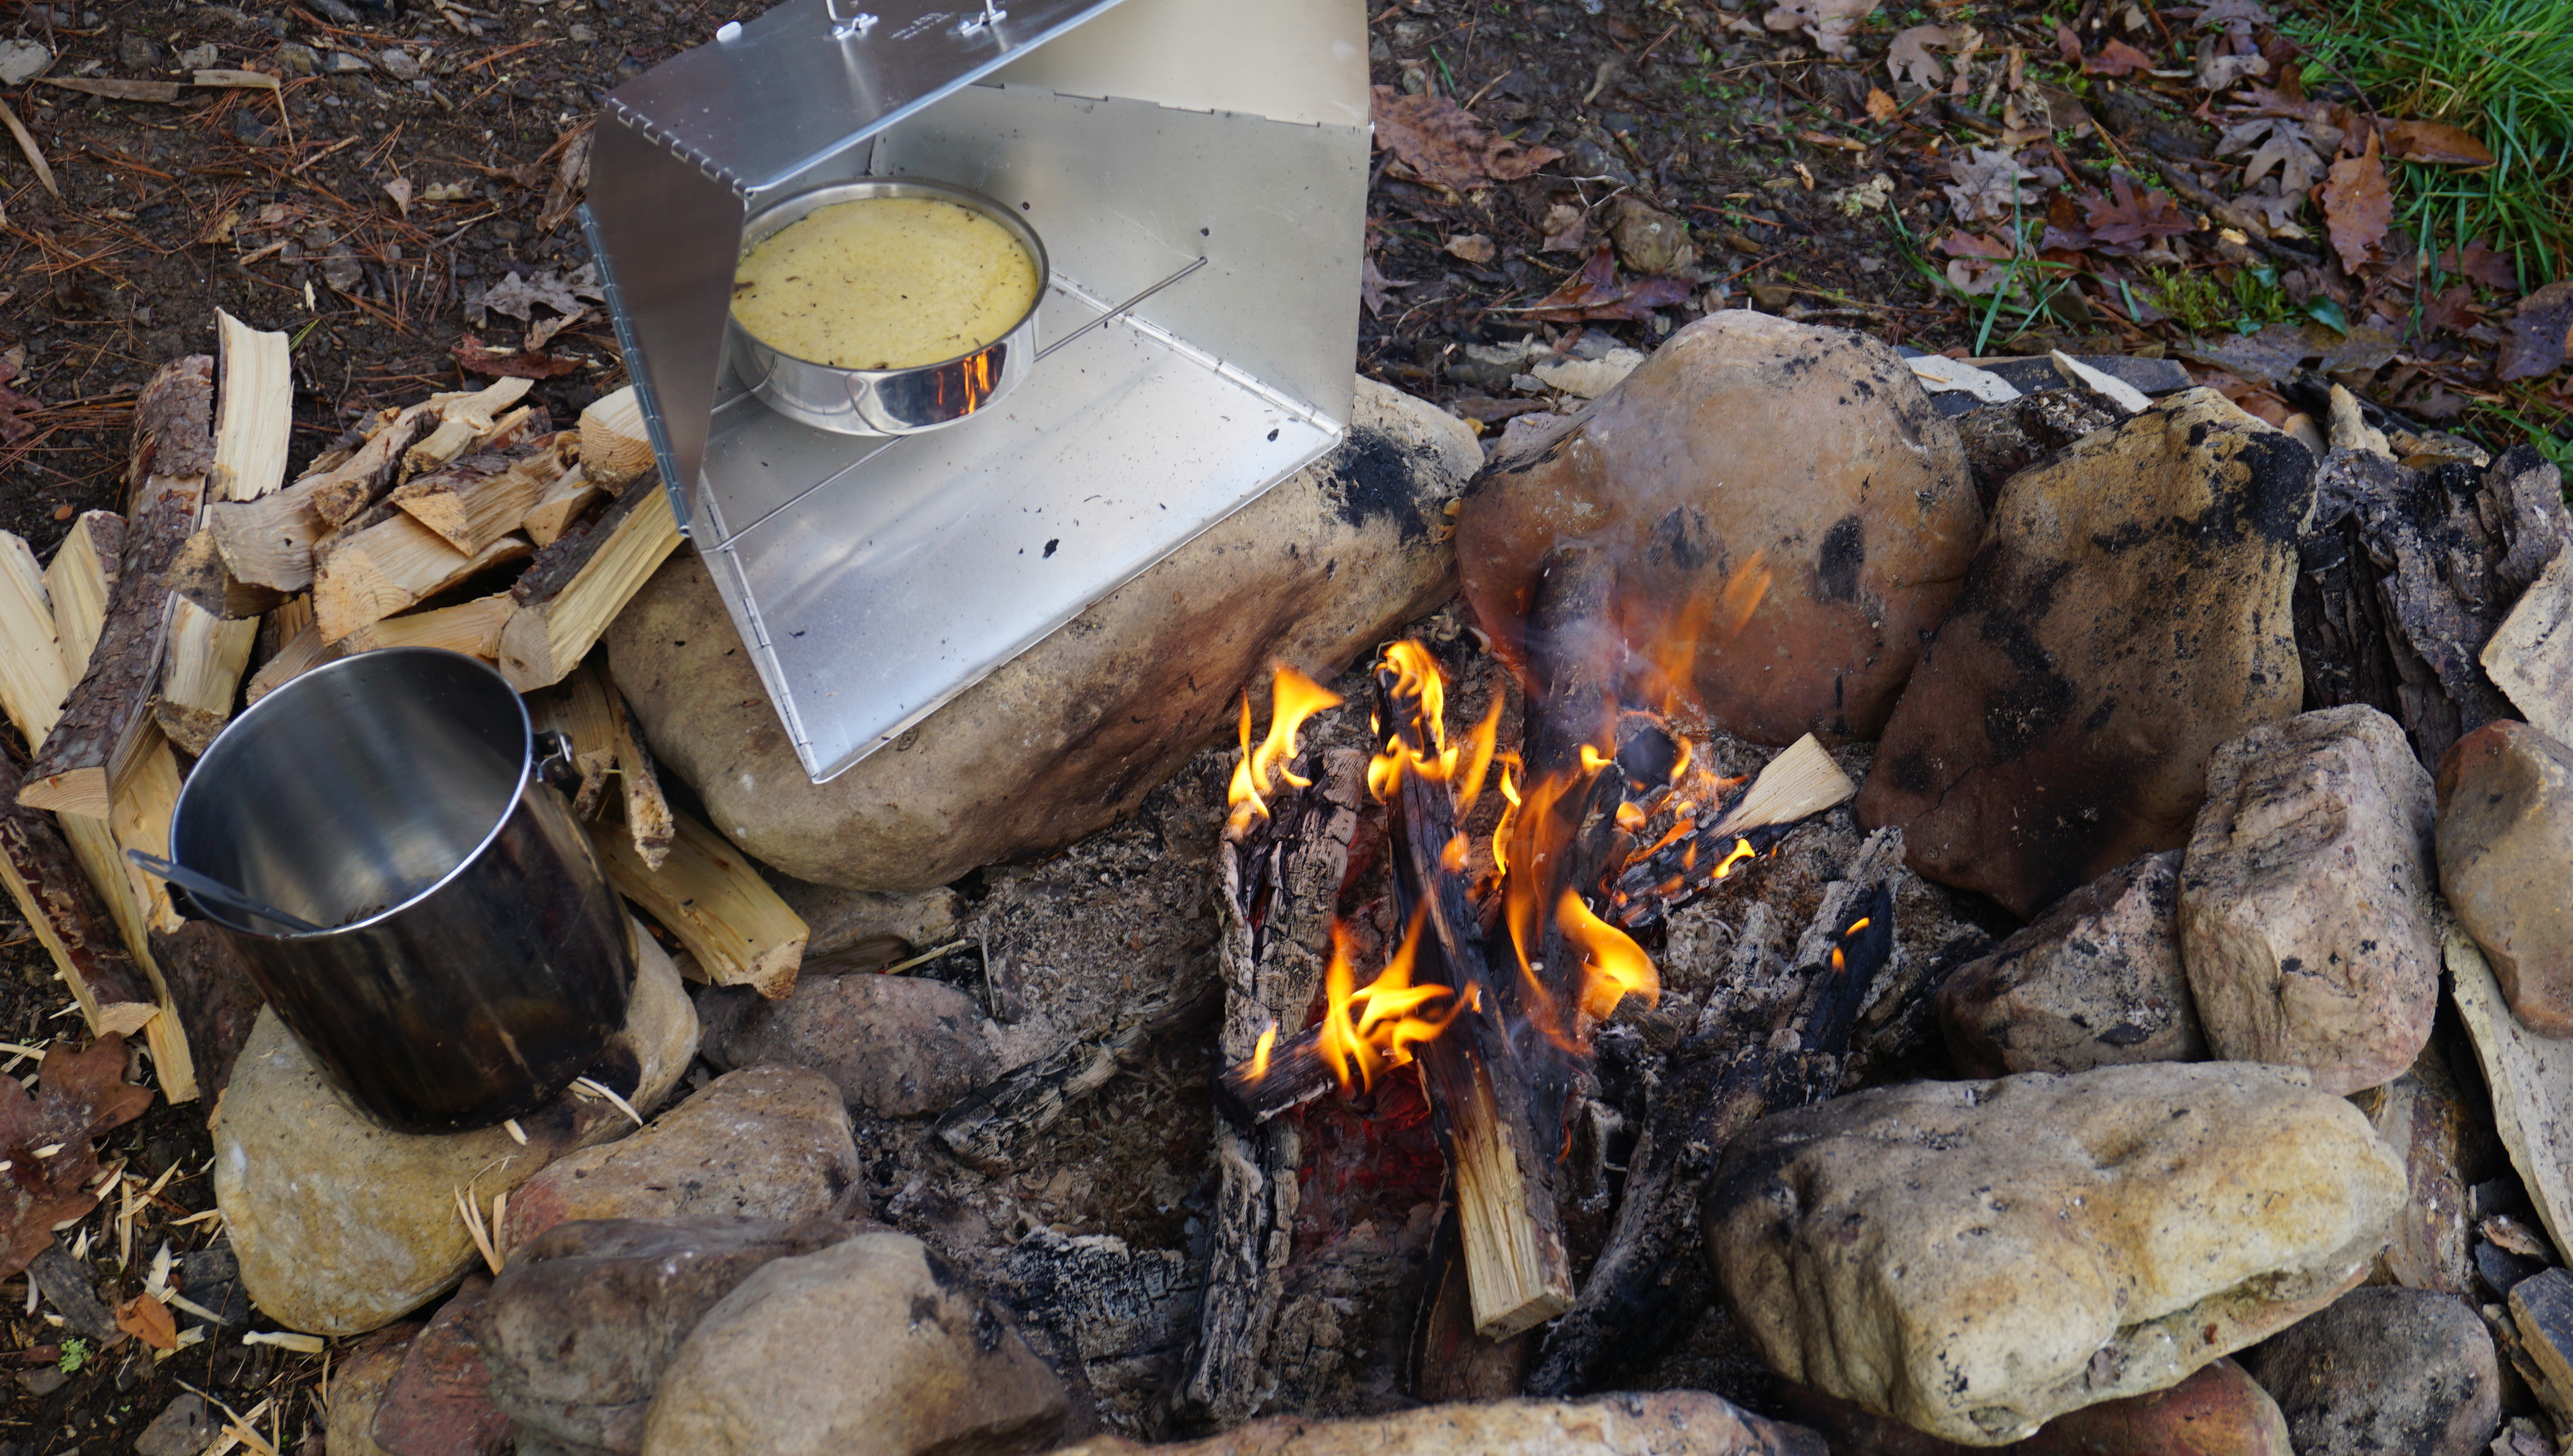
If you’re cooking with an oven, oil the cast iron skillet and get the oven temp to 350F. Place the contents into the skillet and bake until ready (usually approx 25min to 30min)
If you’re cooking over an open fire, keep your skillet facing the fire, you can usually use a stick to prop it up. Based on the weather conditions, it will be done when it’s ready, the surface will become slightly brown and hardened.
FINISHED
ENJOY
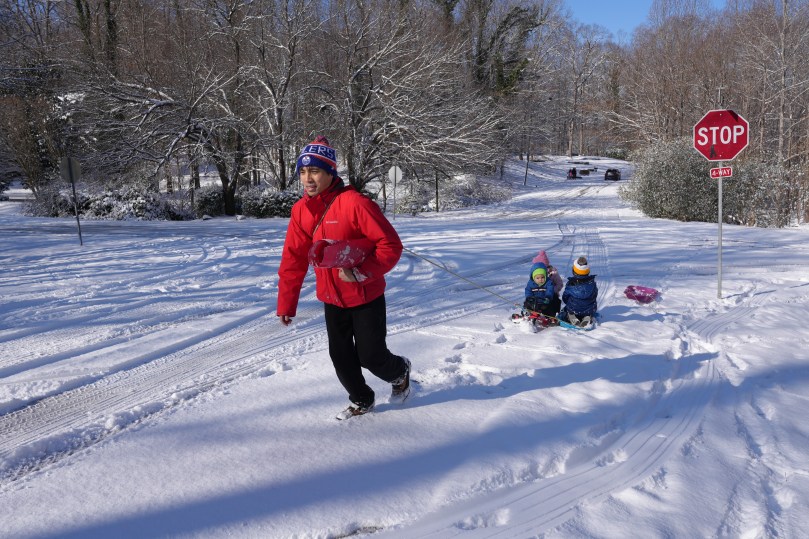
Cranberry bannockbannock and sledding
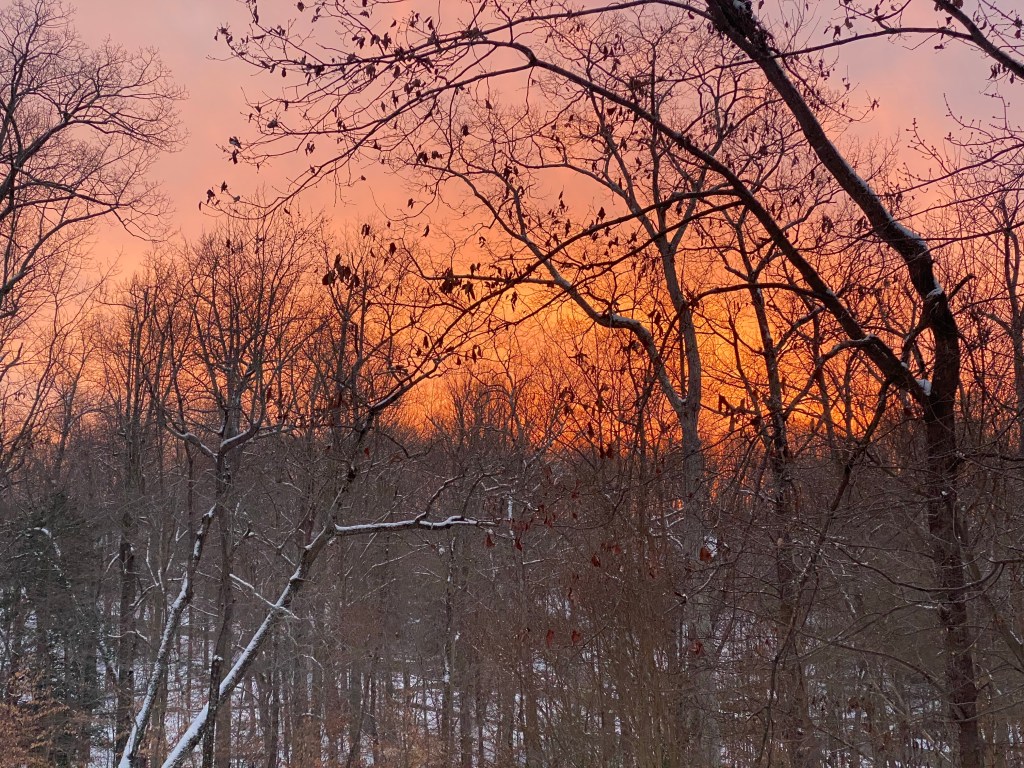
Enjoy! Hope everyone stays safe and healthy this winter!
I hope everyone is having a safe and happy holiday season. Things can be especially busy and hectic this time of year so don’t forget to take some chill time, relax, go outside, or watch a canoe documentary. I found this one recently online and it’s pretty awesome. This one features 6 friends who spend 2 months in the Yukon and Peel watershed. Happy Holidays everyone.
“This documentary is a captivating documentary chronicling the 1,500-kilometer, two-month canoeing expedition of six adventurers through the pristine wilderness of Canada’s Yukon and Peel Watershed. This thrilling journey traverses six rivers in three canoes, capturing not only breathtaking landscapes but also the profound cultural and ecological significance of the area. A chance encounter with a First Nations family transforms their adventure into a mission to spotlight the urgent need to protect this fragile and unique ecosystem from industrial development. The film blends the grit of exploration with a heartfelt environmental message, showcasing the resilience of nature and the enduring traditions of those who call the North home.”
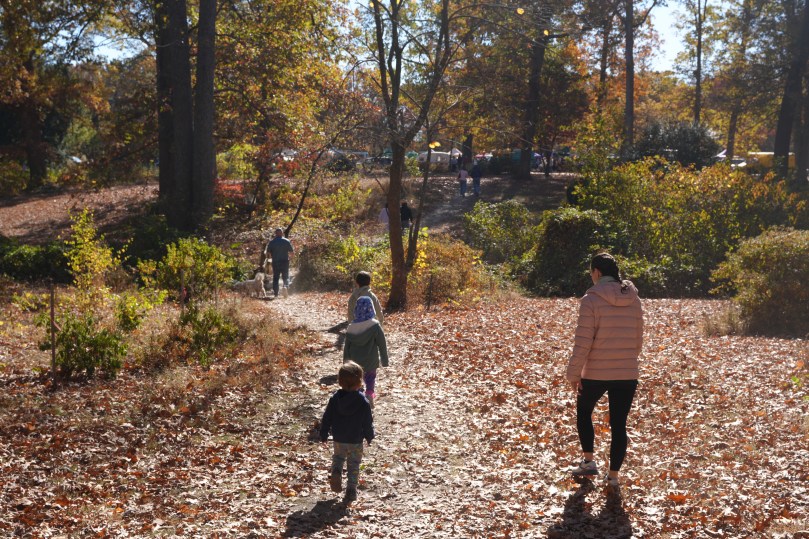
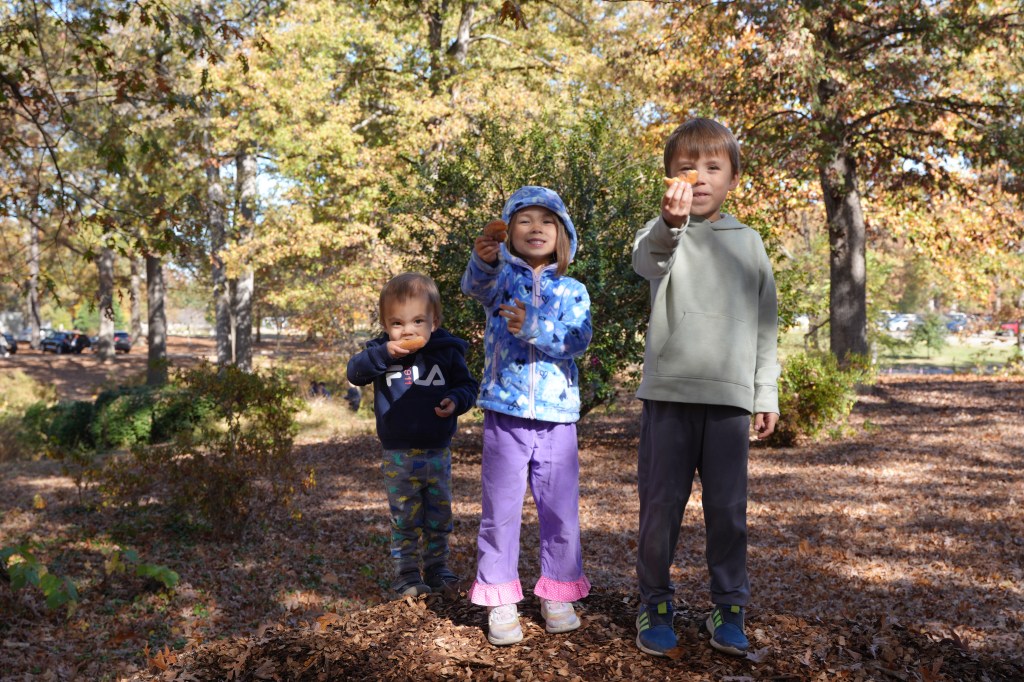
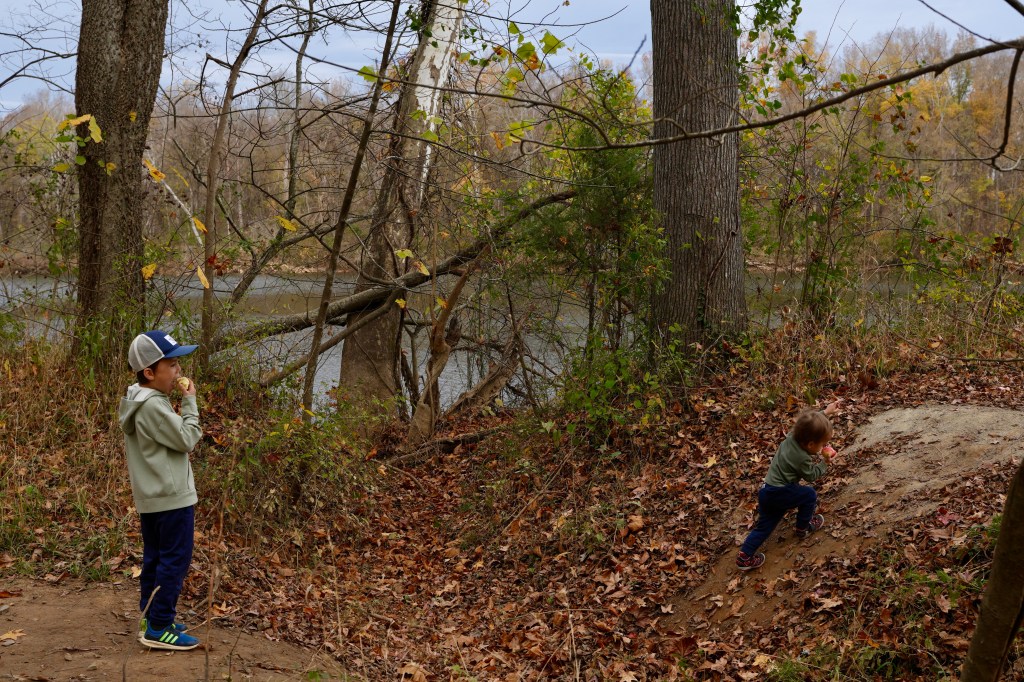
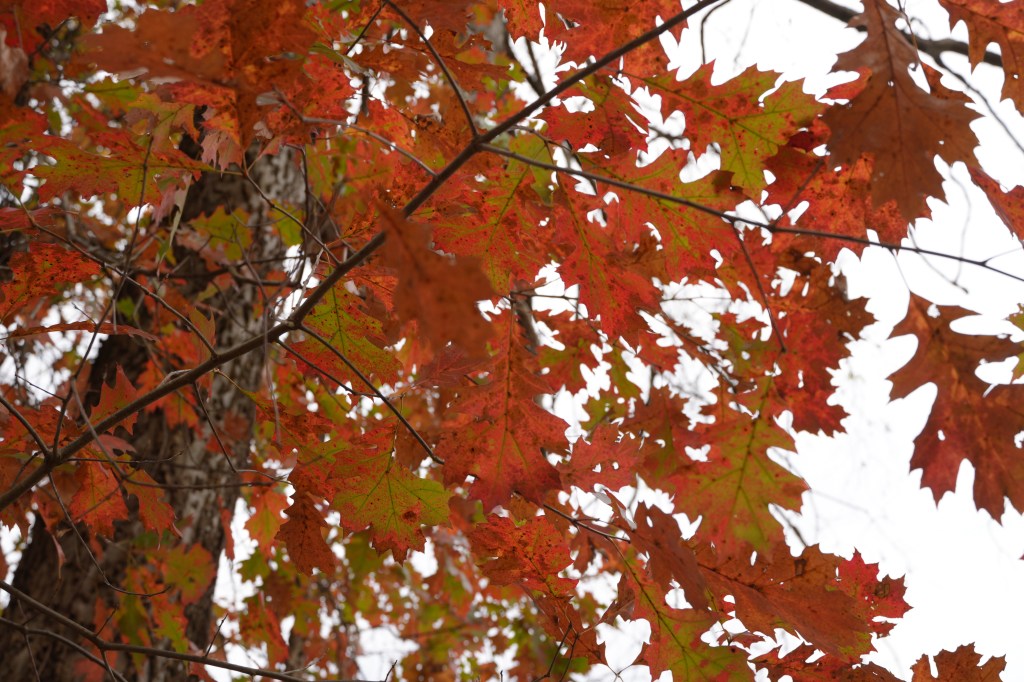
The temperatures are finally starting to get cooler. We took the opportunity to get out and check out the local scenery at Joseph Bryan Park and Robious Landing.
Joseph Bryan Park farmer’s marketDonut crewThe asian squat
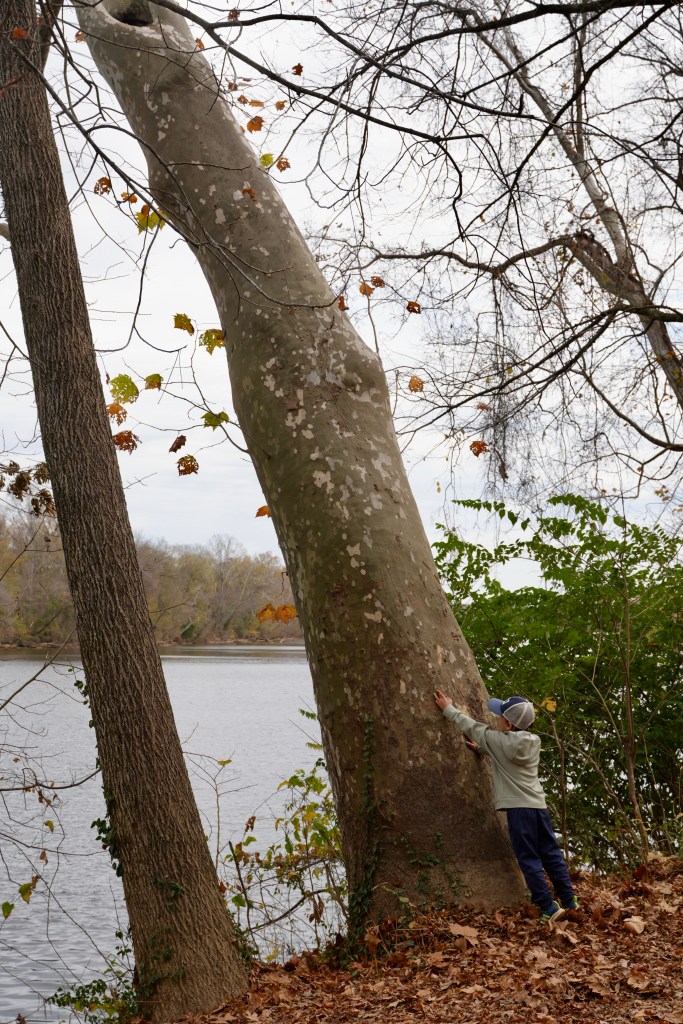
This giant Willow Oak tree has got to be at least 250 years old.
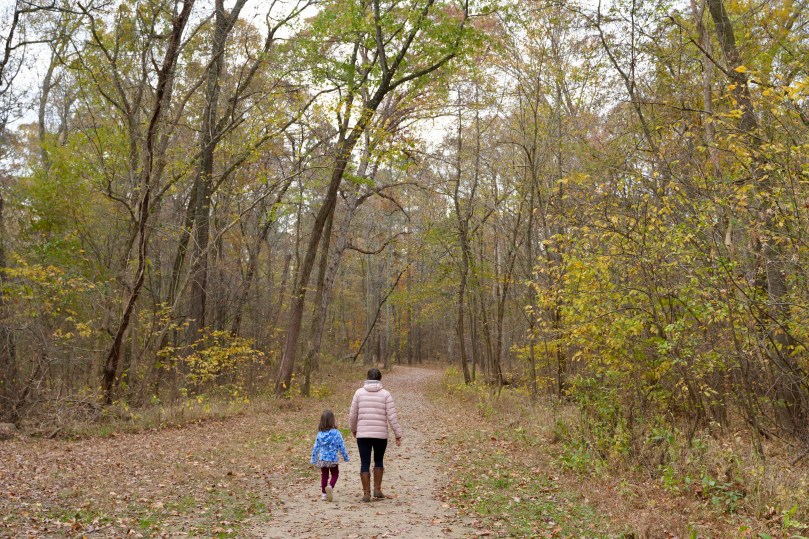
Robious Landing fall colorsSycamoreRobious Landing boathouse
Wishing you all, a safe, healthy and peaceful fall time.
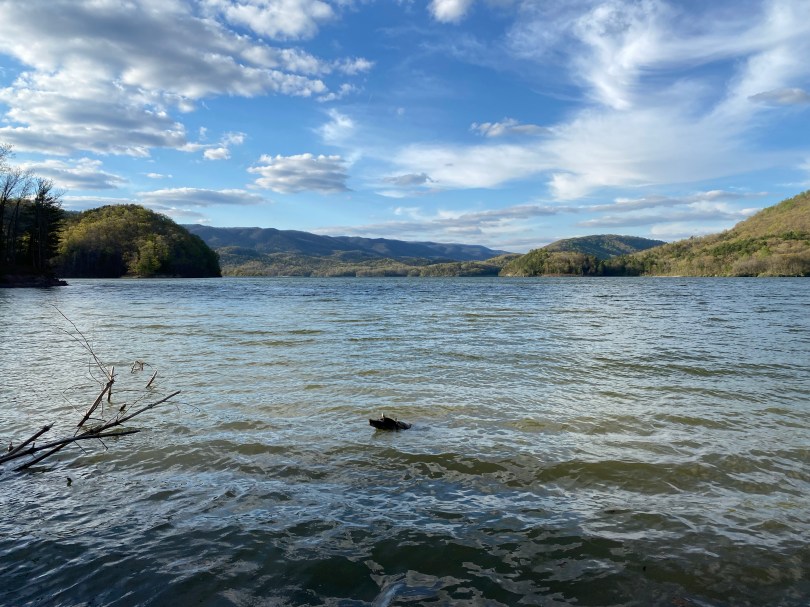
Earth Day 2024, we took our parents on a canoe trip to the Allegheny Highlands of Virginia at Lake Moomaw. My mom had just recovered from an acute cardiac condition known as takotsubo cardiomyopathy. 2 months later she was out paddling with us…we are more than grateful for this time together. I hope you guys enjoy it.
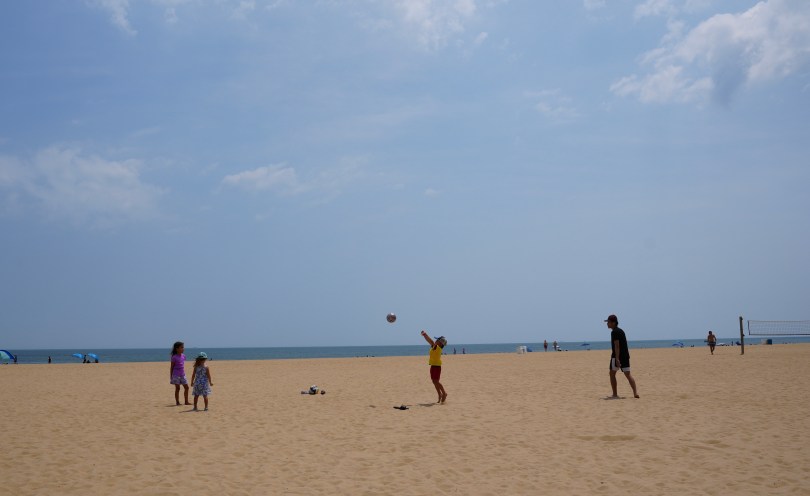
When school lets out, summer has officially begun! For many families, this means more trips to the beach! The ocean is a magical and fun place for all ages and attracts thousands of visitors each year. After countless trips to the beaches of the east coast, I’ve become more attuned to the safety precautions that everyone should be aware of prior to going to the beach, especially with their children. It is estimated that over 4000 people drown each year in the United States. It is estimated that 100 people drown each year due to rip currents along the beaches of the United States. Here are some of the things I’ve learned over the years and I hope they are helpful to anyone beach tripping on the east coast.
Tropical Storm Ernesto brought swells to Virginia Beach, Virginia. August 2024.
Swell from Hurricane Franklin 2023
CONDITIONS AND TIME OF YEAR
Simply being aware of the time of year and the weather conditions can greatly improve safety. Hurricane season on the east coast runs from June 1 – November 30. During this time, it is important to pay attention to weather updates, as systems and storms can bring significant swells to your beach. if you are considering a water outing and wish to avoid waves altogether, you could always find beaches or water ways that do not face the ocean. (Ex. bays, rivers). In these areas, you could have almost wave-less conditions. Perfect for children to play and explore.
Cape Charles is a beach town in Virginia’s Eastern Shore. It faces the Chesapeake Bay and hence has very calm waters. A good beach spot if you have little ones.There’s also plenty to see and do in the town of Cape Charles.Kiptopeke State Park is located on the Chesapeake Bay in Virginia’s Eastern shore. The water is much calmer than the ocean front.Nagshead, Outerbanks. The barrier islands of the Outerbanks in North Carolina, face the ocean so the surf and waves here can be strong, so beware.The surf can be rough but beautiful to watch in the Outerbanks of North Carolina.
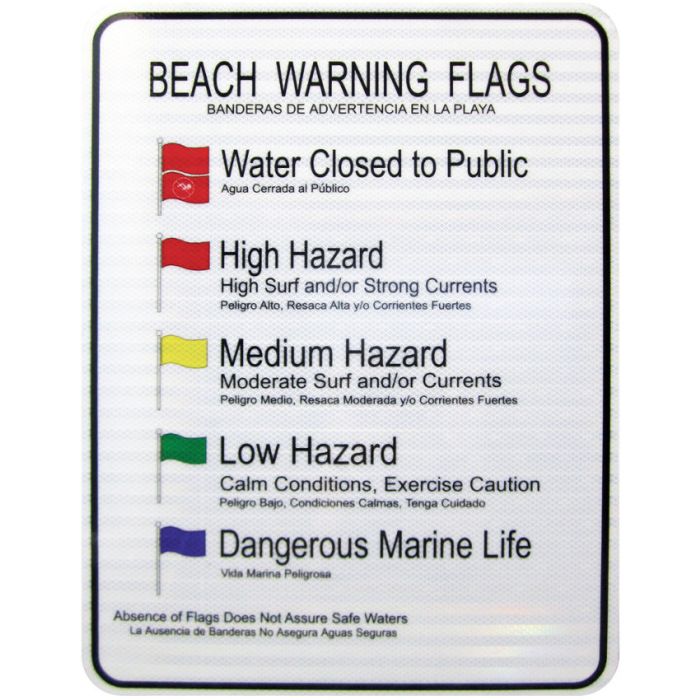
BEACH FLAGS
**If you venture to the beach, you should KNOW the beach flags and what they mean.**
RIP CURRENTS
“Rip currents are powerful, narrow channels of fast-moving water that are prevalent along the East, Gulf, and West coasts of the U.S., as well as along the shores of the Great Lakes.” – National Ocean Service
Unless you know what you are looking for, rip currents are almost invisible.
It is estimated that approximately 100 people are killed each year in the United States by rip currents. So if you’re heading to the beach, just take the next few minutes to learn about them, to protect yourself and your family. The video below provides a great summary of rip currents are.
BEACH SAFETY TIPS
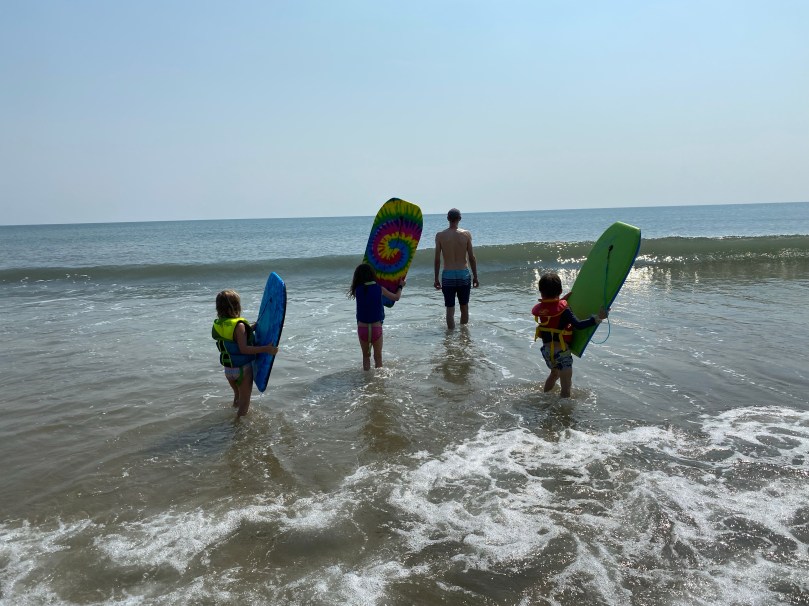
1. Communication and Supervision: For little toddlers and kids that have not yet learn to swim, it is critical that they are supervised closely by an adult. When multiple adults are present, it is easy to assume that the kids are being watched by someone. Practice closed loop communication and assign an adult to a child. You can switch on and off as needed.
2. Life Jackets/Personal Floatation Devices (PFDs): We don’t go near the water without them. Make sure that the life jacket is the appropriate size for the child. Also, you should also see if the life jacket works properly. Ideally, the jacket should keep the child afloat with their face upward, out of the water. Some jackets, are not balanced well, and could dangerously leave the child facing downward. Test it out prior to use.
Personal Floatation Devices (PFD)s for kids are a must.
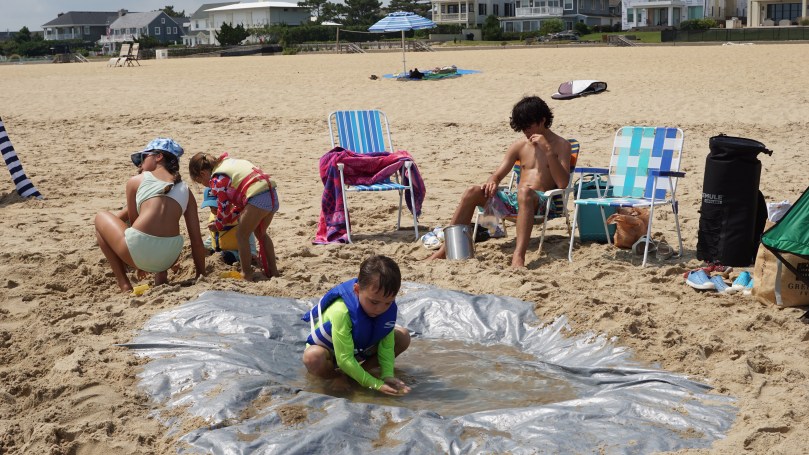
3. Bring the water to them:
For my toddlers that are not yet ocean worthy, I’ll bring the water to them. Using a simple tarp, you can dig a shallow pool in the sand and fill it with ocean water.
You can make a mini pool in the sand using a tarp.
4. Staying comfortable and hydrated
When the body is comfortable, hydrated and fed, the brain is perfused, and this allows you to think clearly and stay alert. Hydration is important, especially when you are active, sweating and losing a lot of water from the heat. It can be particularly difficult to keep kids hydrated, especially when they are having so much fun. I find that low sugar, flavored drinks can keep them drinking without the need for encouragement. Popsicles are also a good way to keep them hydrated.
A shady base camp on a hot summer day is invaluable. Not only will it keep occupants cooled, but it will also provide shade for your food, drinks and equipment. Over the years we’ve tried all different forms of shelters. From beach umbrellas to cabanas, but so far my favorite has to be the Neso tents for shade. They provide an ample area and are pretty sturdy. Another popular brand is the Shibumi beach shades which have taken all beaches by storm. The Neso can run around $150 and the Shibumis are around $250. Totally worth it, if you’re a frequent beach goer.
The Neso tents provide a large area of shade. They just require a bit of time to set up.
SUMMARY
The beach is one of my favorite places in the world. It is a great way to connect with nature, unwind and engage in countless, fun activities. I hope this helps you to plan your next beach trip, so it can be a safe and enjoyable time for everyone.
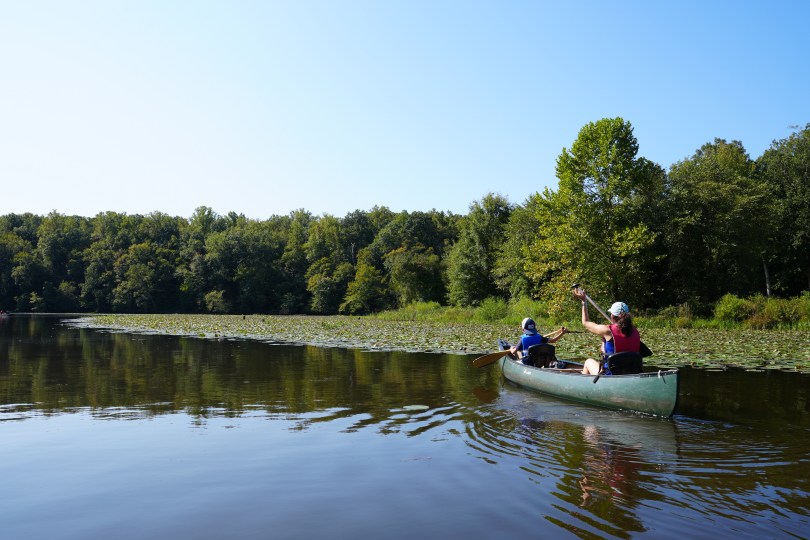
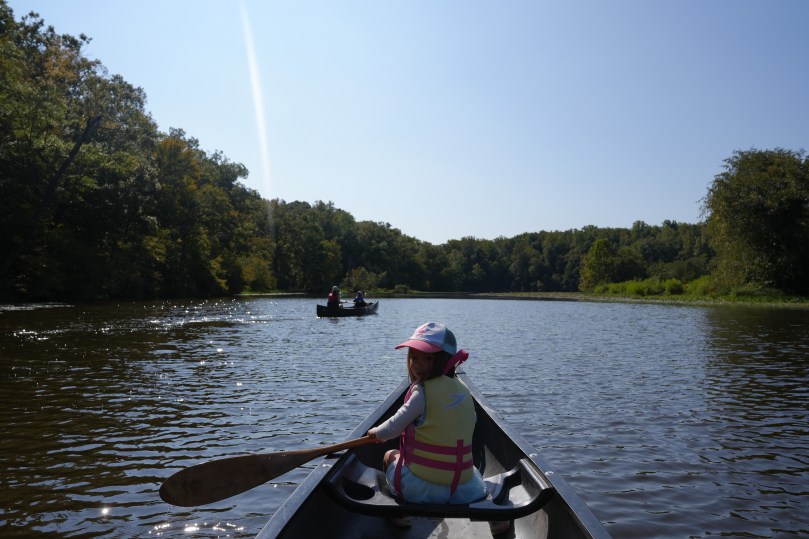
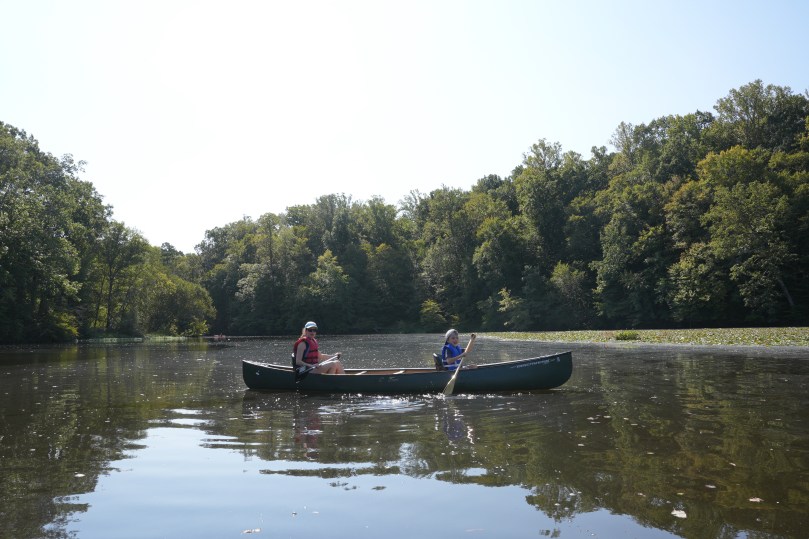
I hope everyone had an amazing summer. We closed the season off with a paddle around Swift Creek Lake in Pocahontas State Park. This particular location is one of our favorite spots to paddle with the kids. The water is shallow, there is plenty of wildlife and it is very quiet and peaceful. This is where they learned how to paddle and this is where my son used his homemade canoe paddle for the first time. Thanks for everything summer 2024 you’ve been a great one. Wishing everyone a safe, healthy and happy fall. Load up on your vitamin D before winter!
Eager to use their homemade canoe paddleHere we goLooking for water lily bloomsSwift Creek LakeChillin in the shade after the paddle
This lake is also where we tested my son’s canoe paddle for the first time many years ago.
As summer comes to a close, we head out to the North End of Virginia Beach to spend an easy weekend. This is my preferred beach spot away from the busier boardwalk section of Virginia Beach. There’s not much else up north, other than residential housing and then First Landing State Park at the very northern tip. The weather was very pleasant and we made a lot of good memories. It’s been a hot summer but a grand one nonetheless. I hope everyone is soaking up the vitamin D for as long as we can. It also sounds like the rates of covid are also back up, so stay healthy, be safe and have fun.
A chill weekend get away to the North End of Virginia beach. Filmed on Sony a6700
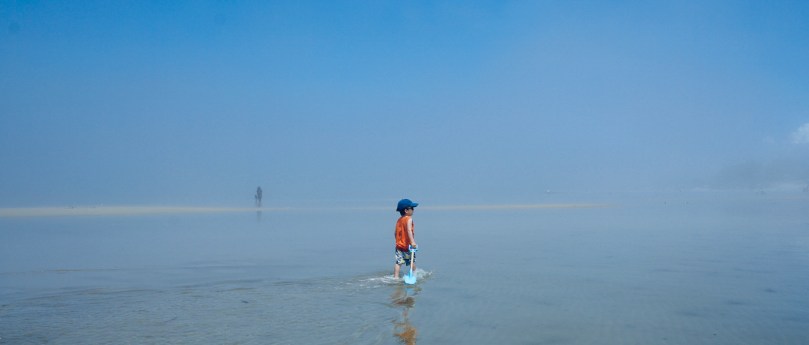
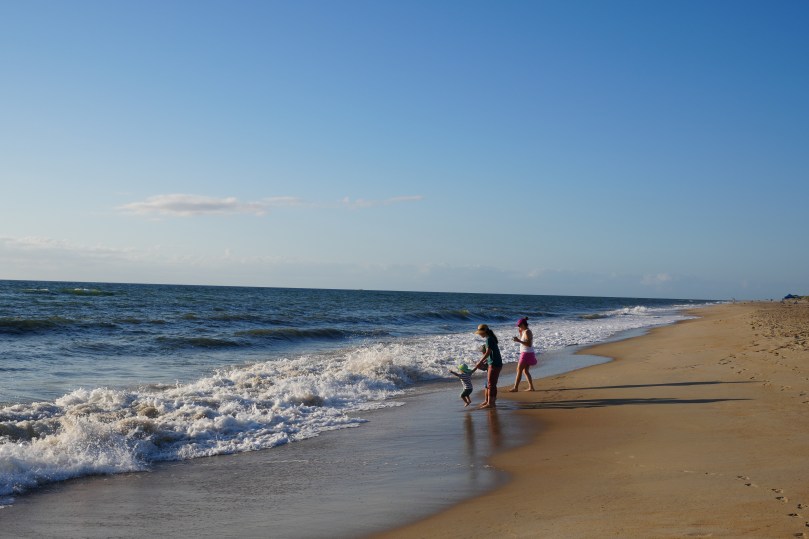
On the last week of Spring we head to our annual refuge on the barrier islands of North Carolina known as the Outerbanks. This time, we stayed in the town of Nagshead, and got to enjoy a week of perfect weather, upper 70s F with sunshine. I always wondered what was so particularly rejuvenating about going to the beach and the ocean. Is it the sight of water? Is it the cadence of the waves crashing? The tactile and sensory stimulation from walking on the sand and into the cold water? It turns out it could be all of those things. A friend of mine recently recommended a book called “Blue Mind” written by marine biologist Wallace J. Nichols. In this book he explores “… the Surprising Science That Shows How Being Near, In, On, or Under Water Can Make You Happier, Healthier, More Connected, and Better at What You Do”. It’s a pretty interesting read. I hope everyone stays cool out there, stay hydrated, get your rest and have fun.
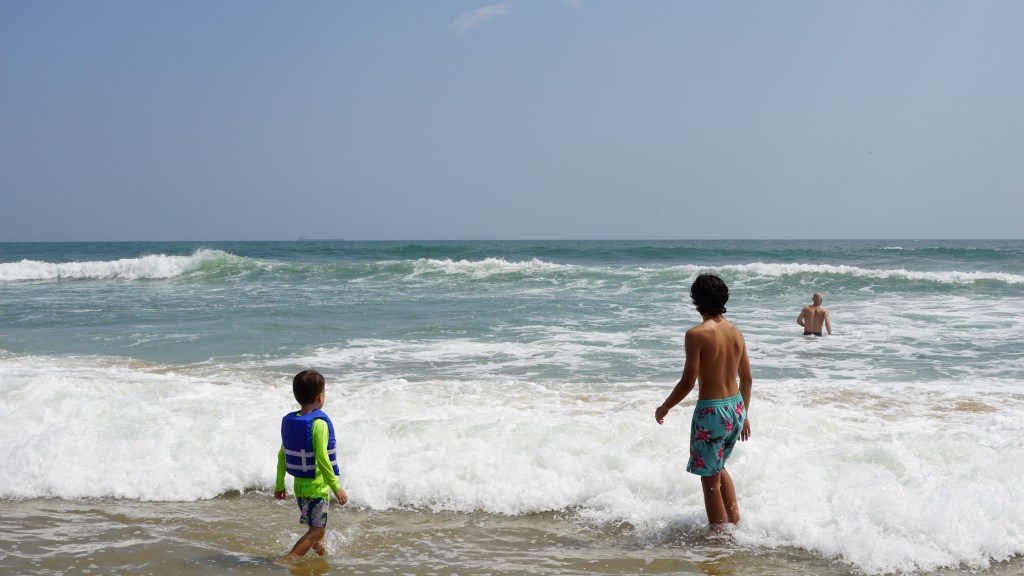
Our toddler enjoying the surf at sunrisePlaying in a tidal poolThe beach at NagsheadYellow flag (indicates medium hazard, light surf and or currents). The Outerbanks is known for its strong surf and riptides, so always keep an eye out for your kids! Watching the surf
In April we went to Westmoreland State Park, in the Norther Neck of Virginia to look for shark teeth. This is a short video of our trip! Have a safe and relaxing memorial day weekend everyone.